Raspberry Pi 4 Setup Guide
Looking to get started with the Raspberry Pi 4. Choosing, buying and setting up your Pi can be tricky but we're here to make it easier

A Beginner's Guide to Setting Up Your Raspberry Pi 4
This guide will walk you through getting and setting up a Raspberry Pi 4.
Once you've finished this guide, you'll have a Raspberry Pi running Raspberry Pi OS with some basic customisations for your first boot.
We'll go through the software and hardware you will need to be up and running as easily and quickly as possible just in time for Pi Day.
Here's a list of what we'll be using in this project:
- Raspberry Pi 4
- SD Card
- USB Power Supply
- Laptop/PC
- Raspberry Pi Imager https://www.raspberrypi.com/software/
- Keyboard and Mouse (Optional)
- Extra Monitor (Optional)
- SSD Drive (Optional)
- Windows Terminal/Putty/Command Prompt
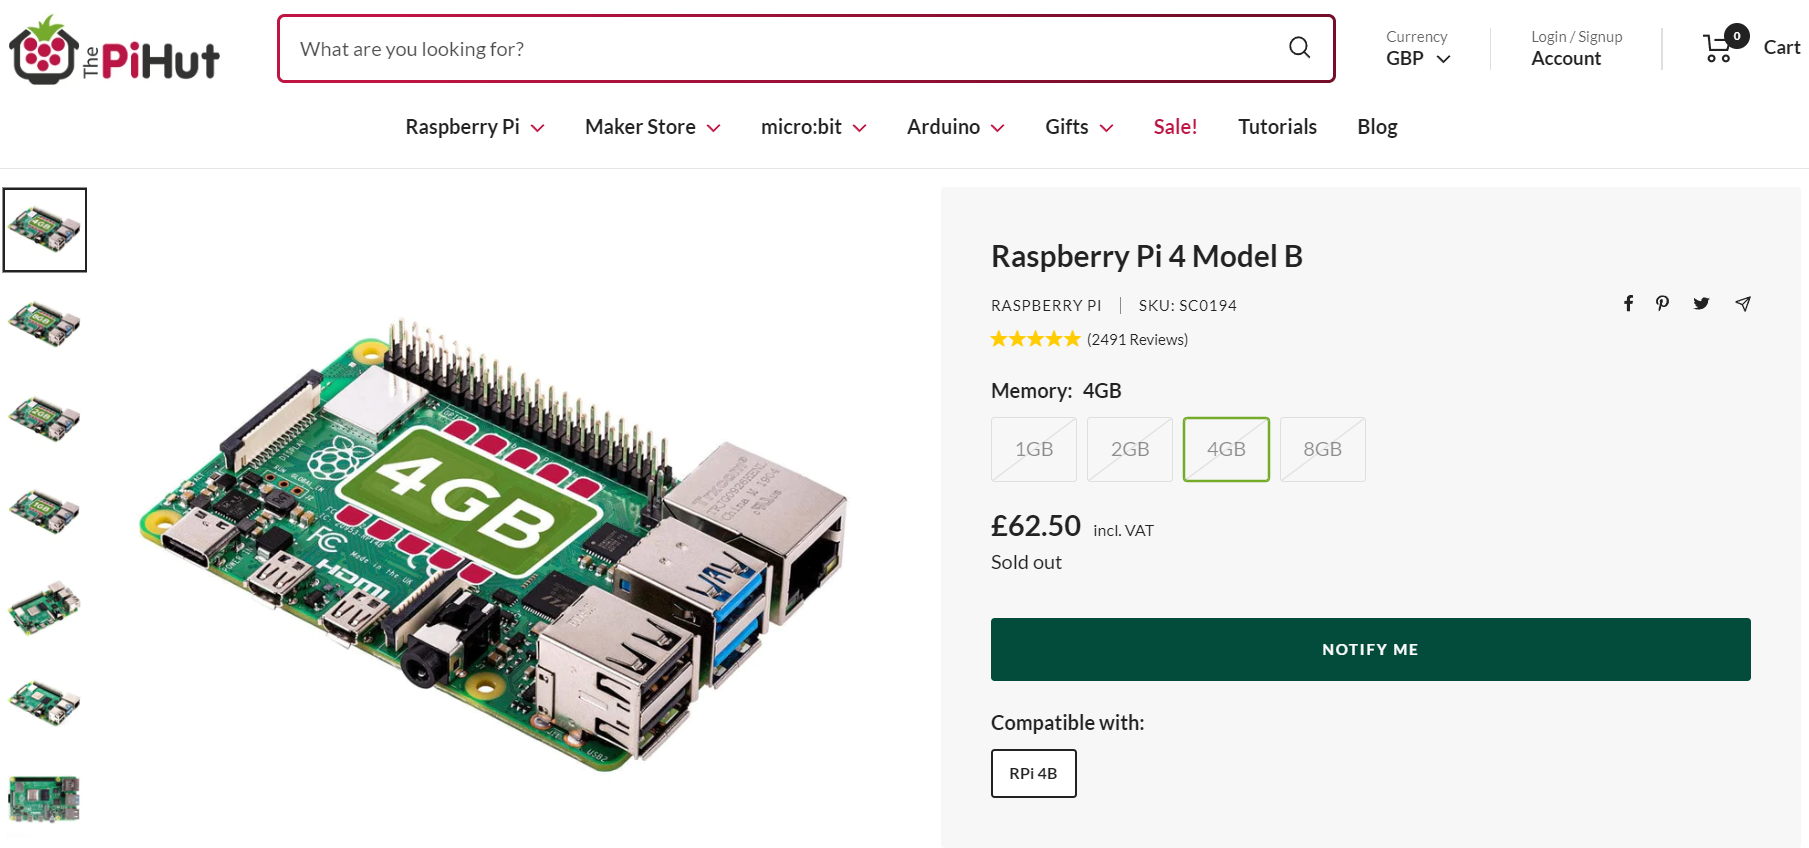
Pick Your Raspberry Pi 4 Model
The main difference between the Pi models is the RAM going from 1GB to 8GB with the RRP going from £40 to £85.
I've bought quite a few different Pi models over the years and accessories from The PiHut who are one of the authorised resellers for the UK.
For our use and for most people's use the 4GB version is the best overall and is the one that I've picked to use due to overall price and availability.
 Raspberry Pi
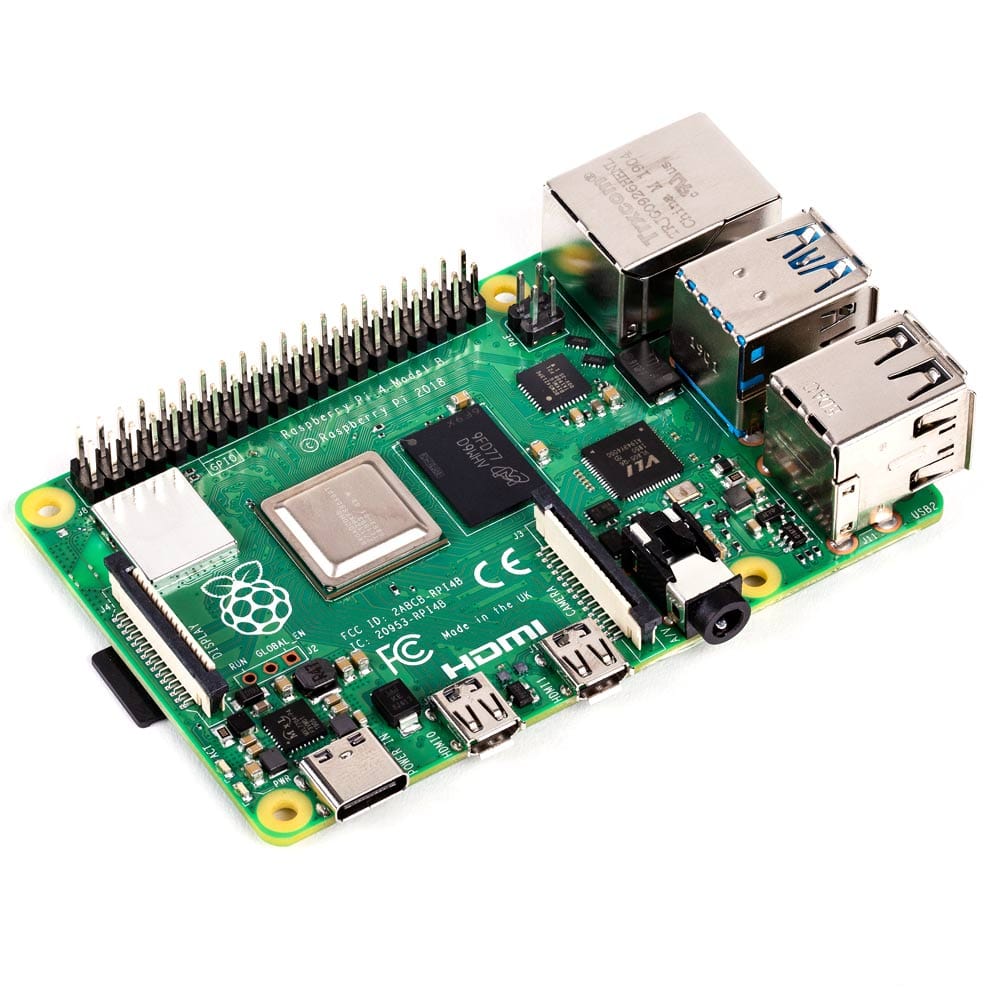
Buying A Raspberry Pi 4
If you're following this guide then you've probably managed to get your hands on one of the most in demand piece of technology in the past few years.
If you haven't got one yet then you can pick one up from below from one of the "Approved Resellers" if they're in stock and for the recommended retail price.
You can use the "Notify Me" button on most of these sites to get an email when they are back in stock.
You'll probably have to buy it as part of a kit but that does mean you'll get a lot of the accessories you may have had to get separately.
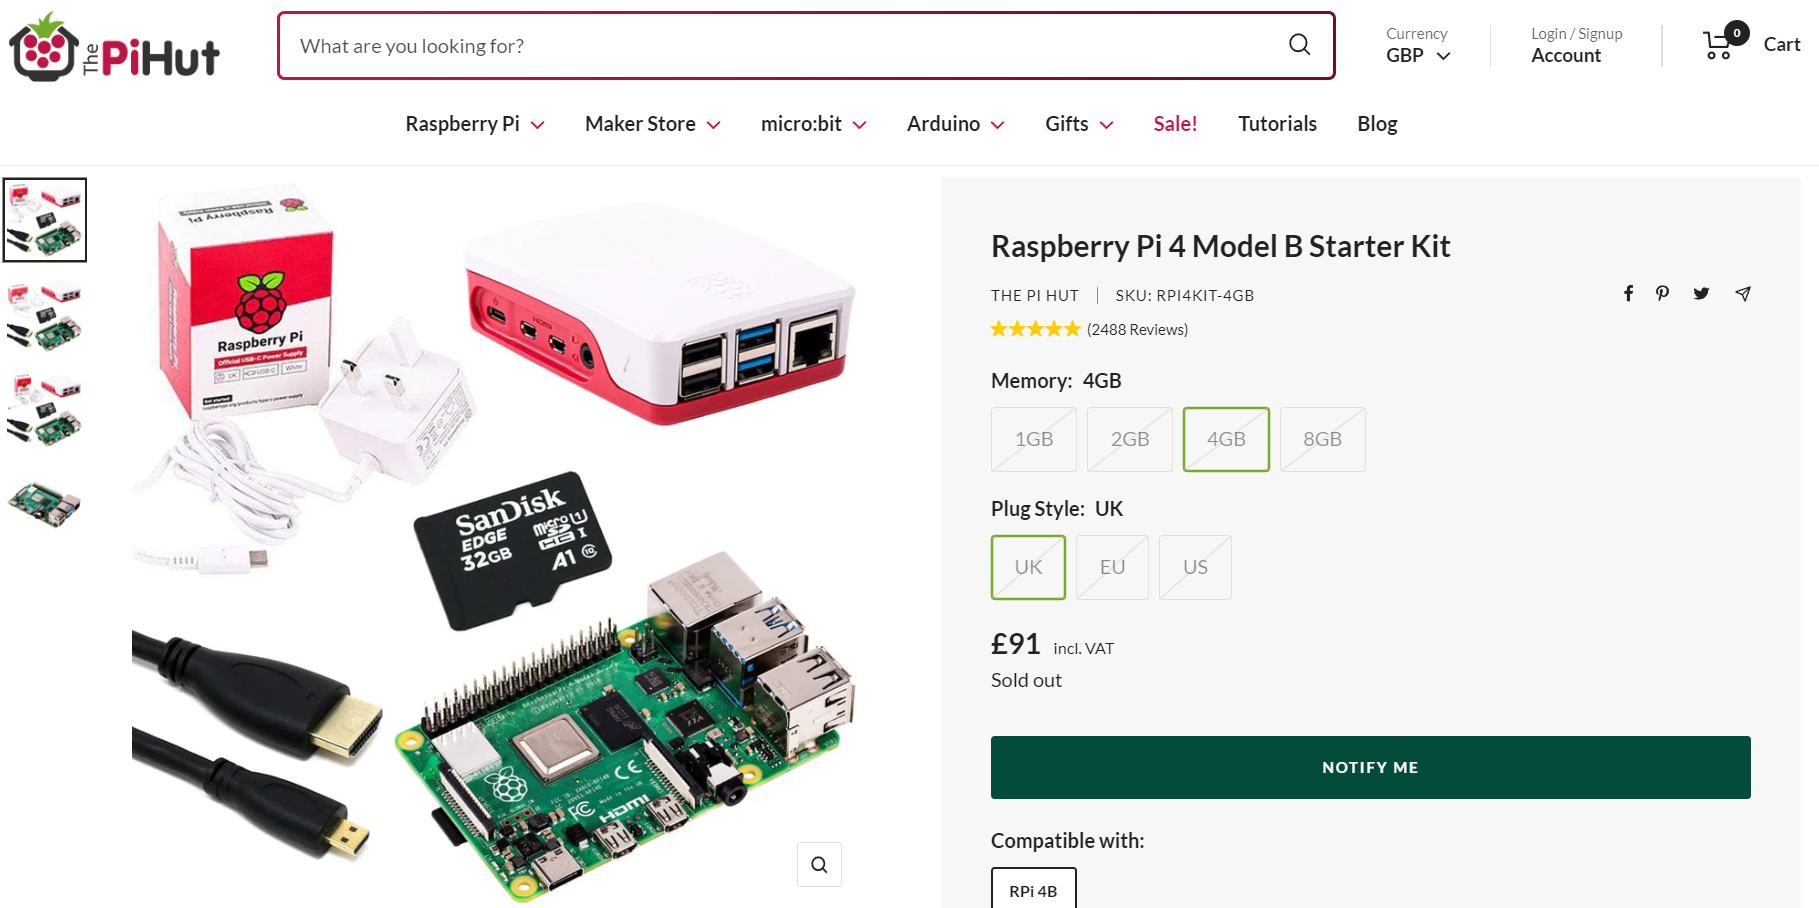
On the flip side, you may not need some of these items if you've already got a Pi but these packs are in stock more often than the Pis on their own.
You can search for the Approved Resellers in your part of the world by going to this link from the Raspberry Pi Foundation.
 Raspberry Pi Ltd
For those who can't wait then you can go ahead and pick one up from eBay or Amazon.
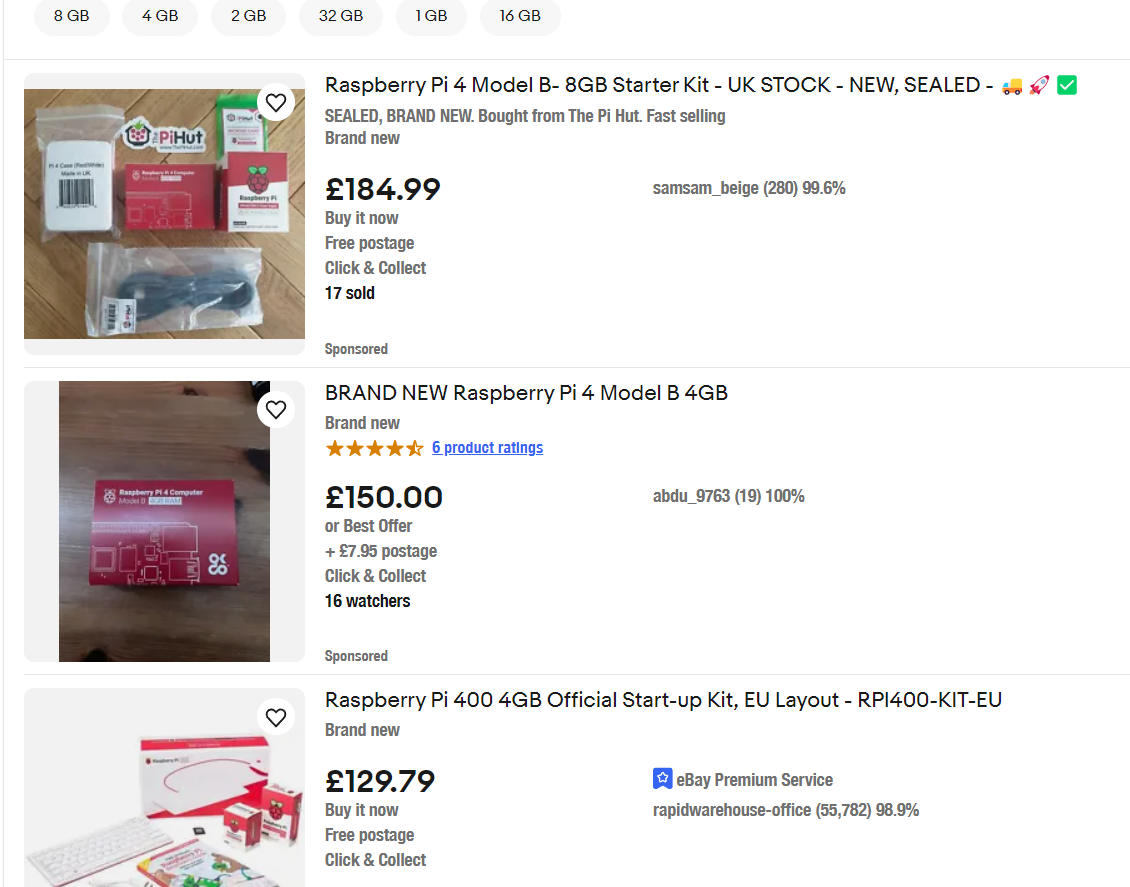
The price will be a lot higher but you'll get it a lot quicker so it's up to you which option you choose.
Pick Your Operating System
One of the best things about Small Board Computers like the Raspberry Pi is it's versatility and part of that is down to the various different Operating Systems you can install on them.
Raspberry Pi Ltd
The recommended Operating System for the Raspberry Pi for general use cases is Raspbian Pi OS which is a version of the Debian flavour of Linux.
This may be familiar to most Linux users as it's quite similar to Ubuntu for commands and overall usage.
We'll be using Raspberry Pi OS 64 Bit which is currently based on Debian Bullseye and we'll be using Raspberry Pi Imager.
Pick Your Storage Option
The Raspberry Pi 4 when bought in Kit Form from one of the Approved Resellers, eBay or Amazon will usually come with an SD card preloaded with an image already.
You can use a program like Raspberry Pi Imager to write your image to an SD card or even an SSD if you have the right adapters and power supply.
This guide will use an SD card as it's the most common storage type but these instructions will work if you use an SSD instead.
Just make sure you get a beefy power supply as the stock Raspberry Pi Power supply probably won't be able to power that and your Pi.
Customise and Write Raspberry Pi OS to Storage
In this guide, we'll be customising the Operating System that the Raspberry Pi will first boot into.
You can customise the Operating System Image so that the Raspberry Pi will auto connect to your wifi, set a different hostname and even set a new username and password when you first boot.
This can be done quite easily using the Raspberry Pi Imager application.
Install Raspberry Pi Imager (Windows)
Go to https://www.raspberrypi.com/software/ and scroll down to download the latest version of the Raspberry Pi Imager for your computer.
We'll be using the Windows version for this guide but the instructions are similar for macOS once it's installed.
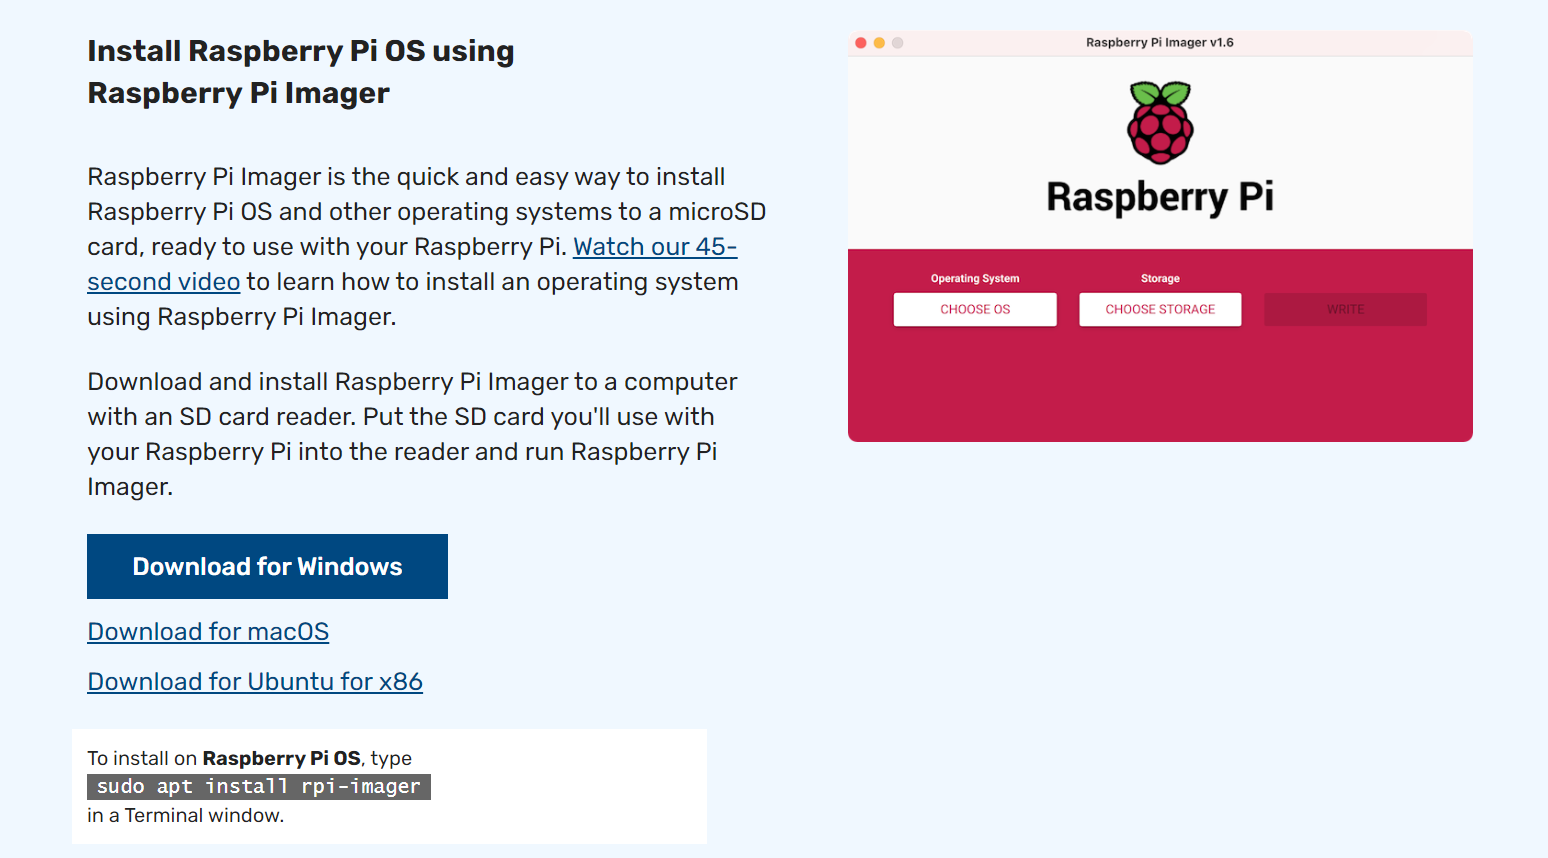
Click the blue "Download for Windows" button and go ahead and get it installed.
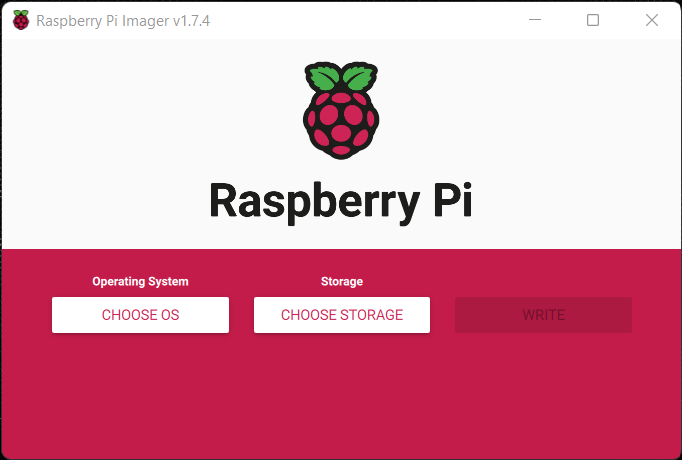
Once installed on your computer. You can open Raspberry Pi Imager from the Windows Start Menu.

This will open up Raspberry Pi Imager program and take you to the Main Menu.
Choose Your OS
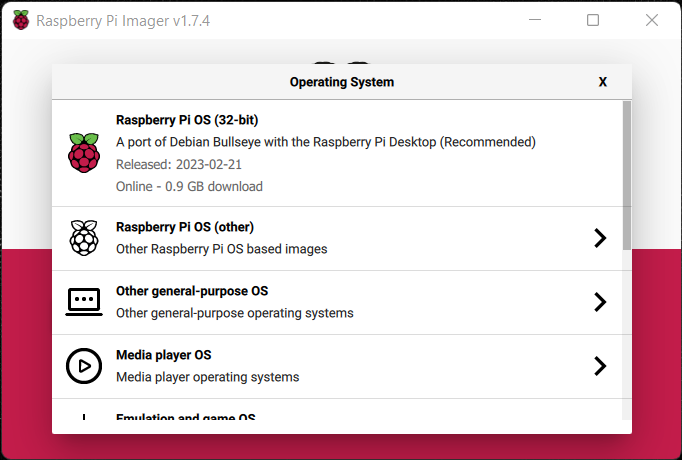
Click “Choose OS” to get the current list of Operating Systems that you can install.

This will take you to a list of images curated by the Raspberry Pi Foundation that you can pick from.
These are updated and are the easiest way to get the latest working versions for your Pi
Click the "Raspberry Pi OS (other)" option
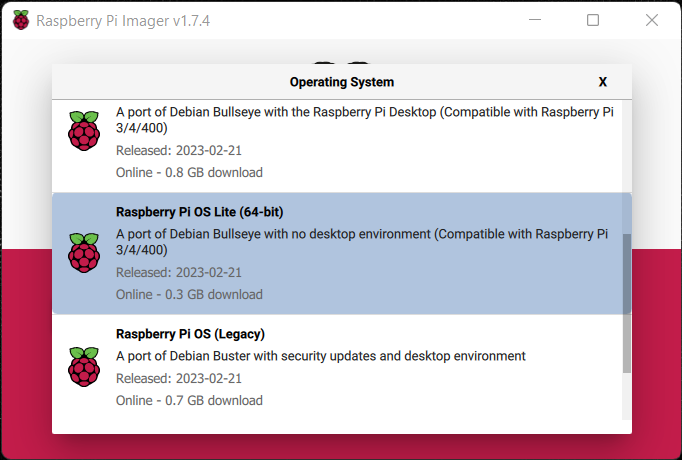
Scroll down to "Raspberry Pi OS (64-bit)" to install the Desktop GUI Version and is the quickest way to get started.
After installing this version. You can plug your Pi into a TV or Monitor to see the Desktop. Plug in a mouse and keyboard into the PI, then have a fully working Linux computer. Something like the one below.

Alternatively, you can scroll down to "Raspberry Pi OS Lite (64-bit)".

This will install Pi OS with no Desktop GUI and is all command line based.
This is best for headless setups where you won't be plugging your Pi into a monitor and have only what's needed to run the Operating system. If you plug your monitor into this then you'll just see command line
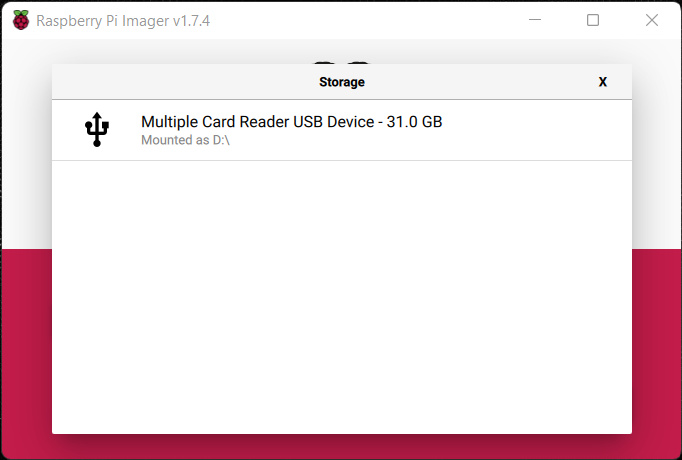
Choose Storage
Next, click "Choose Storage" to pick where your Operating System will be installed

You should see your SD card or SSD listed here. Click the one you want to use to continue the installation.
Next, click the "Cog Icon" at the bottom right to open up “Advanced Options”

This lets you customise some of the settings of the Raspberry Pi Operating system when it boots up for the first time

Configure Advanced Options
You can use a standard set of options for your Pi to use every time you write an image using the Raspberry Pi Imager program. This helps save you a lot of time if you want to test out a few different images.
Let's set this up now.
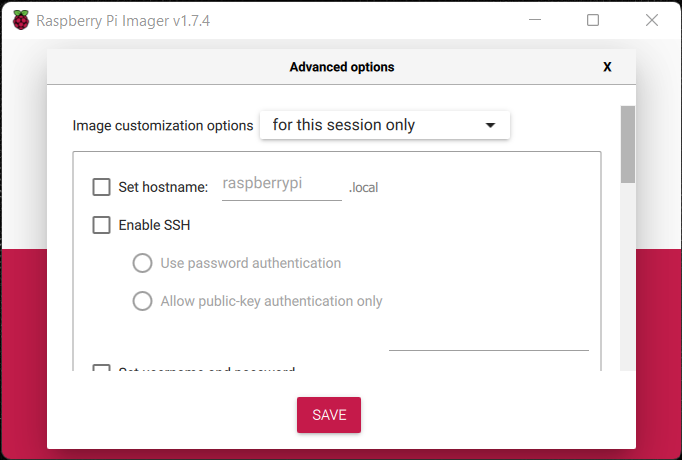
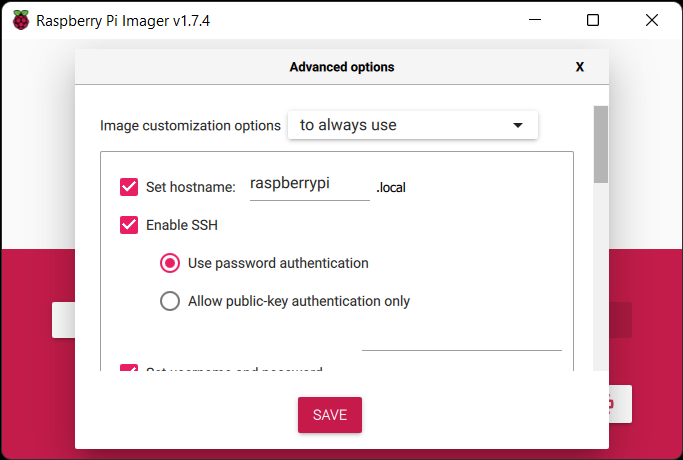
Tick “Set hostname”
You can leave this as the default "raspberrypi" or use a custom one if you have a few Pis on your network.
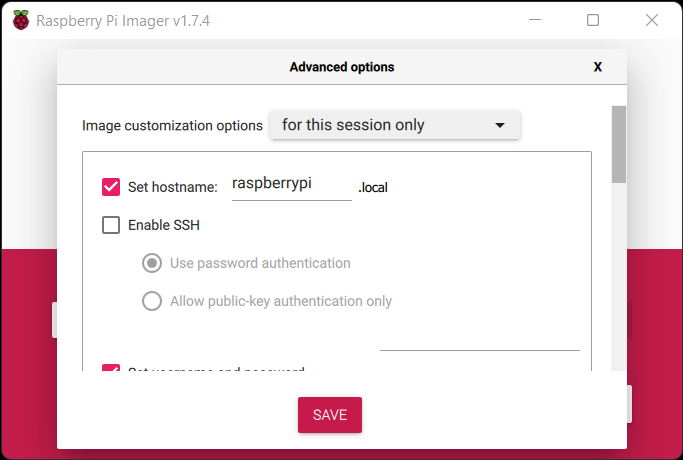
Tick “Enable SSH”
Click the “Use password authentication” option
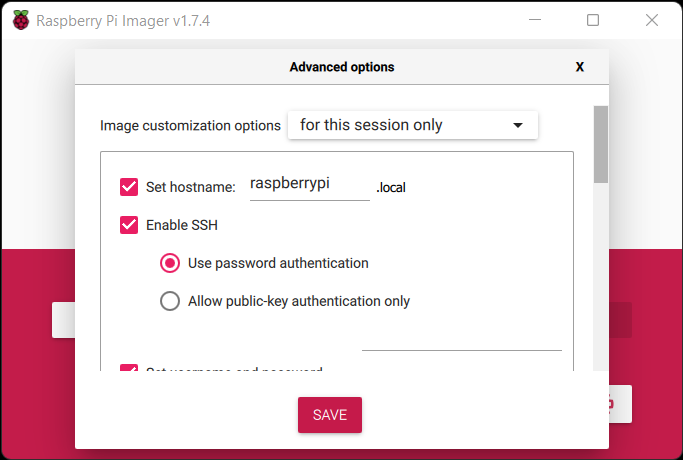
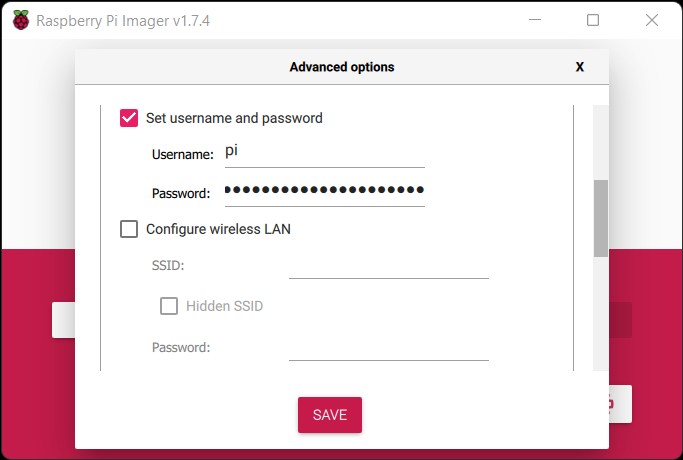
Scroll down and tick “Set username and password” and use "pi" as username and set a password here.
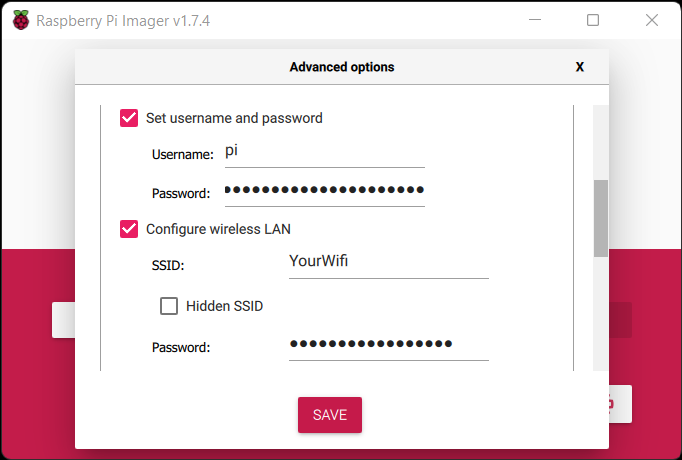
Scroll down and tick “Configure wireless Lan”
Enter your Wifi SSID (Wifi Network Name) and Network Key Password to autoconnect to your Wifi when the Pi first boots up.
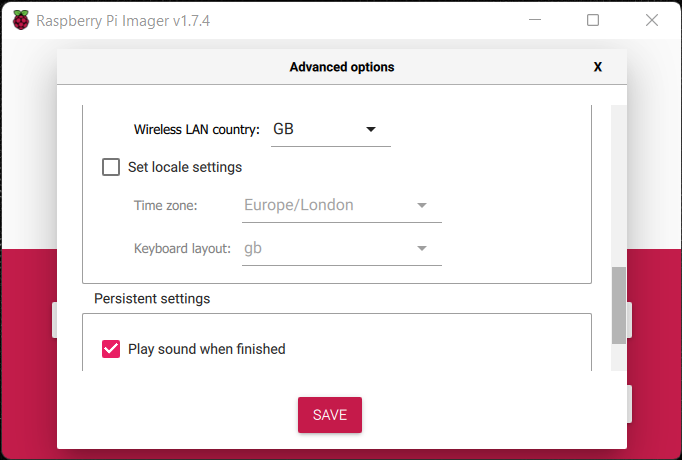
Set your "Wireless LAN country" to your country - Mine is GB
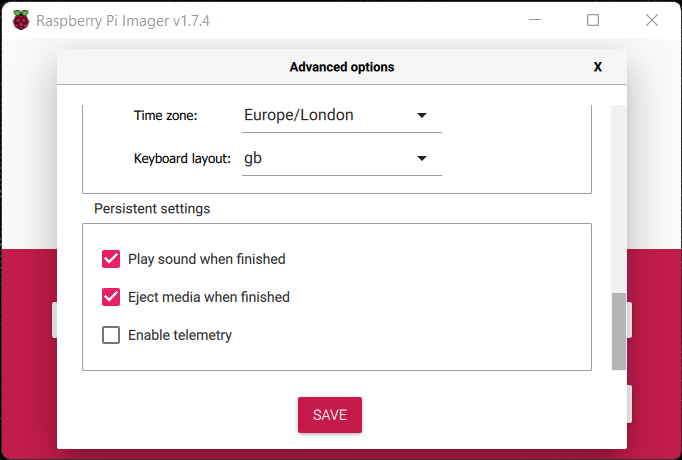
Tick “Set locale settings” and then from the dropdown pick your Time zone and Keyboard layout.
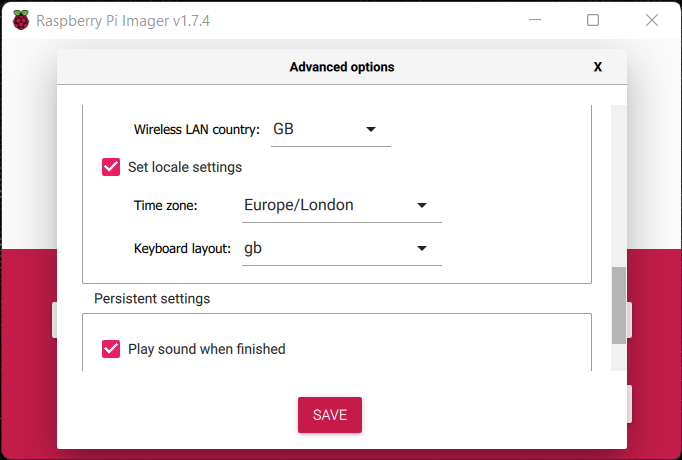
Tick "Play sound when finished" and "Eject media when finished".
Also you can untick "Enable telemetry" here if it's ticked but that's up to you.
Before clicking the "SAVE" button scroll back to the top of the "Advanced Options" to choose if you want "to always use" from now or "for this session only"

We're going to set this "to always use" and then these settings will be used as default from now on.

Click "SAVE" to save the settings and you'll be taken back to the Main Menu.
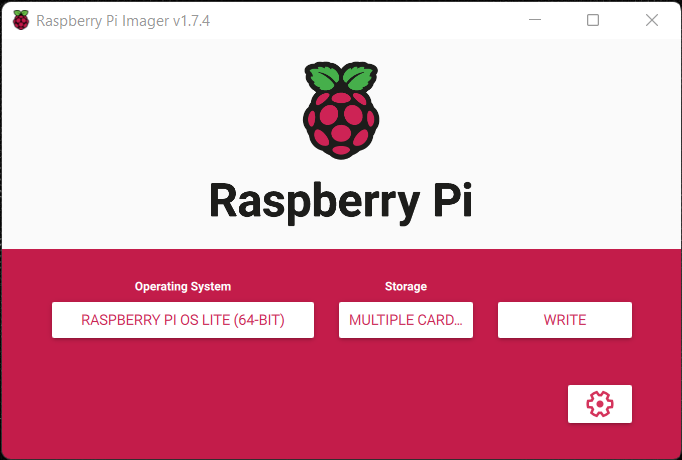
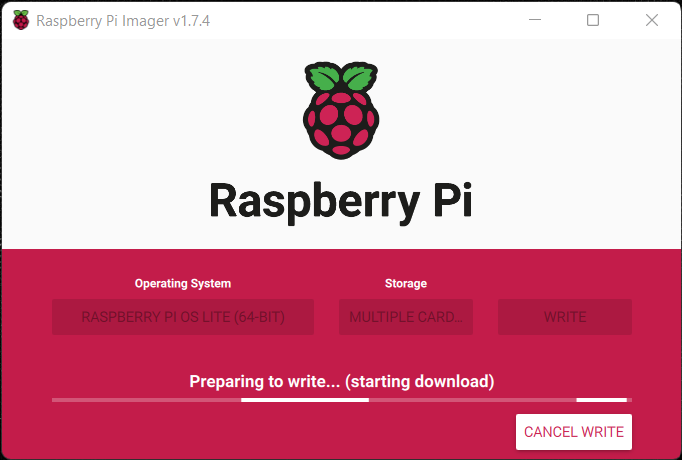
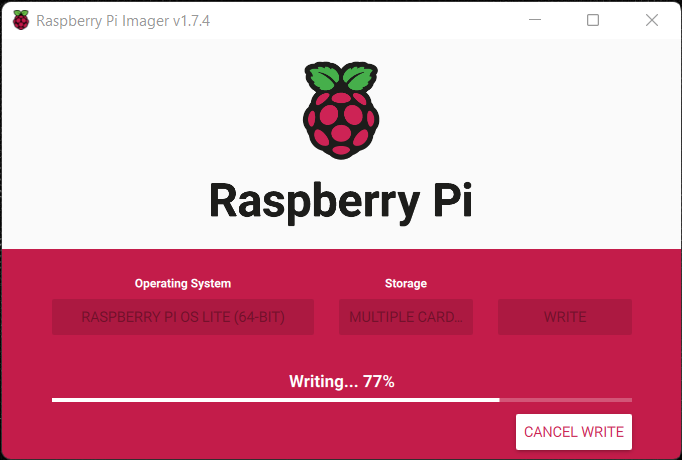
Once you’re happy with your options then click the “WRITE” button to start writing the image to your storage device.
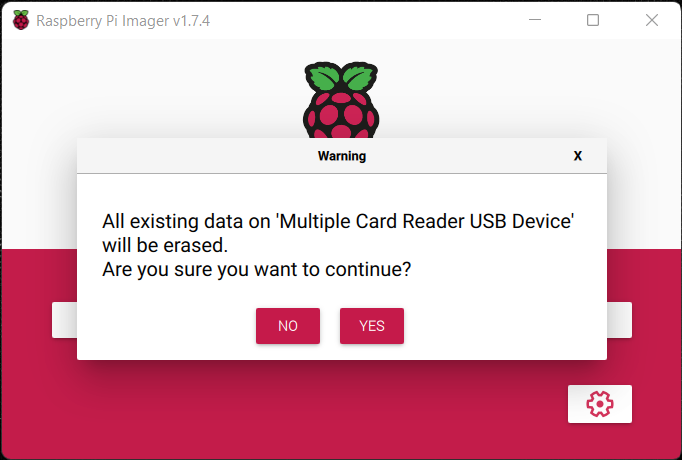
You’ll get a warning that "All existing data will be erased" on this device. Make sure you’ve backed up any data before you continue if this isn't a new SD card or SSD.
Go ahead and click the "Yes" button to start writing the image.
This will take about 5 to 10 minutes so time to grab a coffee as it writes and then verifies the image for you.
You’ll hear a sound from your PC or laptop once it’s done and you'll get a message like the one below.
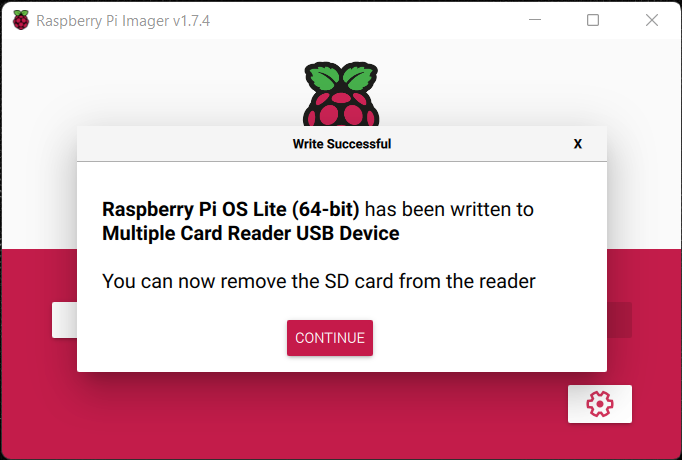
Click the "CONTINUE" button to finish up.
You can now remove the SD from your SD card reader or computer and plug it into your Pi.
Congratulations, you can now boot your Raspberry Pi with Raspberry Pi OS 64 bit and as a bonus it'll be connected to your Wifi automatically.
Update Your Raspberry Pi System Software
Using GUI or SSH?
The Raspberry Pi OS Lite (64-bit) version of the Raspberry Pi option is all command line based and doesn't have a Windows-Like Experience out of the box to point and click. You can always install a GUI on top of this later if you feel a bit overwhelmed.
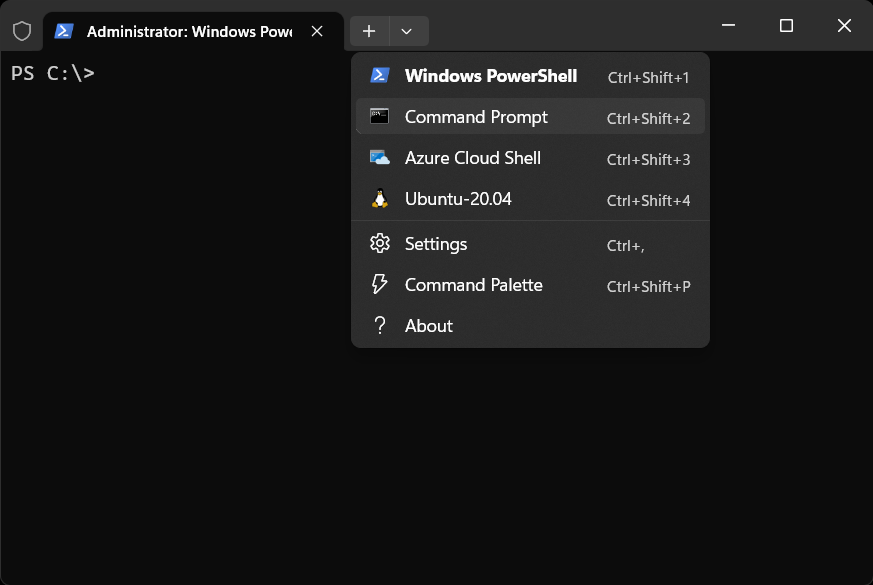
I’ll be using SSH for this guide connecting to my Pi using Windows Terminal on Windows 11. It let's you use several different command prompts for different uses at the same time.
I'll be using a "Command Prompt" tab if you want to follow along but you can use whichever you're most comfortable with.
If you’ve plugged a mouse, keyboard into your Pi and connected it via HDMI to your TV then you can run the below commands in the terminal on your TV.
If you've installed the Raspberry Pi OS (64-bit) then you also have the option to open up a terminal on your TV and use a connected keyboard and mouse to type in the commands instead.
Connect to your Pi using SSH
You’ll need to get your Pi’s IP address which you can find from your router or if you’ve already set a hostname using Raspberry Pi Imager you may be able to find this using the "ping" command.
ping raspberrypiIn our example, the "raspberrypi" ping gives us the ip adress as 192.168.0.177 but yours may be different.
We’ll use the default username pi and a password we changed in the Raspberry Pi Imager.
If you didn't set a username or password in that program then the username is pi and the default password is raspberry
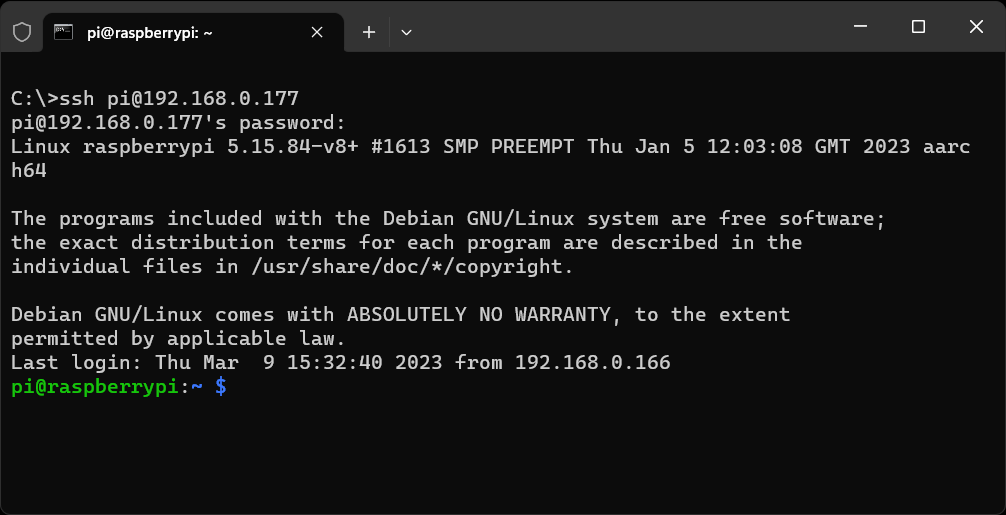
Open up Windows Terminal and type the below command to get started
ssh [email protected]As this will be your first time connecting then you'll get a warning about the new host. Type yes to continue.
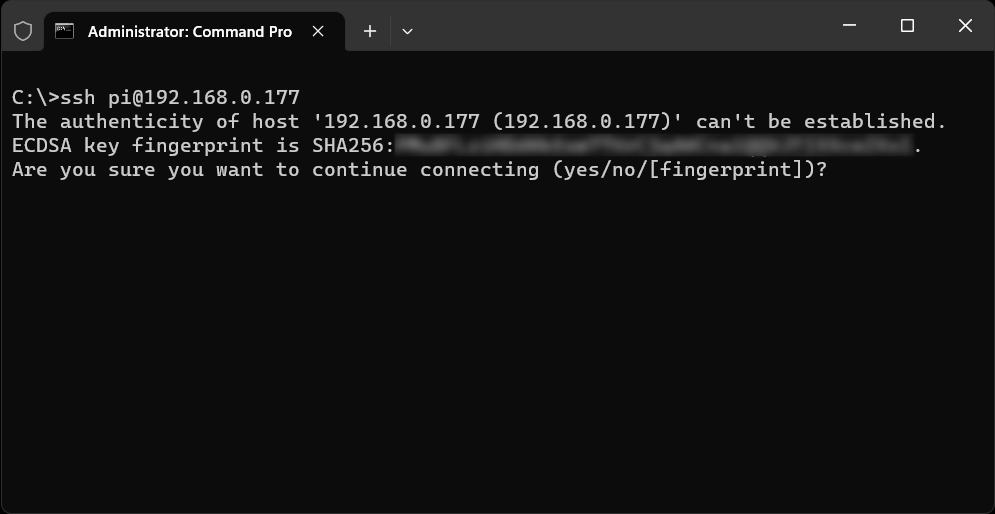
This will add the host permanently to the machine you're connecting from known hosts. Once added you won't see this warning message the next time you connect.
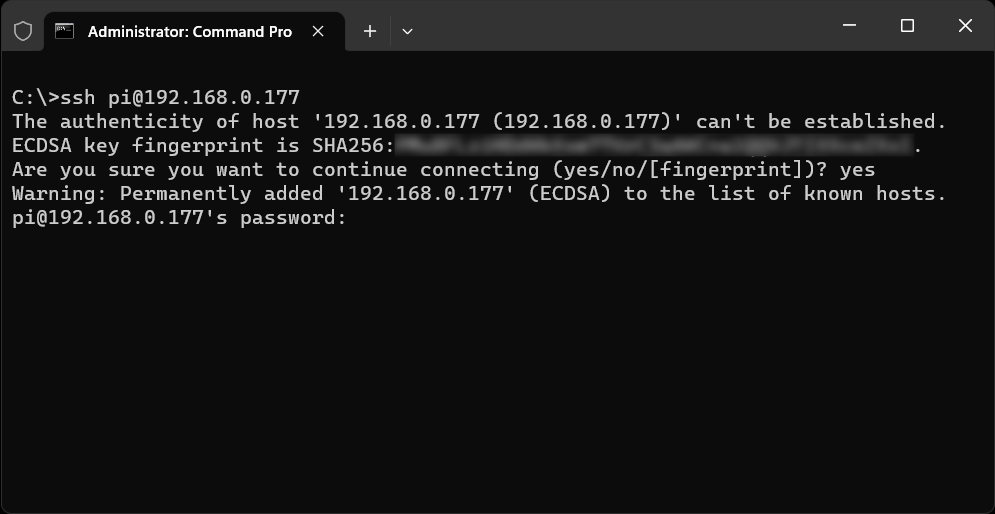
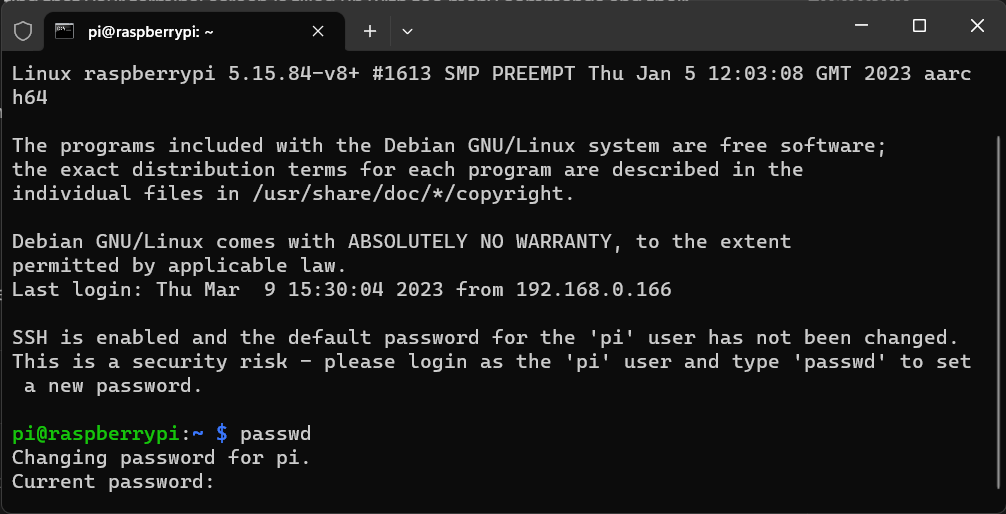
You will then be prompted for the password for the account you set up in Raspberry Pi Imager or the default password if you haven't set one.
If you set the password to raspberry then you'll see the below screen asking you to change this password.
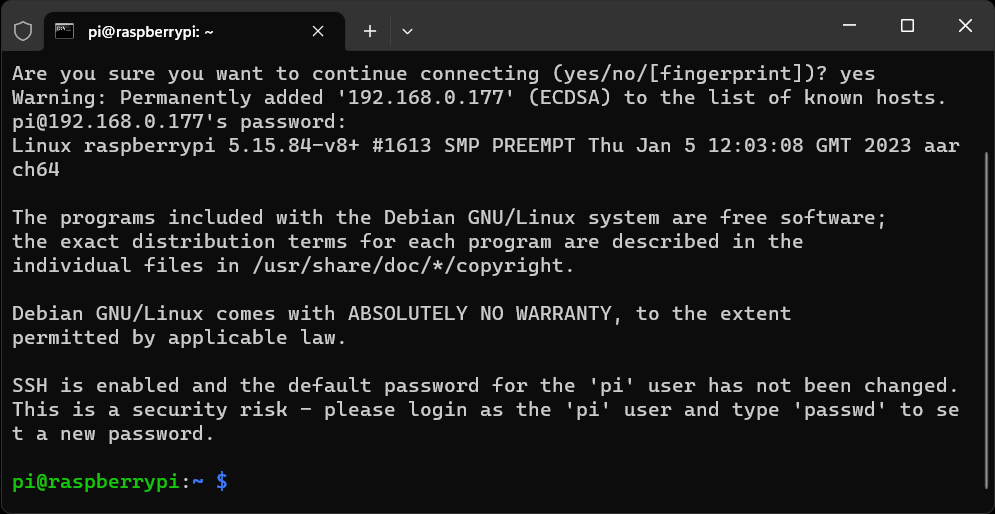
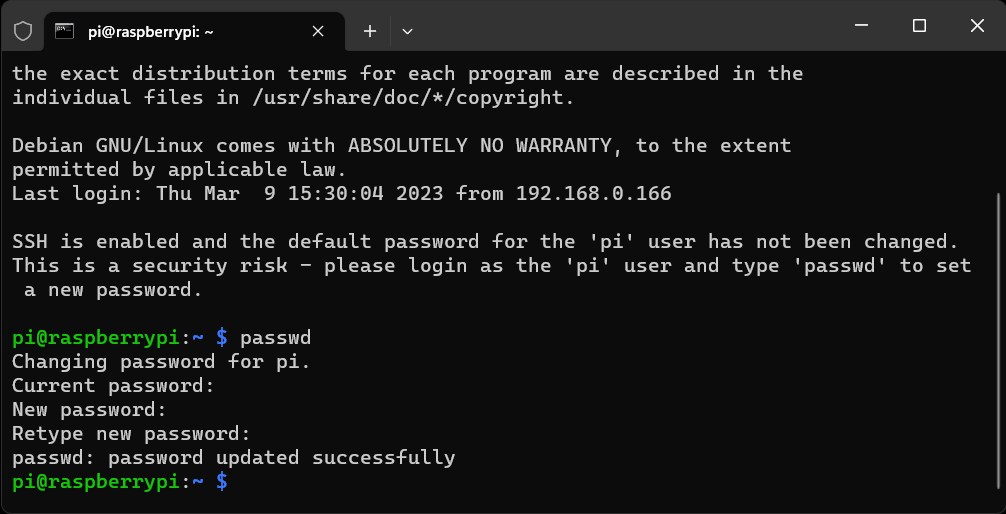
You can ignore this message and continue but you can change this password using the "passwd" command
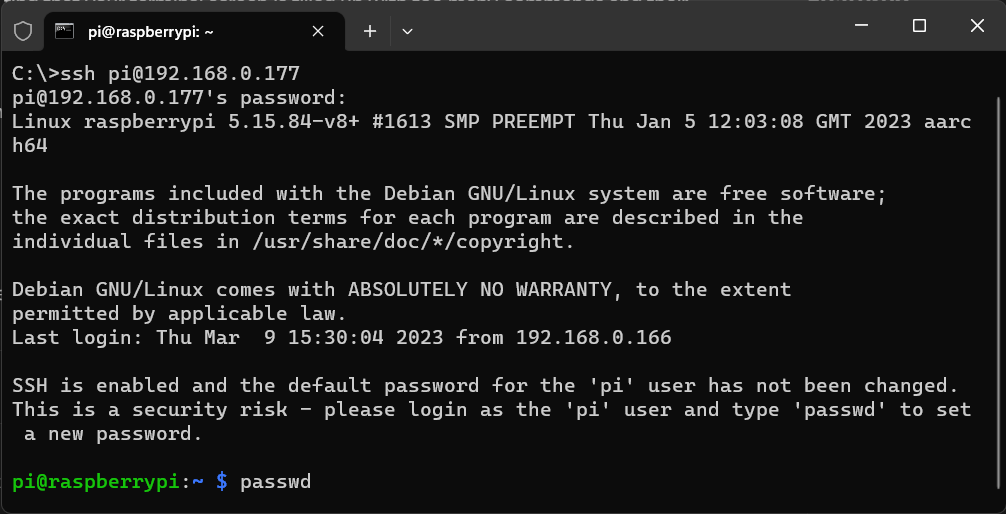
If you've set up a new password in Raspberry Pi Imager then you'll see the screen below and you can continue on with the guide.
Update Raspberry Pi OS
Next up we need to update the Raspberry Pi OS software and operating system on the Pi so that is has the latest patches and features.
sudo apt-get update && sudo apt-get upgrade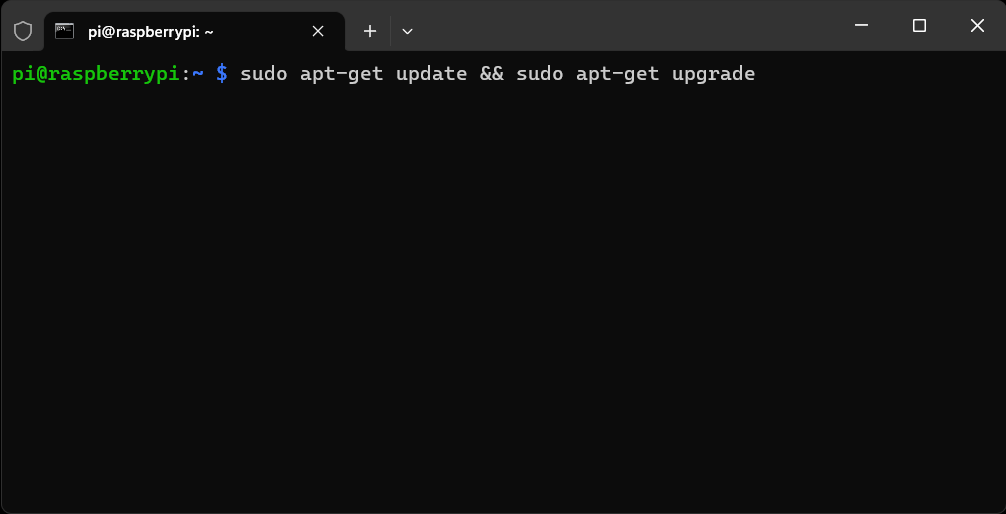
This will take a few minutes depending on your internet connection and the age of your image.
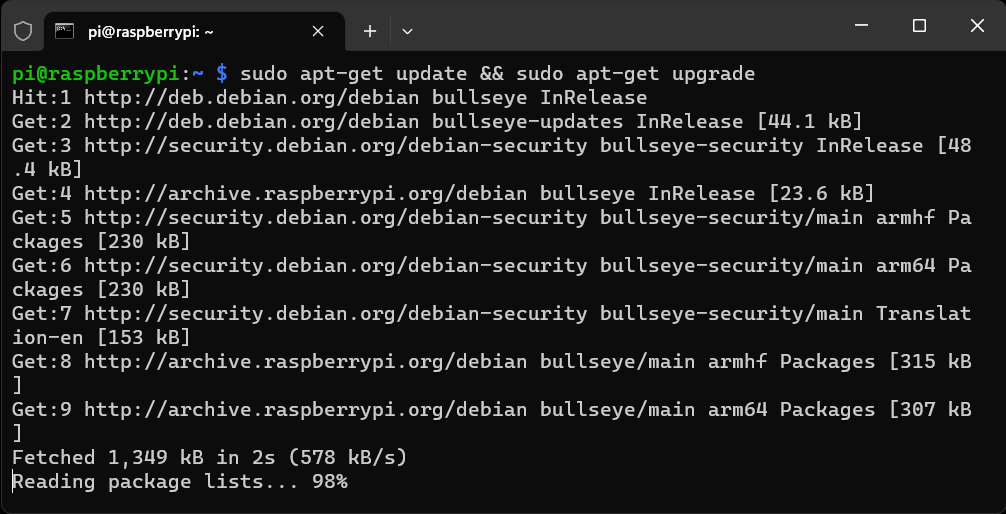
Once the Package Lists is updated the text will stop scrolling and print out a list of the current updates and upgrades.
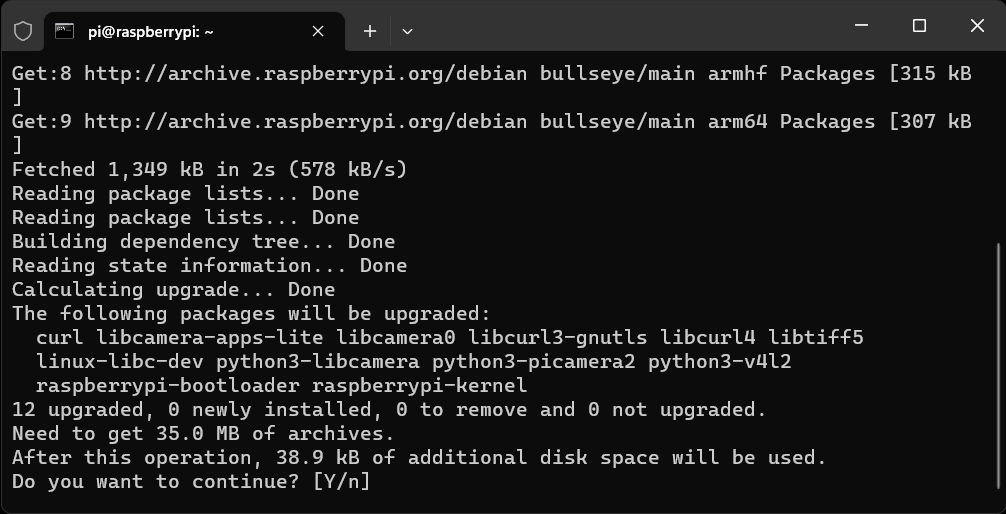
Type "Y" and press enter to continue and install the updates. This may take a lot longer than the updates so it may be time to go and grab a coffee and come back later.

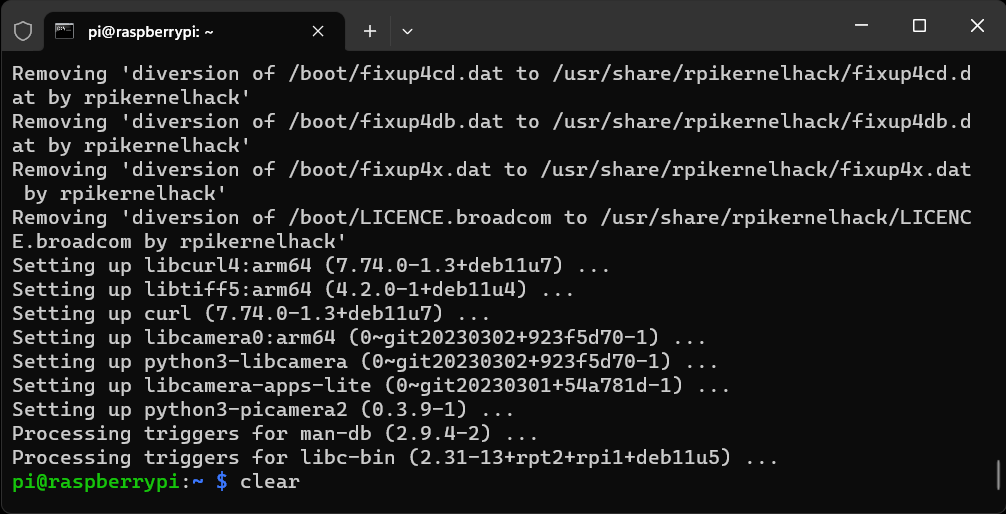
Once updated and upgraded, you will come back to the command line.
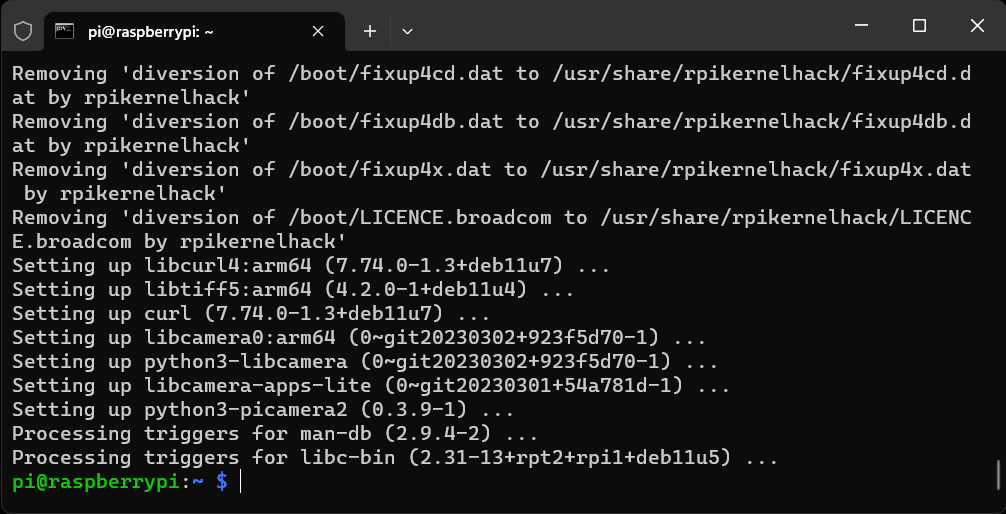
Type clear to clear the screen
Set a Static IP
Last up, we're going to set a static IP so that you can always connect to the pi using the same IP address even after it's been powered down or rebooted.
You can type the below command to find out the name of the Network Interface your Pi is using
ip address show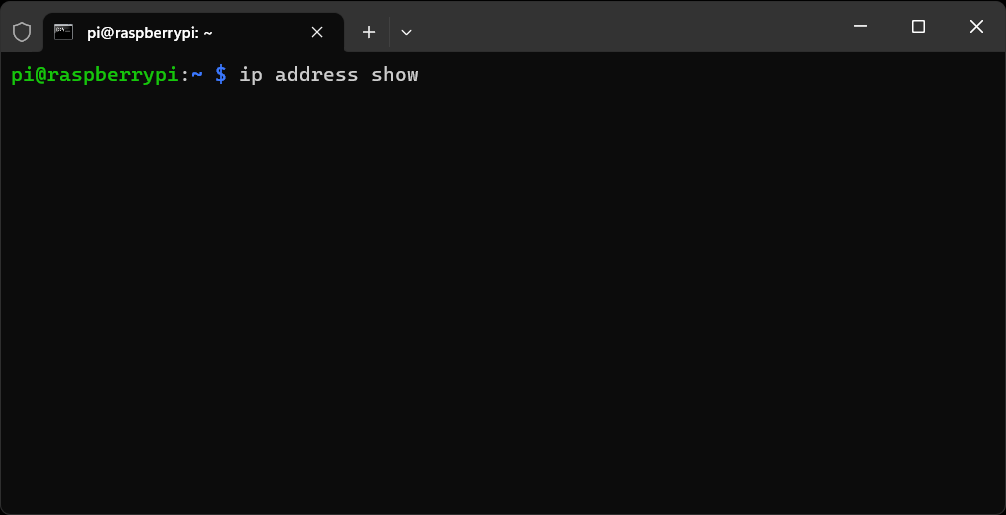
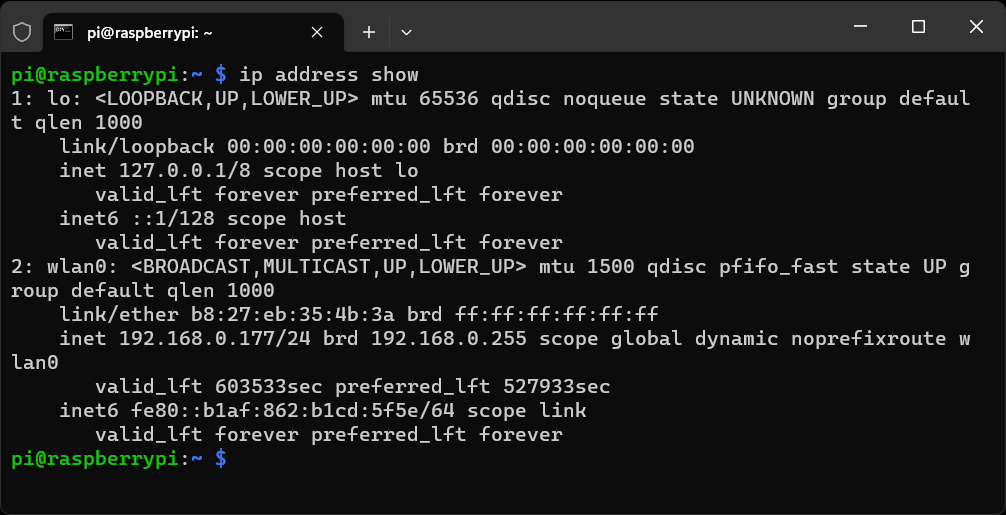
If you've followed the steps in this guide using Wifi then the adapter will be named
wlan0Type the below to open up the dhcpd.conf file in the Nano Text Editor
sudo nano /etc/dhcpd.conf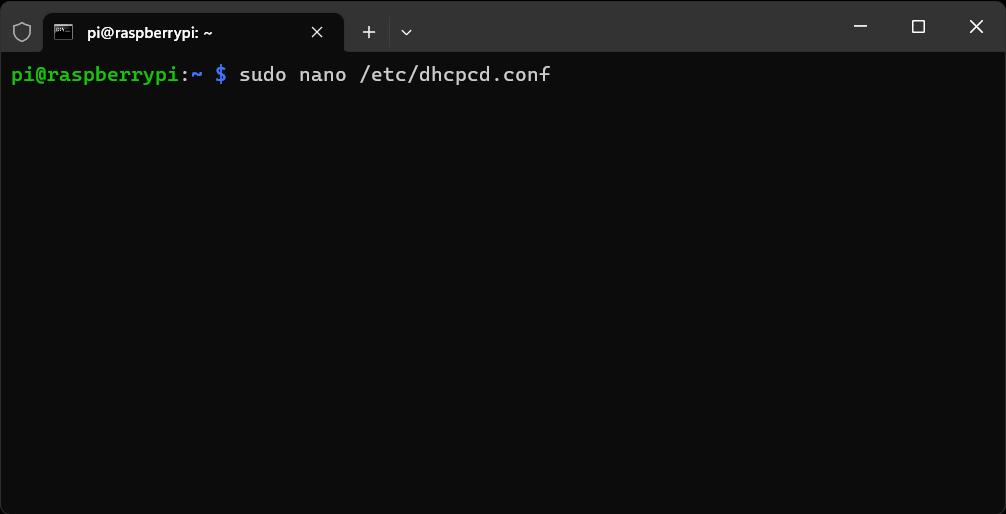
This will open up the default conf file as seen below
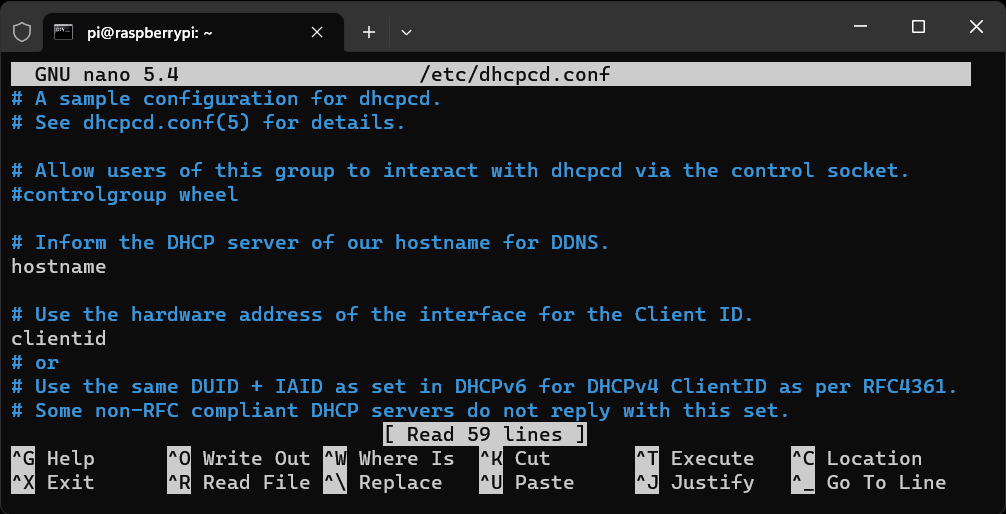
Scroll down using the down arrow key until you get to the Example static IP configuration section
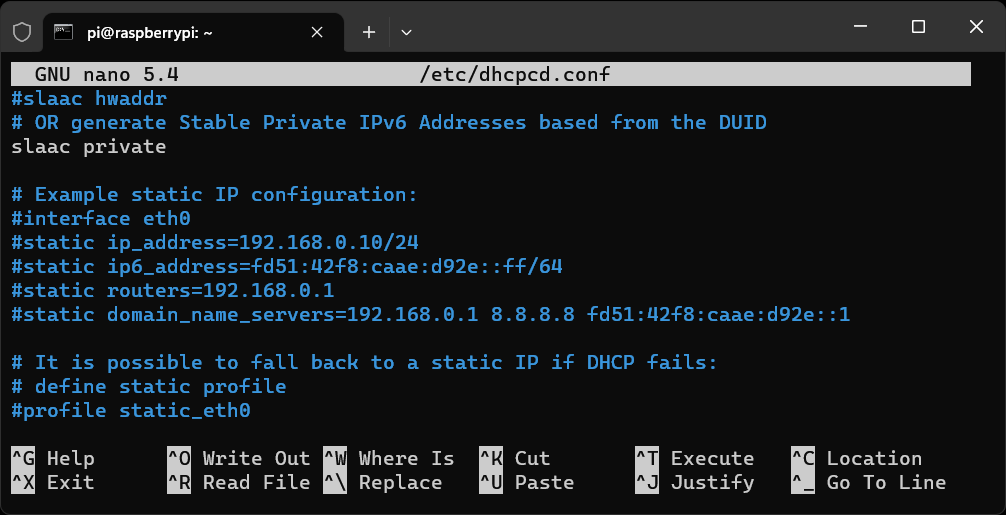
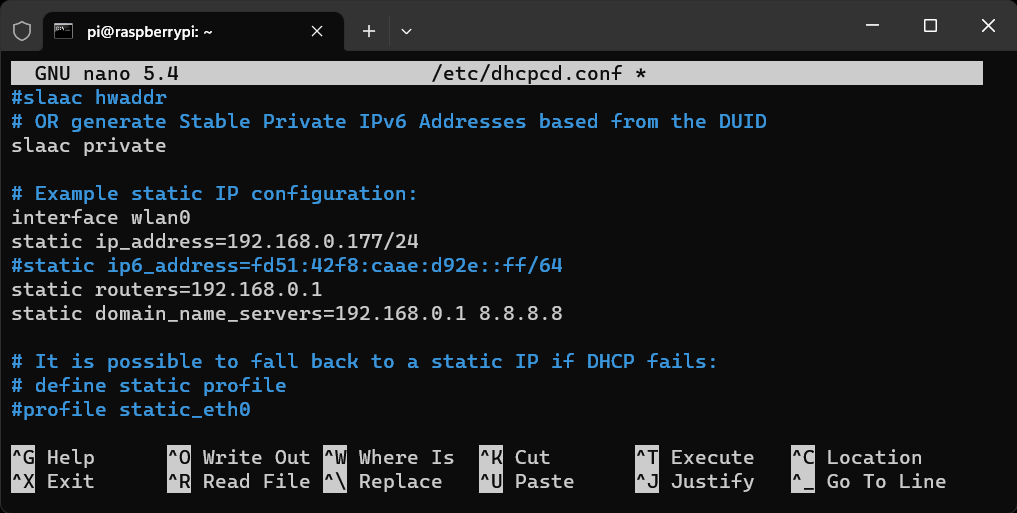
You can use the above as a guide and change this to looks like the below, changing the interface as needed.
The static ip_address will be the one that the pi is using.
The static routers and static domain_name_servers below can be set as below.
You can then save this amended file by using Ctrl + X to exit.
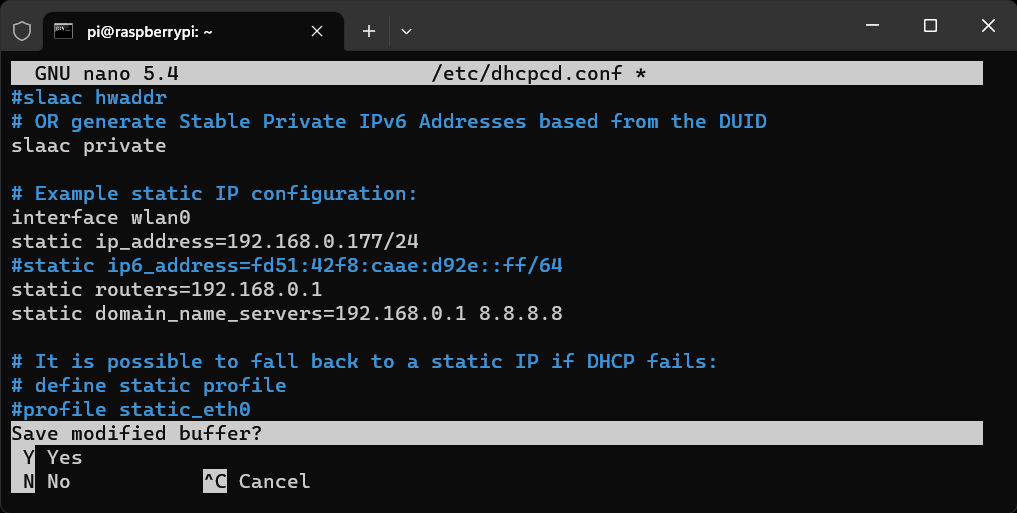
Type Y to save the file.
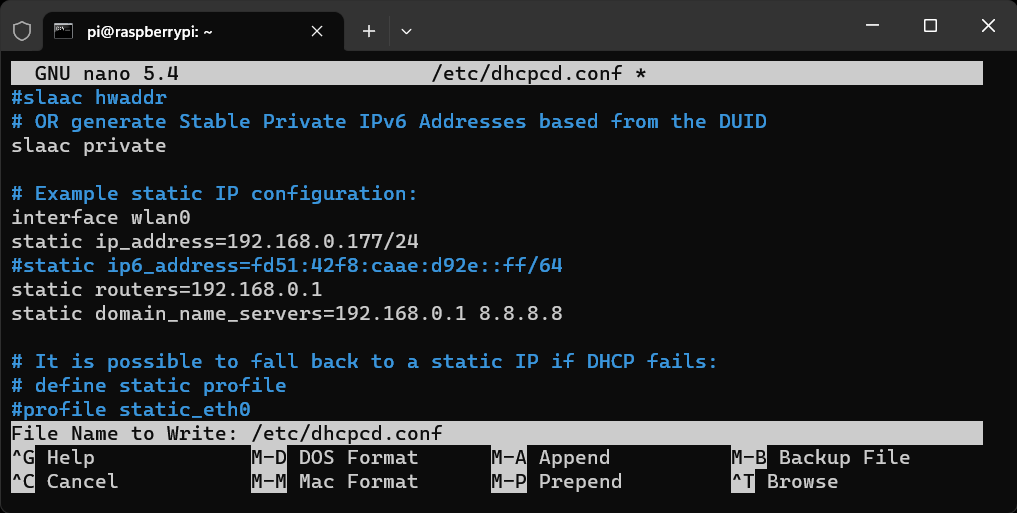
Press Enter to write the file and exit back to the command line.

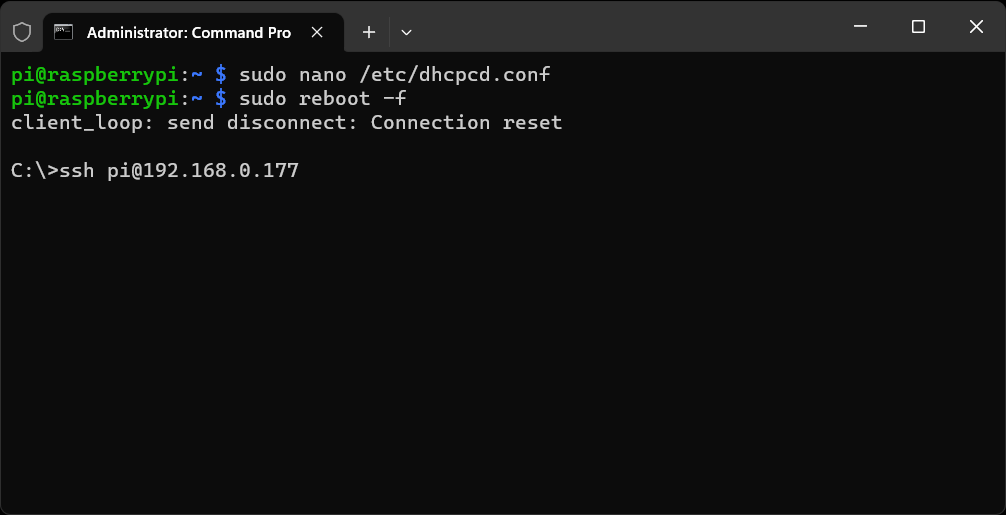
With the new file saved it's time to reboot and apply any final updates and changes. Type the below command to reboot your Pi
sudo reboot -f
This may hang or take a long time to show any display in your terminal so it may be time to grab another coffee.
After a while you should see this message in your terminal which means that your Pi has rebooted.
You now have to wait for your Pi to come back up online which may take about 5 to 10 minutes but it'll give you time to finish that coffee.
After about 10 minutes then you can try connecting over the Pi using SSH with the Static IP we set earlier.
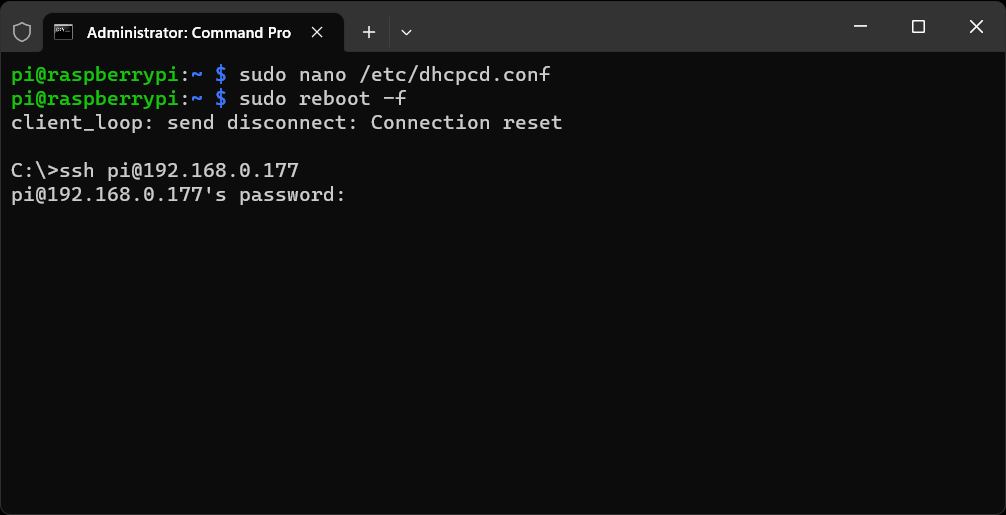
If the Pi has booted back up then you'll be prompted for your password.
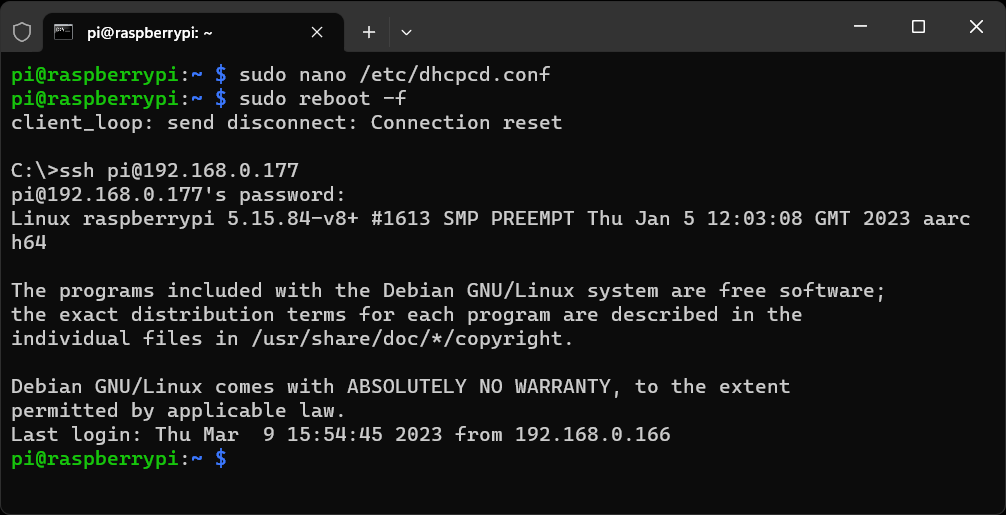
Congratulations, you have successfully set up your Raspberry Pi 4 with Raspberry Pi OS and you're ready to start installing some software like can now install software like Plex, RetroArch or Docker.
Click below and set up Docker on your Raspberry Pi 4 with Docker Compose to create containers for self hosted services and applications.

Don't forget to explore the rest of our website as we build out more content. Stay tuned for more tutorials, tips, and tricks to help you make tech work for you.
If you want to stay up-to-date with regular updates, make sure to subscribe to our free mailing list.