From USB to NFS: Moving a 10TB USB Storage Drive Out of a Proxmox VM (Without Breaking Anything)
How I moved a 10TB media drive from a Proxmox VM to an NFS share on OpenMediaVault with zero downtime and no changes to 32 Docker containers.

How I decoupled a 10TB storage drive from a Docker VM and re-served it over NFS with zero downtime to running services and zero changes to 32 container configurations.
The Setup & Backstory
To understand how I got here, we have to go back. I’ve been running a homelab for about 8 years. In the early days, my setup was a simple Windows box running native services, where I slowly started experimenting and moving workloads into Docker. For storage, I relied entirely on external USB hard drives. Back in 2021, I was running a 6TB external USB drive, which I shucked and upgraded to a 10TB external USB drive to keep up with growing data demands - both of these were USB 3.0 drives.
In 2024, I upgraded the homelab infrastructure to a dedicated Dell Workstation that became my primary server host running Proxmox VE. At that point, I shucked the 10TB USB drive (taking the bare hard drive out of its external USB enclosure and adding it as an internal drive powered directly by the server) and passed it directly through to my main Docker Host (an Ubuntu VM running under Proxmox). This VM runs 32 Docker containers, including Plex, Radarr, Sonarr, Lidarr, qBittorrent, NZBGet, TubeArchivist, iPlayarr, Vaultwarden, and more. Every media container pointed to /mnt/media as its data root.
This physical passthrough worked fine - until I wanted the Docker Host to become a disposable, rebuildable VM. If the OS disk dies, I should be able to Terraform a fresh Ubuntu VM, run Ansible, and have everything back. But that's impossible while 10TB of irreplaceable data is physically attached to the VM.
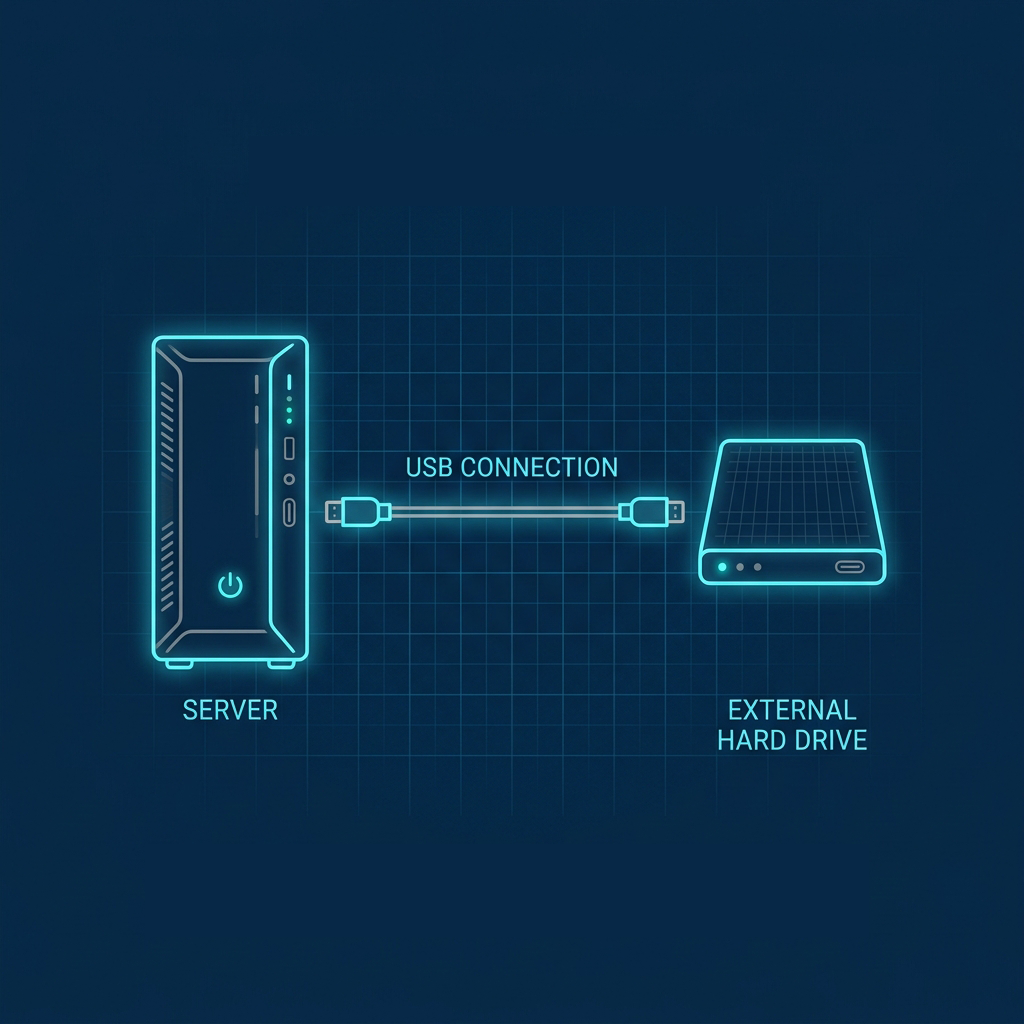
The solution: move the drive to a dedicated NAS (running OpenMediaVault), re-serve it over NFS, and mount it back on the VM at the same path. The result: the Docker Host becomes stateless for media. The drive becomes network-accessible. And nothing in my Docker stack has to change.
Why NFS? Why Not SMB?
Both would work for Linux-to-Linux file sharing, but NFS is the better choice here:
- No authentication overhead - NFS uses IP-based access control, not username/password
- Better performance for large sequential reads (streaming video files)
- Native Linux semantics - file ownership and permissions work as expected with
uid/gidmapping - Already in use - the NAS was already serving other NFS shares to the Docker Host successfully
The Key Insight: Keep the Mount Path Identical
The most important design decision of this migration was not changing the mount path.
Every Docker container on the Docker Host referenced /mnt/media:
radarr:        /mnt/media/data:/data
sonarr:        /mnt/media/data:/data
qbittorrent:   /mnt/media/data/Torrents:/downloads
tubearchivist: /mnt/media/data/Media/Youtube:/youtube
iplayarr:      /mnt/media/data:/mnt/media/data  (identity mount)
Rather than updating 10 compose files and reconfiguring apps inside containers, I mounted the NFS share at the exact same path: /mnt/media.
Before:  /dev/sdb1 (USB, NTFS) → /mnt/media
After:   10.0.0.20:/export/media (NFS) → /mnt/media
To every Docker container - and every app inside them - nothing changed. They still see /data, /downloads, /youtube exactly as before. Zero compose edits. Zero app reconfiguration.
What I Discovered Along the Way
The drive was never in fstab
I expected to find a fstab entry like this:
UUID=YOUR-DRIVE-UUID /mnt/media ntfs defaults 0 0
There was one, but it was commented out. Yet the drive mounted automatically on every boot. How?
It turns out I had manually created a systemd mount unit at /etc/systemd/system/mnt-media.mount some time ago. I did this because standard fstab mounts were failing to mount the USB drive early enough during reboots. Docker containers would boot and try to write to /mnt/media before the USB drive was ready, writing directly to the Docker Host's local root disk partition instead. This forced me to manually clean up orphaned files on the host mountpoint and verify that the drive was mounted correctly after every single boot. The systemd mount unit resolved this by enforcing strict boot-ordering dependencies, but it bypassed fstab entirely.
The unit file looked like this:
[Unit]
Description=Mount NTFS Drive
After=network.target

[Mount]
What=/dev/disk/by-uuid/YOUR-DRIVE-UUID
Where=/mnt/media
Type=ntfs
Options=defaults,nofail,uid=1000,gid=1000,umask=022

[Install]
WantedBy=multi-user.target
This unit was enabled (symlinked into multi-user.target.wants/) and was running the mount on every boot - completely bypassing fstab. I only discovered this when the NFS fstab entry I added conflicted with it.
The fix: disable and remove the old unit, let the new fstab NFS entry take over.
sudo systemctl disable mnt-media.mount
sudo rm /etc/systemd/system/mnt-media.mount
sudo systemctl daemon-reload
Don't use systemctl restart remote-fs.target to trigger NFS mounts
My first attempt to trigger the NFS mount used:
sudo systemctl restart remote-fs.target
It hung for 90 seconds. The reason: remote-fs.target waits for all remote filesystem mounts to complete - including existing defaults-option NFS mounts in fstab that don't have nofail. They try to re-mount and block.
For triggering a new NFS mount immediately, use the direct mount command instead:
sudo mount -t nfs 10.0.0.20:/export/media /mnt/media
The Migration Process
Pre-flight
Before touching anything:
- Proxmox snapshot of the Docker Host VM - the nuclear rollback option
- Baseline captures -
docker ps,df -h, current mounts saved to files - Confirm NAS reachability -
showmount -e 10.0.0.20shows existing exports - Git status clean - GitOps compose repo on
mainwith nothing to commit
Part 1: Prepare the Docker Host
Since the stacks are managed by systemd timers (one per stack, firing every 5 minutes), stopping containers alone isn't enough - a timer could restart them. Stop the timers first:
# Stop all container orchestration timers
sudo systemctl stop $(systemctl list-unit-files | grep 'gitops-' | grep timer | awk '{print $1}')

# Stop all containers
docker stop $(docker ps -aq)

# Unmount the drive
sudo umount /mnt/media
Part 2: NAS - Mount and Share
In Proxmox GUI, detach the USB from the Docker Host VM (e.g. usb0: host=XXXX:XXXX) and attach it to the NAS VM.
In the NAS Web Console (e.g. OpenMediaVault):
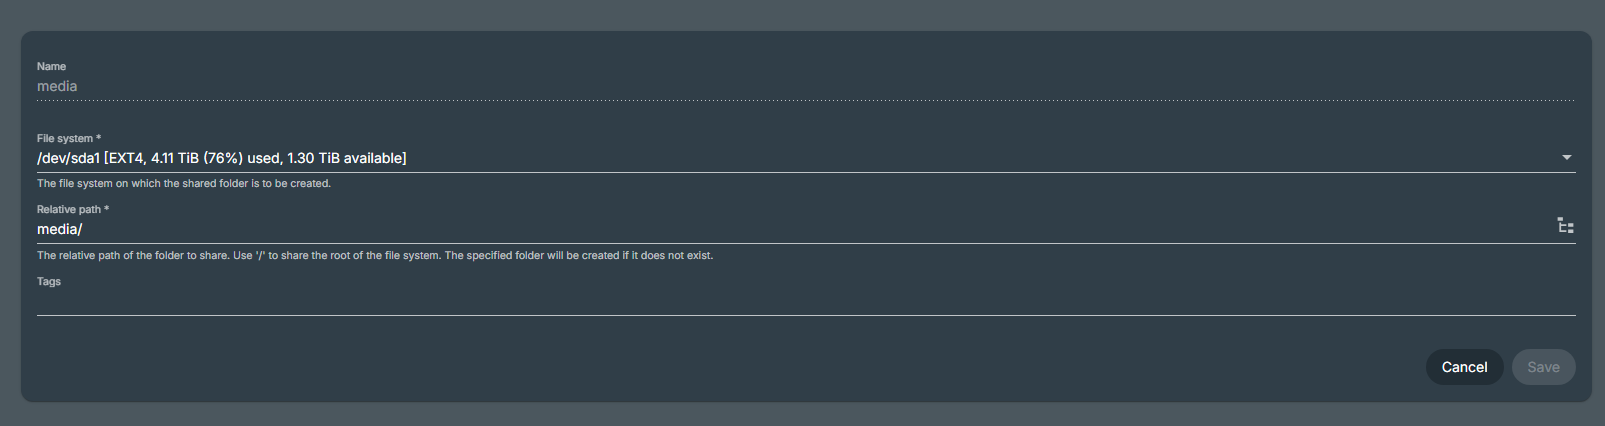
- Storage → Shared Folders → Add - Name:
media, file system: select the USB partition, path:/ - Services → NFS → Shares → Add - Client:
10.0.0.0/24, Extra options:all_squash,anonuid=1000,anongid=1000,async,insecure,no_subtree_check,rw - Click Apply Changes - save and apply the configuration.
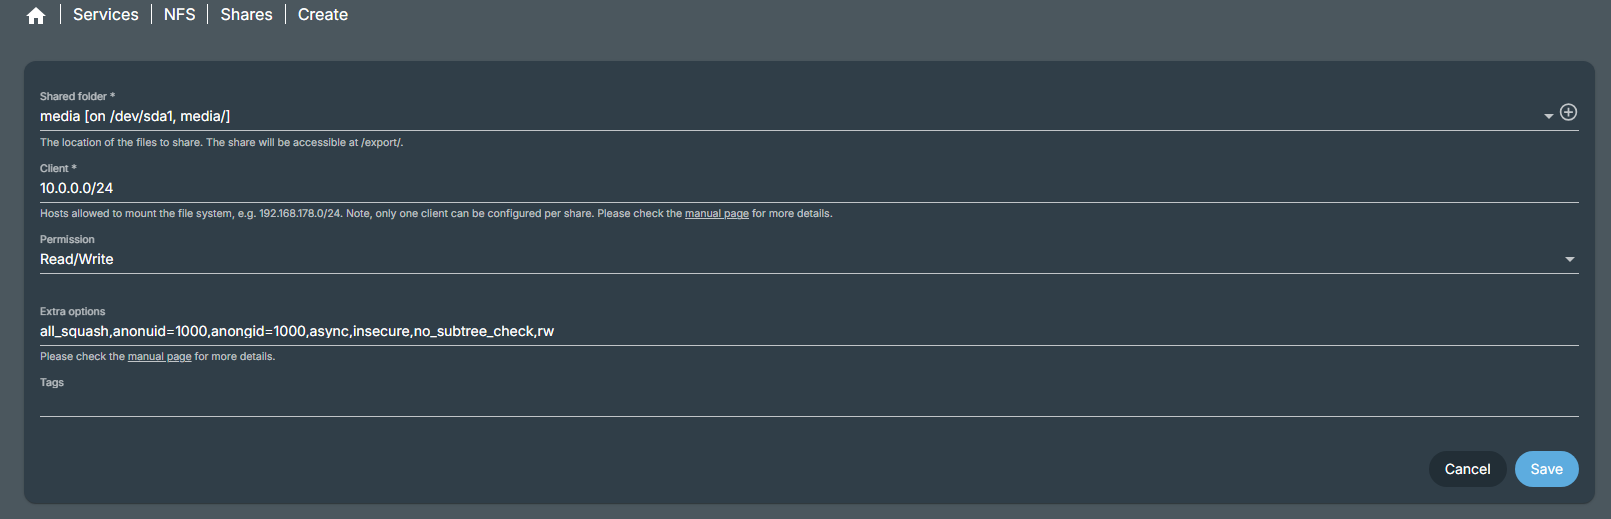
The all_squash,anonuid=1000,anongid=1000 is the critical permission mapping. It tells the NFS server to map all incoming client requests to UID/GID 1000 - matching the client user and Docker container PUID/PGID values (e.g., deploy). Without this, writes from the Docker Host would fail with permission errors.
Verify the export is live:
showmount -e 10.0.0.20
# Should list: /export/media  10.0.0.0/24
Part 3: fstab on the Docker Host
Add the NFS entry to /etc/fstab:
10.0.0.20:/export/media /mnt/media nfs rw,noatime,rsize=1048576,wsize=1048576,tcp,timeo=14,nofail,x-systemd.automount,x-systemd.device-timeout=15s 0 0
Key options:
rsize=1048576,wsize=1048576- 1MB read/write block size for streaming media (not the default 8KB)nofail- won't block boot if the NAS is offlinex-systemd.automount- lazy mount, only connects when something accesses the pathx-systemd.device-timeout=15s- bounds the wait on access
After removing the old systemd unit and running daemon-reload, mount manually:
sudo mount -t nfs 10.0.0.20:/export/media /mnt/media
Verify:
df -h | grep media
ls /mnt/media/data/
touch /mnt/media/.write-test && rm /mnt/media/.write-test && echo "WRITE OK"
Part 4: Bring Containers Back
Since the mount path is identical, no compose edits needed. Just restart the timers:
sudo systemctl start $(systemctl list-unit-files | grep 'gitops-' | grep timer | awk '{print $1}')
The GitOps reconcile loop fires within minutes - each timer runs its reconcile.sh, pulls the latest compose file, and runs docker compose up -d. All 32 containers came back up.
The Result
CONTAINER              STATUS
archivist-es           Up (healthy)
qbittorrent            Up
radarr                 Up
sonarr                 Up
lidarr                 Up
tubearchivist          Up (healthy)
iplayarr               Up
nzbget                 Up
slskd                  Up (healthy)
filebrowser-quantum    Up (healthy)
... (32 total)
- ✅ USB storage drive off the Docker Host, on the NAS
- ✅ All 32 containers running
- ✅ Zero compose file changes
- ✅ Zero app reconfiguration
- ✅ Write permissions working
- ✅ Survived reboot -
x-systemd.automountmounts on first access

What's Next
This migration was Part 1 of making the Docker Host fully stateless. The media is now decoupled.
In Part 2: Decoupling Docker Configs: Moving AppData to NFS Without Breaking SQLite, we tackle decoupling the container configs - moving /home/deploy/docker/files/appdata/config/ to NFS as well.
Once that's done, the VM truly becomes a disposable node: rebuild via Terraform, run Ansible, mount the NAS shares, and everything's back in under 5 minutes.
Don't forget to explore the rest of our website as we build out more content. Stay tuned for more tutorials, tips, and tricks to help you make tech work for you.
If you want to stay up-to-date with regular updates, make sure to subscribe to our free mailing list.