Get Started with Docker - Part 4: Portainer : How To Deploy Containers The Easy Way
If you've been following along so far then you've already managed to get Docker installed on your system and your first Docker container service deployed.
A lot of Docker management can be done through the command line and a lot of people like working with docker compose files and docker run commands in the terminal but this can start to get overly complicated.
I started out by using Portainer which was a great way to get started with lists of community maintained, curated apps to install with a simple point and click web browser based dashboard. Making it easy to try out loads of different containers quickly from one of theses lists or your own without having to use the terminal.
In this guide, we'll spin up one of the most best ways to manage, deploy and mantain your docker containers from an easy to use Web UI.
We'll be
- Looking at What Portainer is
- Going to the project page for Portainer for our build and install instructions
- SSH into the host machine where Docker is installed
- Creating a Docker Volume for Portainer Data
- Spin up and deploy our Portainer Docker Container
- Configure New Portainer Environment
- What Are Stacks
- Set up the Portainer App Store (App Templates)
- Customise and deploy a stack from the Portainer App Store
What's Portainer?
Portainer is a lightweight management toolset that allows you to easily build, manage, and maintain Docker and Kubernetes environments.
Once deployed and connected to your docker network, you will have a running web service that you can access to help see your running Docker containers.
You can click into your running containers to check out the logs, stop, start or change variables to redeploy.
The main attraction though is the list of ready to use Docker Containers that are included by default but can be added to by custom XML files in the Settings.
There are some drawbacks with managing containers you have deployed using Docker Compose but you can always redeploy in Portainer if you want to manage everything from here.
Portainer Project Page
Portainer is available to license for Business Use but we'll be using the Community Edition.
 portainer
SSH into Docker Install
In this guide we're using a Raspberry Pi running Ubuntu Server Minimal. If you need help with setting that up with docker on your Raspberry Pi then check out the guide below

Alternatively, you can run the same commands on WSL using Docker Desktop on a Windows machine if you prefer with the guide below
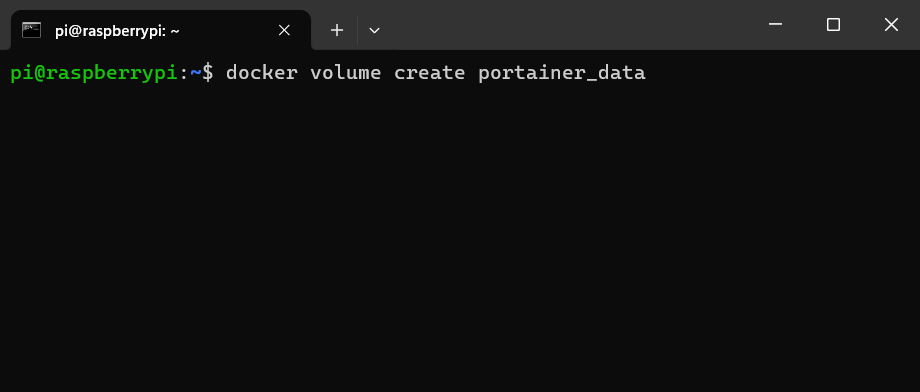
Let's go ahead and Create a Docker Volume for Portainer.
Create a Docker Volume for Portainer
A Docker Volume let's containers store things like settings, databases and config files persistently on the host machine independent of the containers lifecycle.
This let's Portainer keep those settings even if the container is destroyed and recreated e.g. if a new Portainer image has been released or the host machine is rebooted.
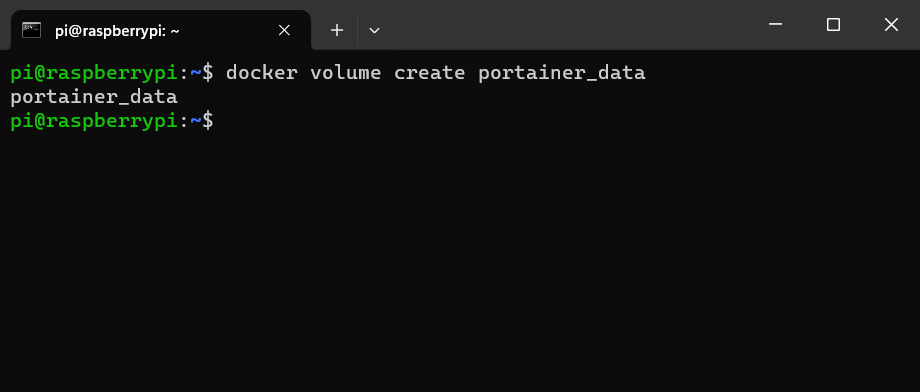
To create a Docker Volume for Portainer we can use the Docker Volume command
docker volume create portainer_data
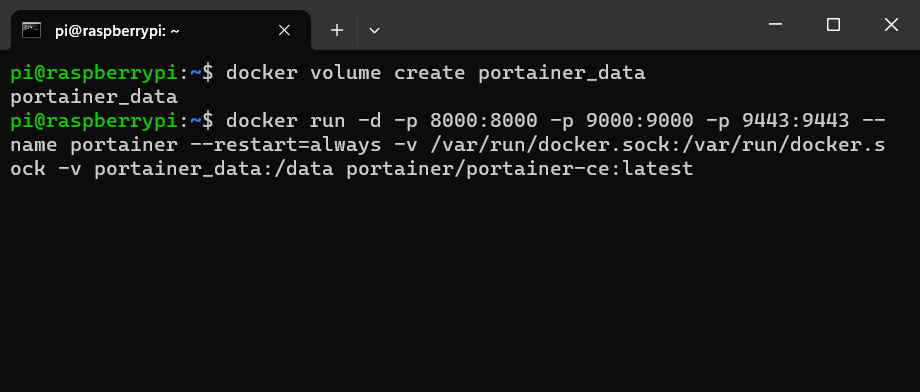
Then we can deploy Portainer using the below Docker run command, referencing the "portainer_data" Docker Volume we've just created
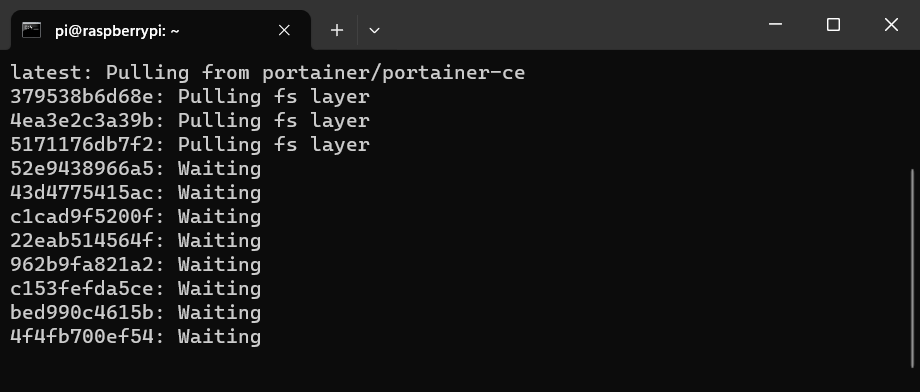
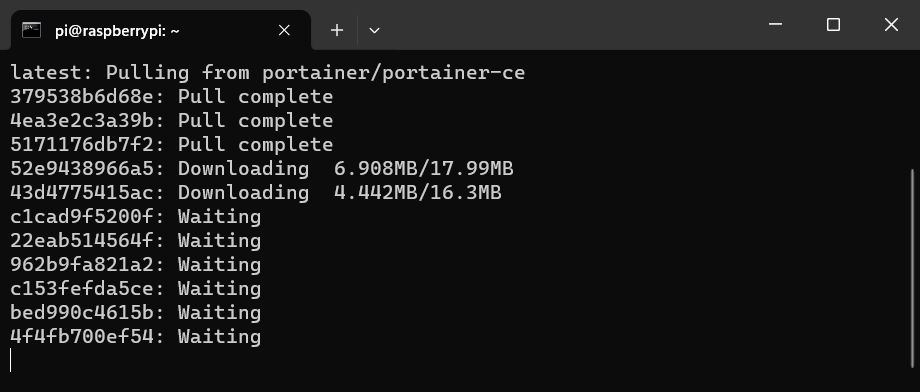
docker run -d -p 8000:8000 -p 9000:9000 -p 9443:9443 --name portainer --restart=always -v /var/run/docker.sock:/var/run/docker.sock -v portainer_data:/data portainer/portainer-ce:latest
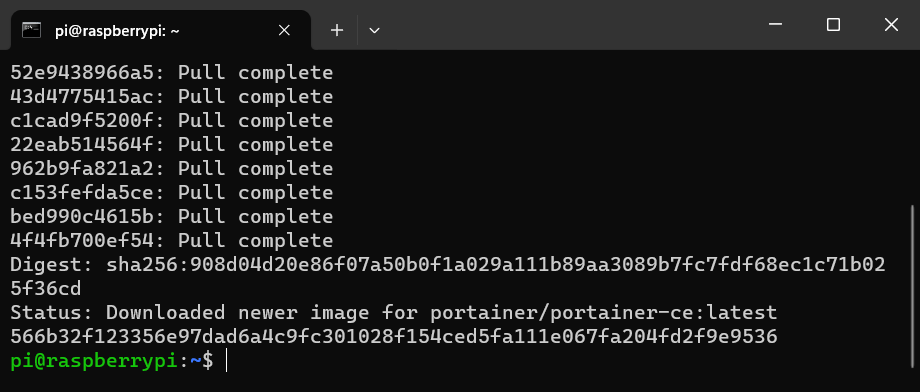
Open a browser and connect to the IP address of your Docker installation and port 9000
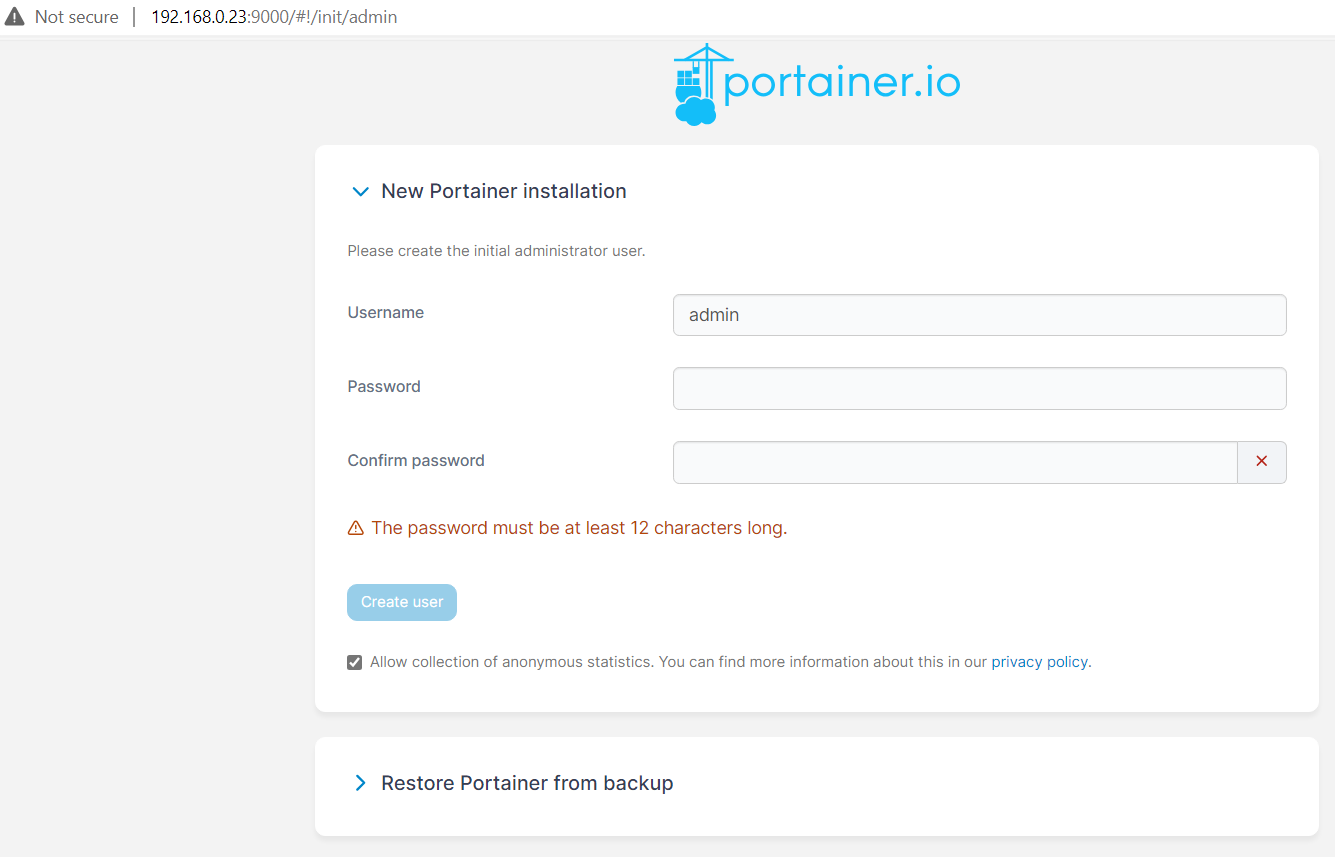
The admin username will already be filled in for you so go ahead and set up a password this account and make sure you make a note of this too somewhere safe.

You can untick the Allow collection of anonymous statistics if you don't want to send anything to Portainer
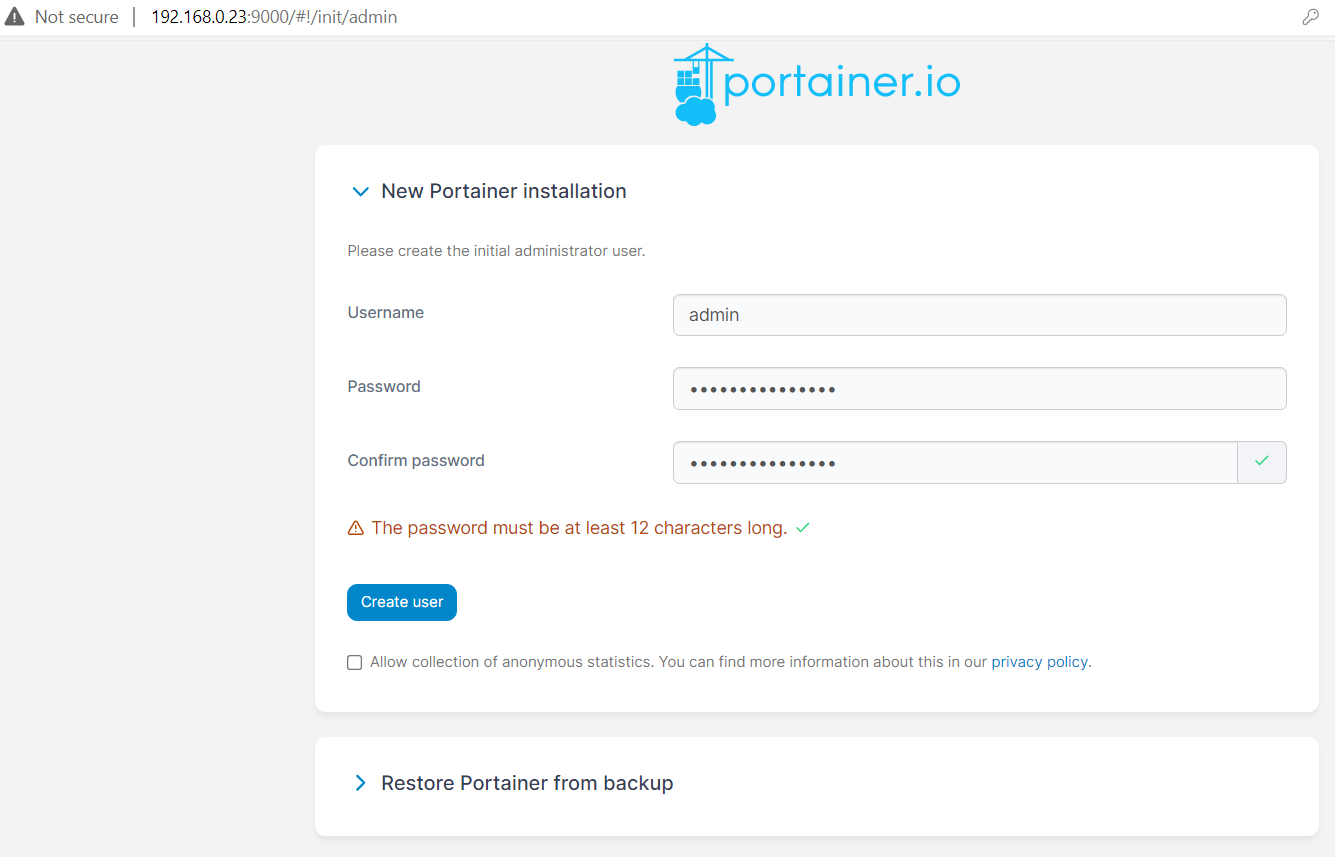
Click Create user
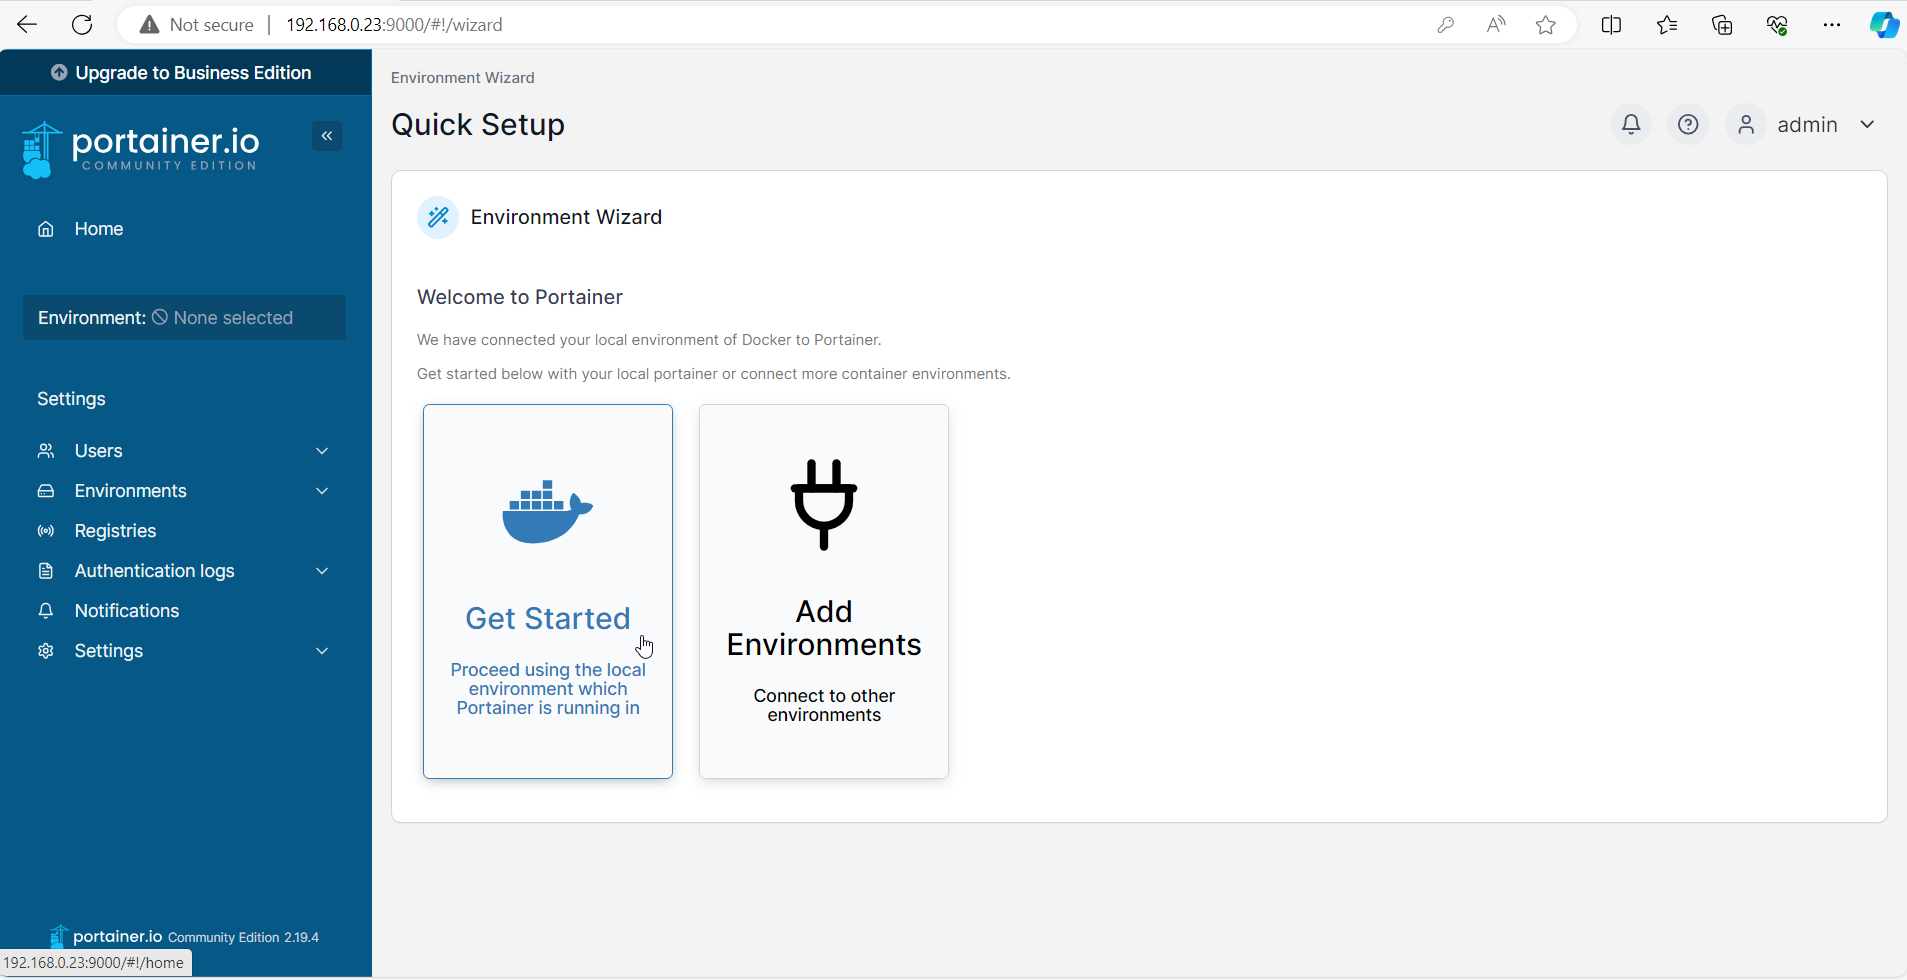
This will bring you to the Portainer Quick Setup Wizard
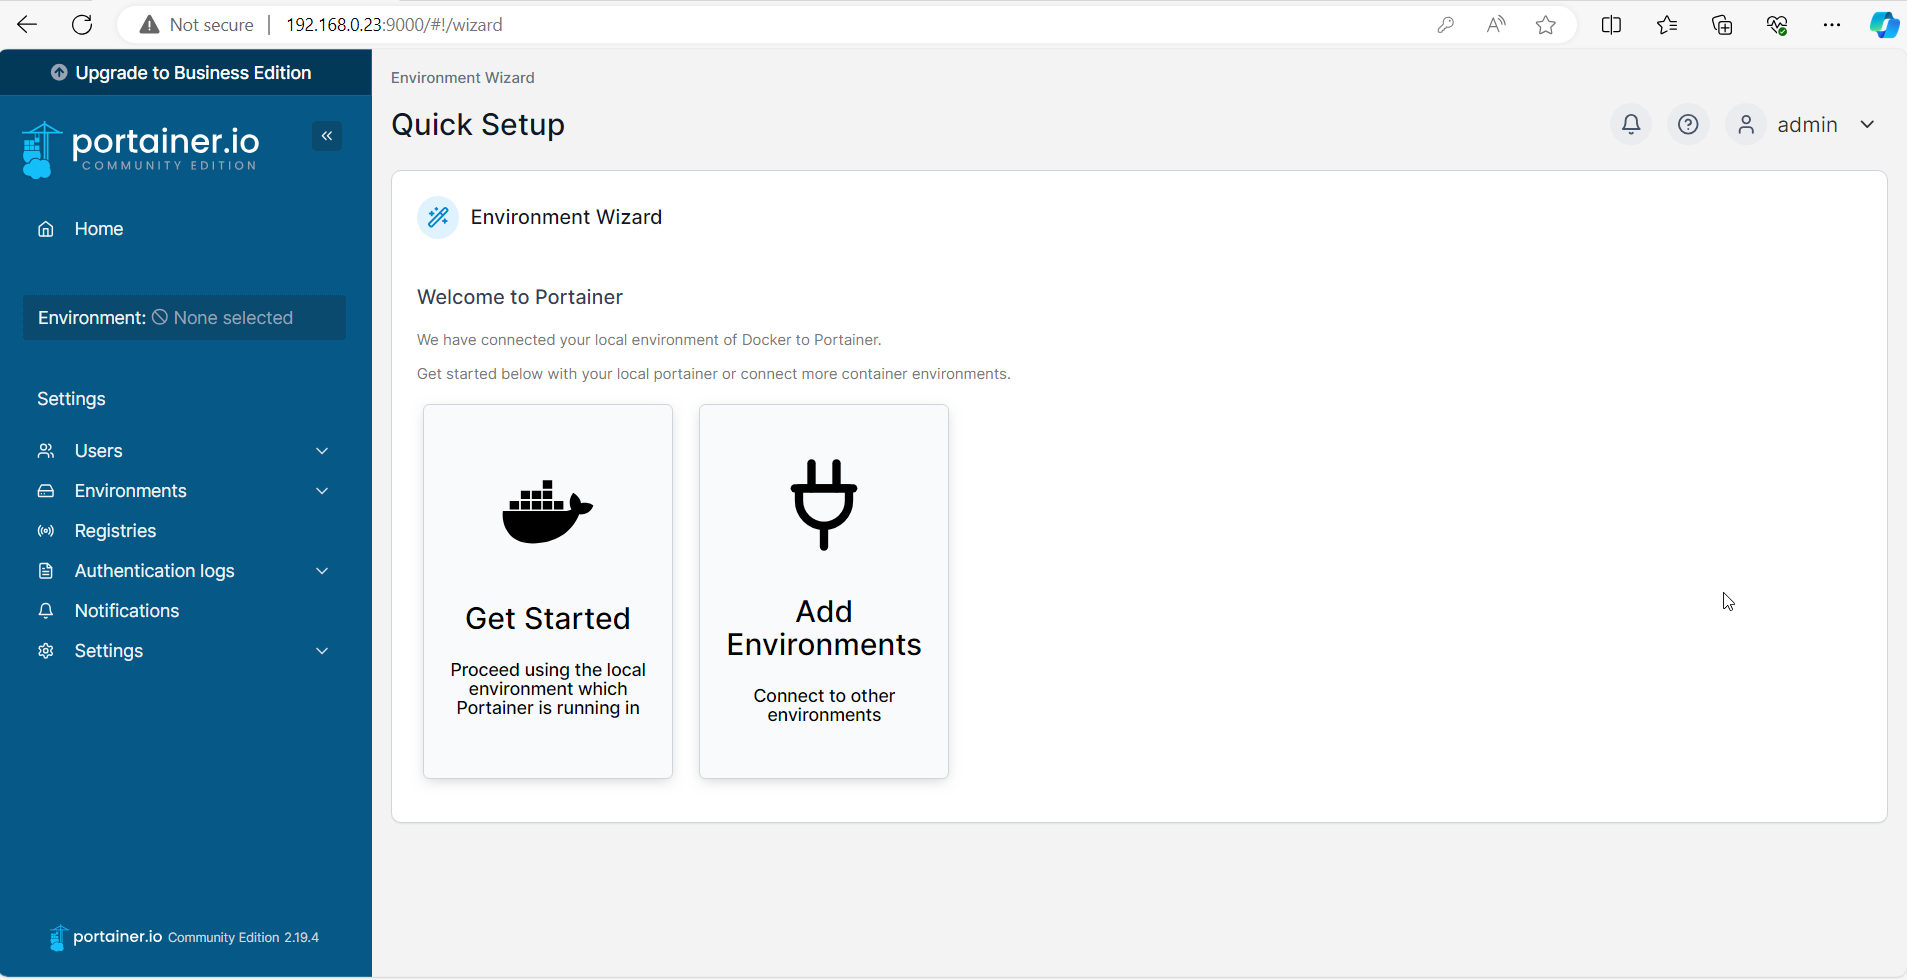
Click Get Started to proceed using the local environment Portainer is running in.
Click local to explore our local Docker environment.
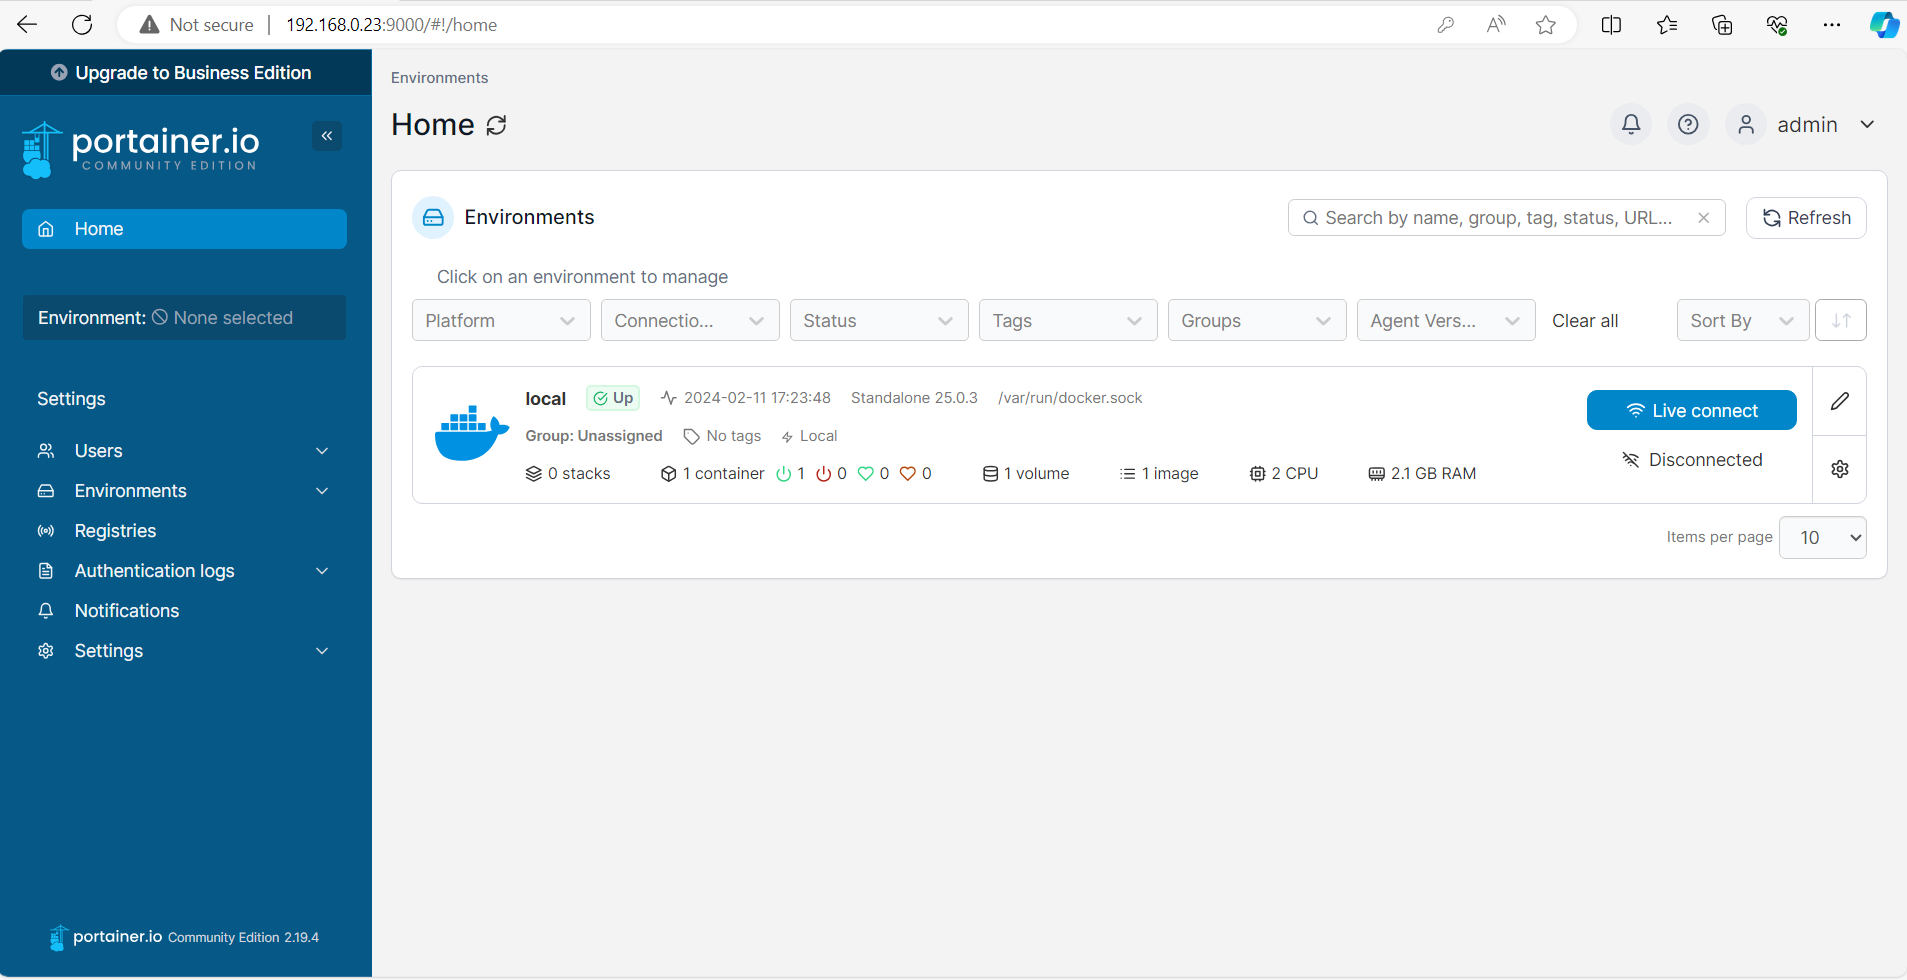
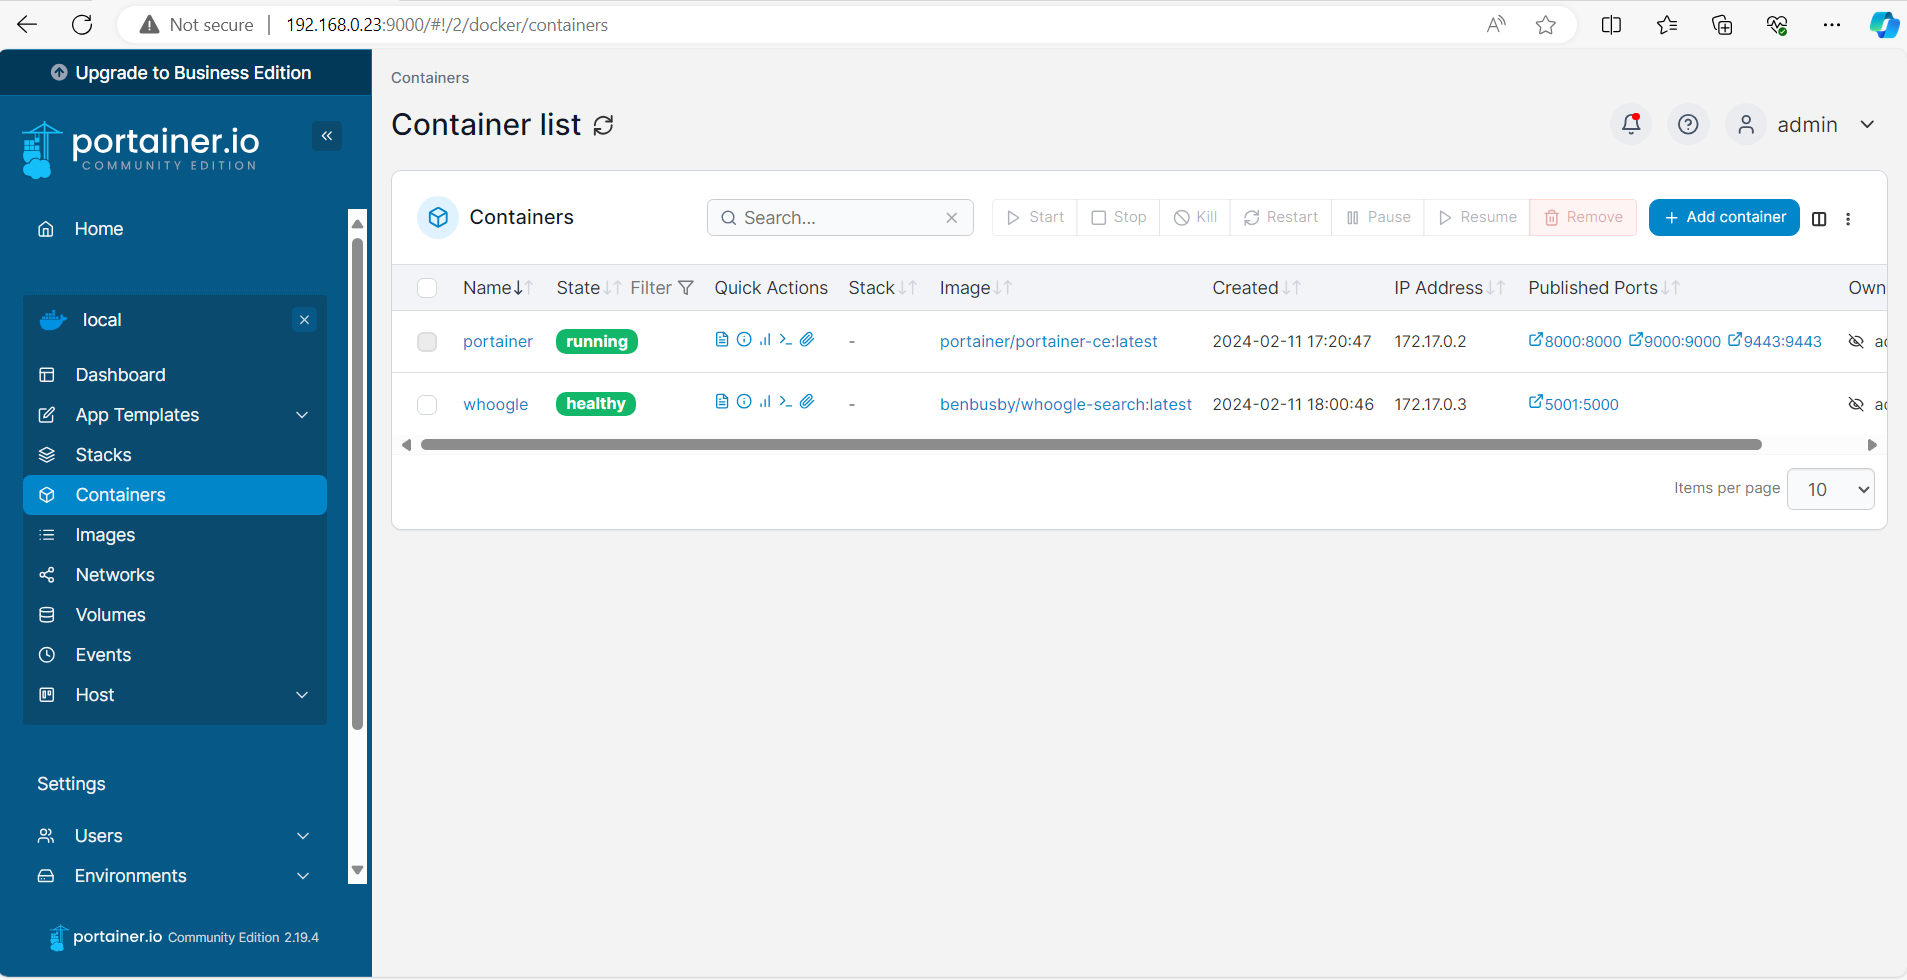
This will bring us to the Portainer Dashboard for our currently running containers, images, volumes, networks and stacks running in Docker.
The current running container, image and volume is Portainer itself.
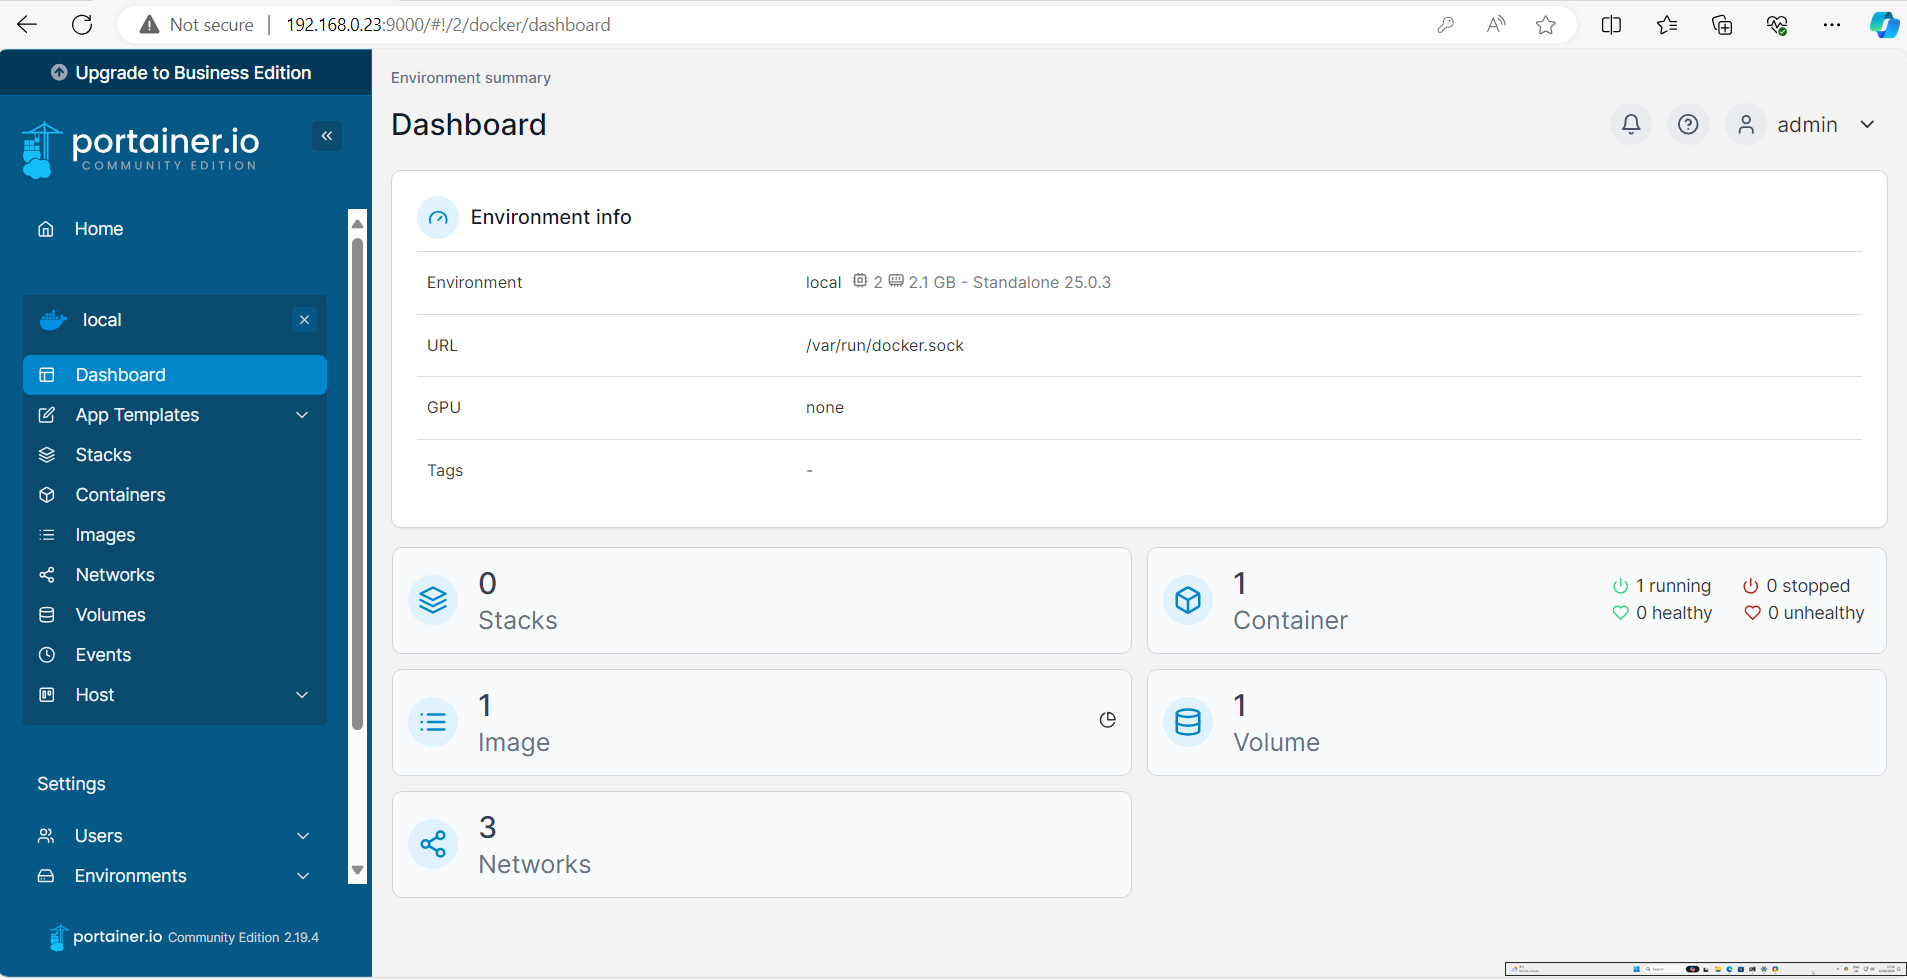
We're now ready to start using Portainer and stacks.
What Are Stacks
Portainer deploys Docker Networks, Containers and Services using a similar set up to Docker Compose YML files using Stacks.
These digital recipe files contain everything needed to start a service like OrganizrV2, a Dashboard for all your self-hosted services or Plex, a self hosted Netflix style Media Server for all your home media.
You can then configure the stack to use the settings that you want and even deploy different versions using the same stack by changing a few variables e.g. the config folder and IP address.
We'll focus more on the manual stack setup in another blog article soon, as in this guide we're going to use a more automated way of doing this.
To try this out we're going to install a privacy-focused version of Google called Whoogle on your server using a custom Portainer App Template List.
Add a custom Portainer App Template List
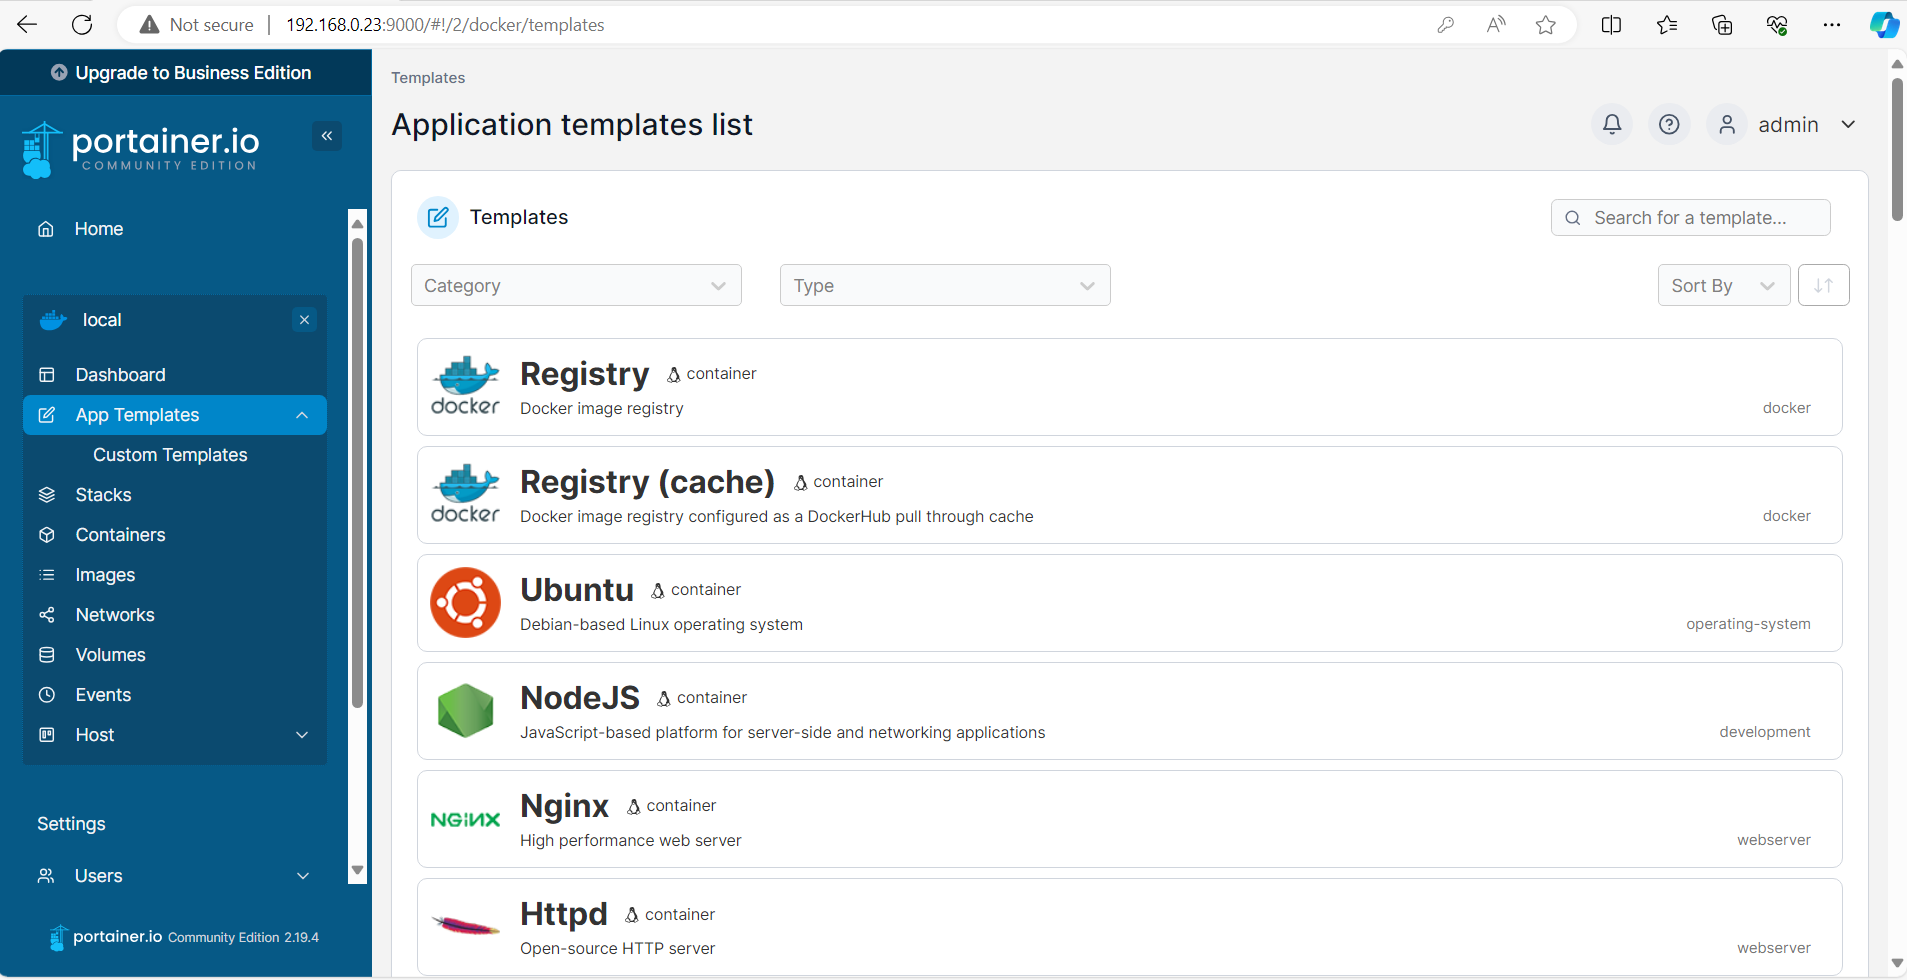
The most powerful feature in Portainer is the large list of curated images that can be added to make trying out new services or applications and then removing them a breeze.
The default list already contains some services to get started.
We're going to add a new custom list that includes a lot more than the inbuilt list from the Github Portainer Templates by Qballjos
QballjosFrom the Dashboard menu on the left we're going to scroll down to the Settings
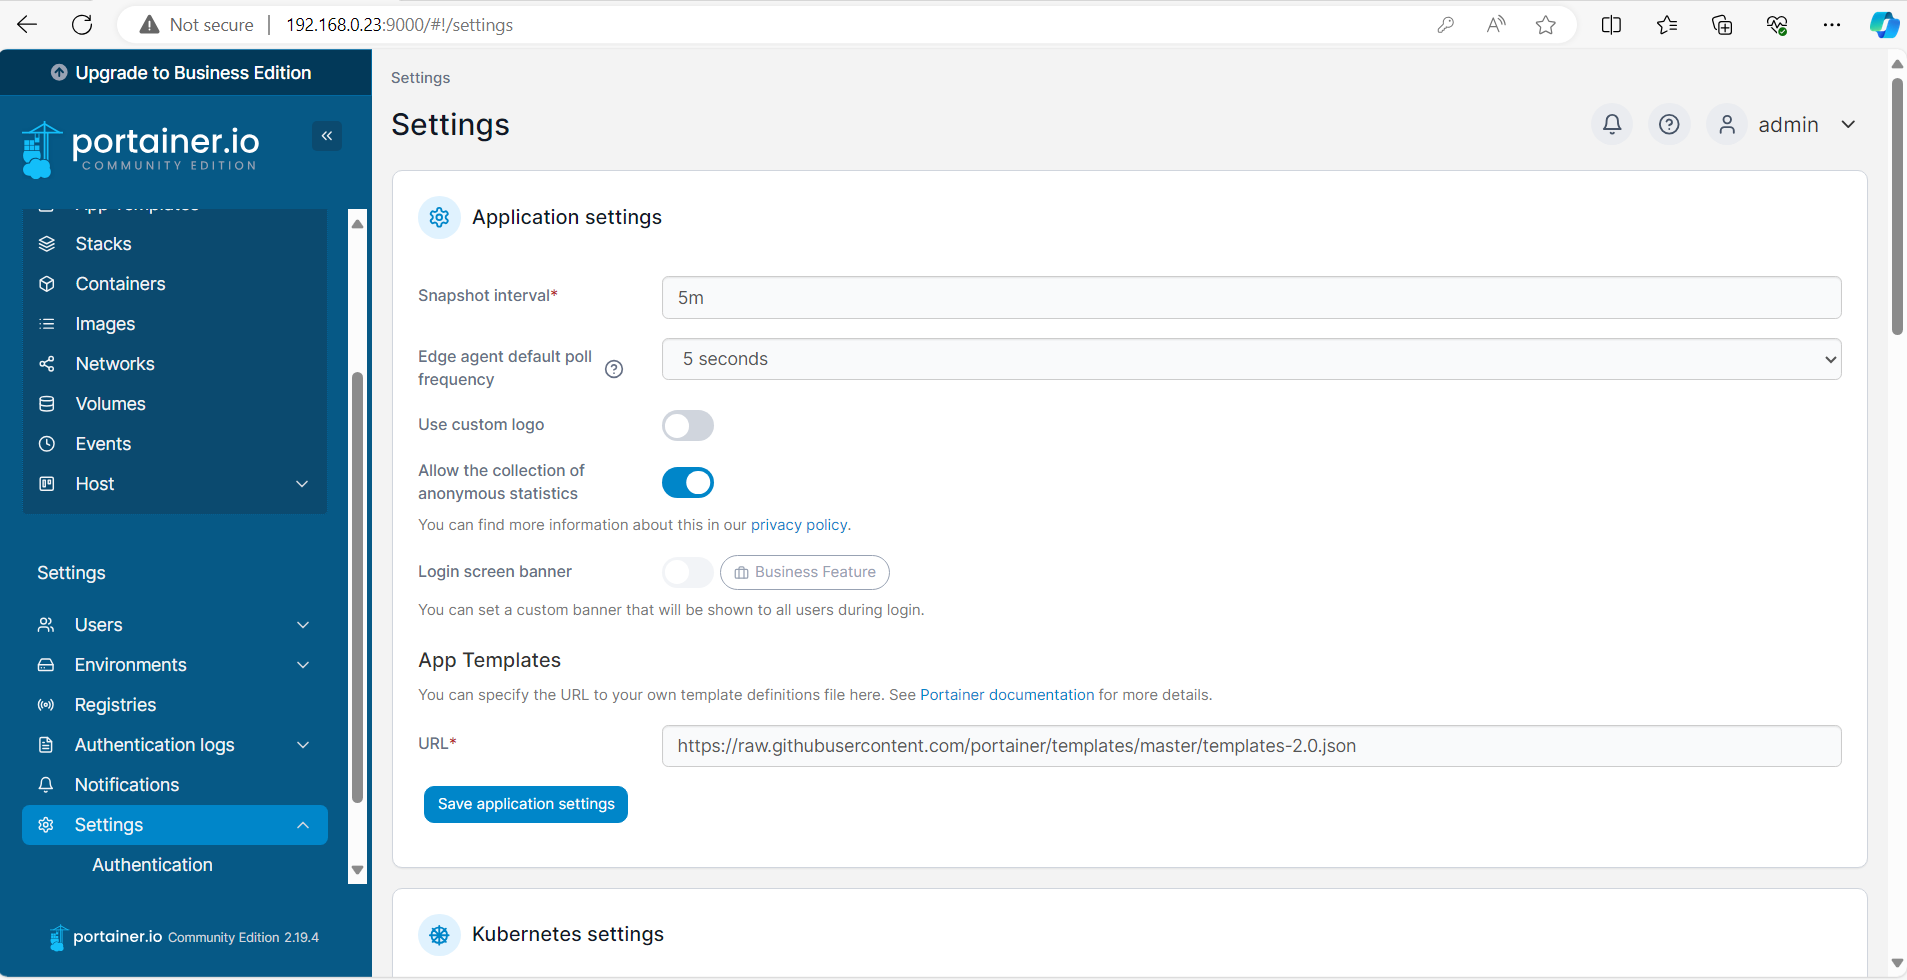
There is a JSON file already filled in here with the current default list of stacks from Portainer
Paste the below line in there
https://raw.githubusercontent.com/Qballjos/portainer_templates/master/Template/template.json

Press Save to Apply the settings to your App Templates

We've now got a combined and curated list of the most popular and useful self hosted services and applications to choose from, right inside Portainer.
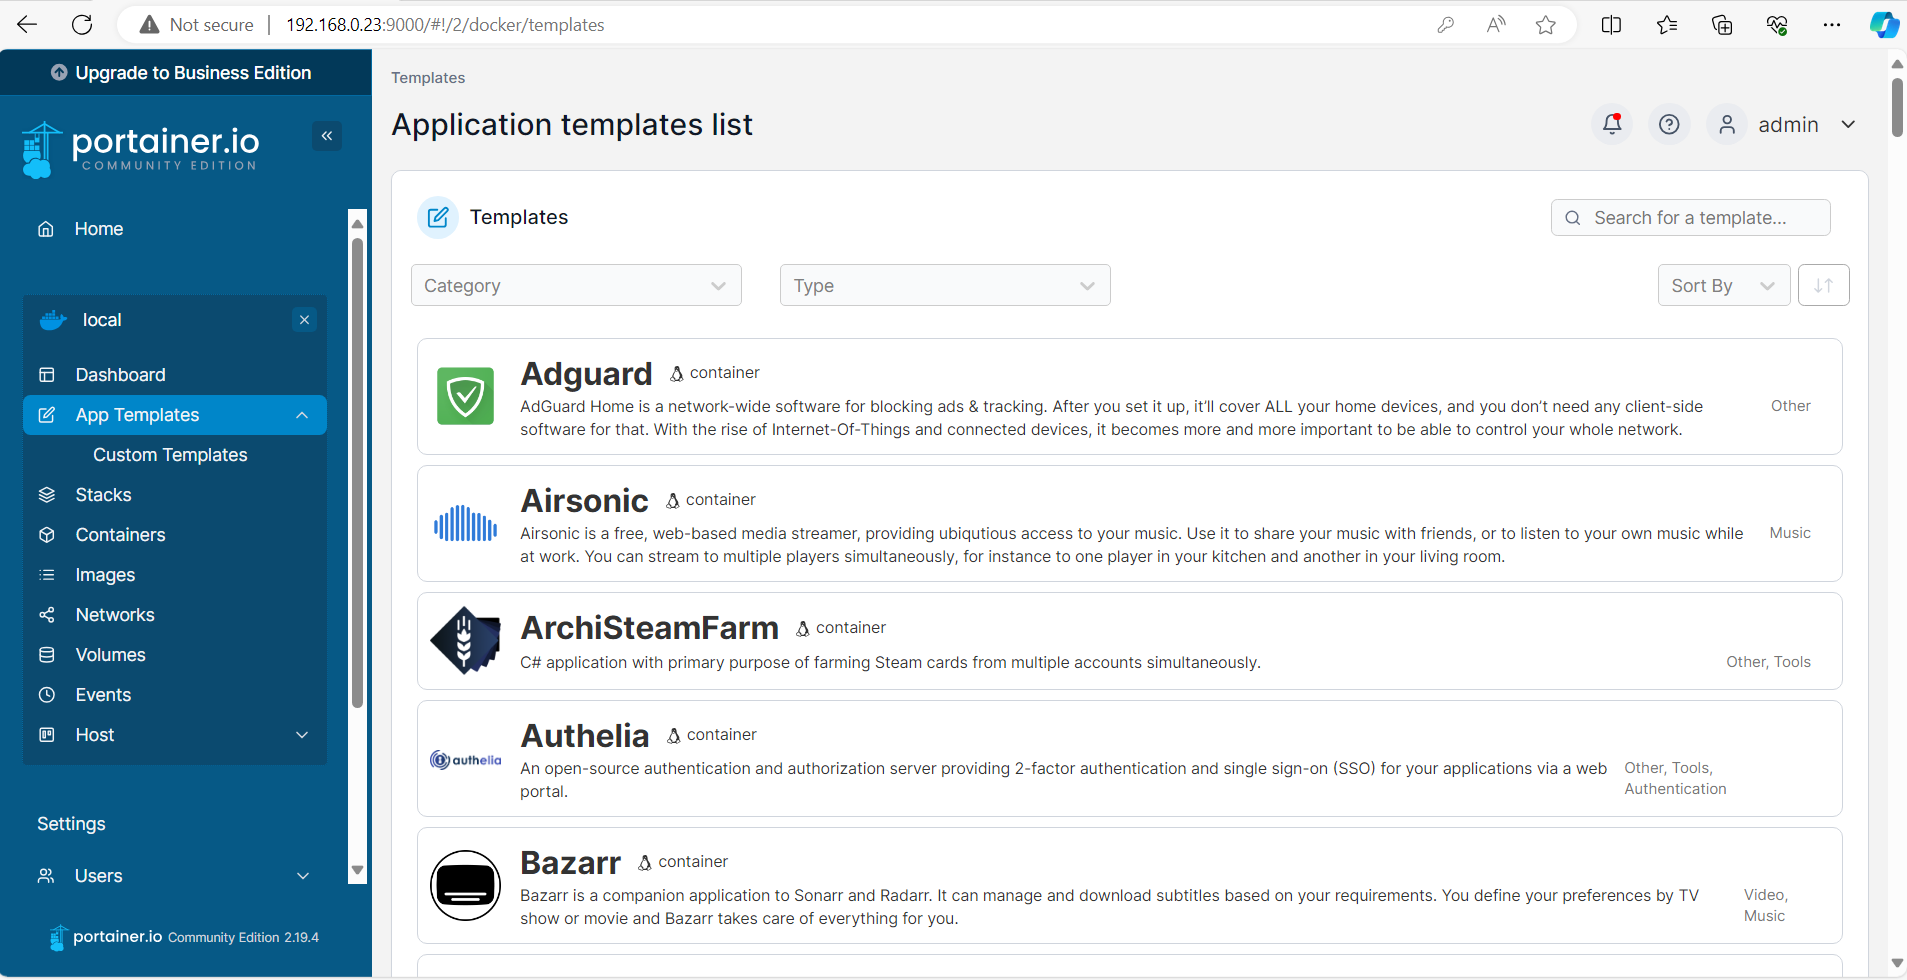
Think of it as a free Portainer App Store to search for and start up services in a few clicks.
Customise and deploy a stack from App Templates
One of the reason's many people choose to self-host is to be able to stop giving their digital data and online habits to online services like Google and Meta.
We're going to self host our own search engine using Google but without having to give up our digital privacy using Whoogle
 benbusby
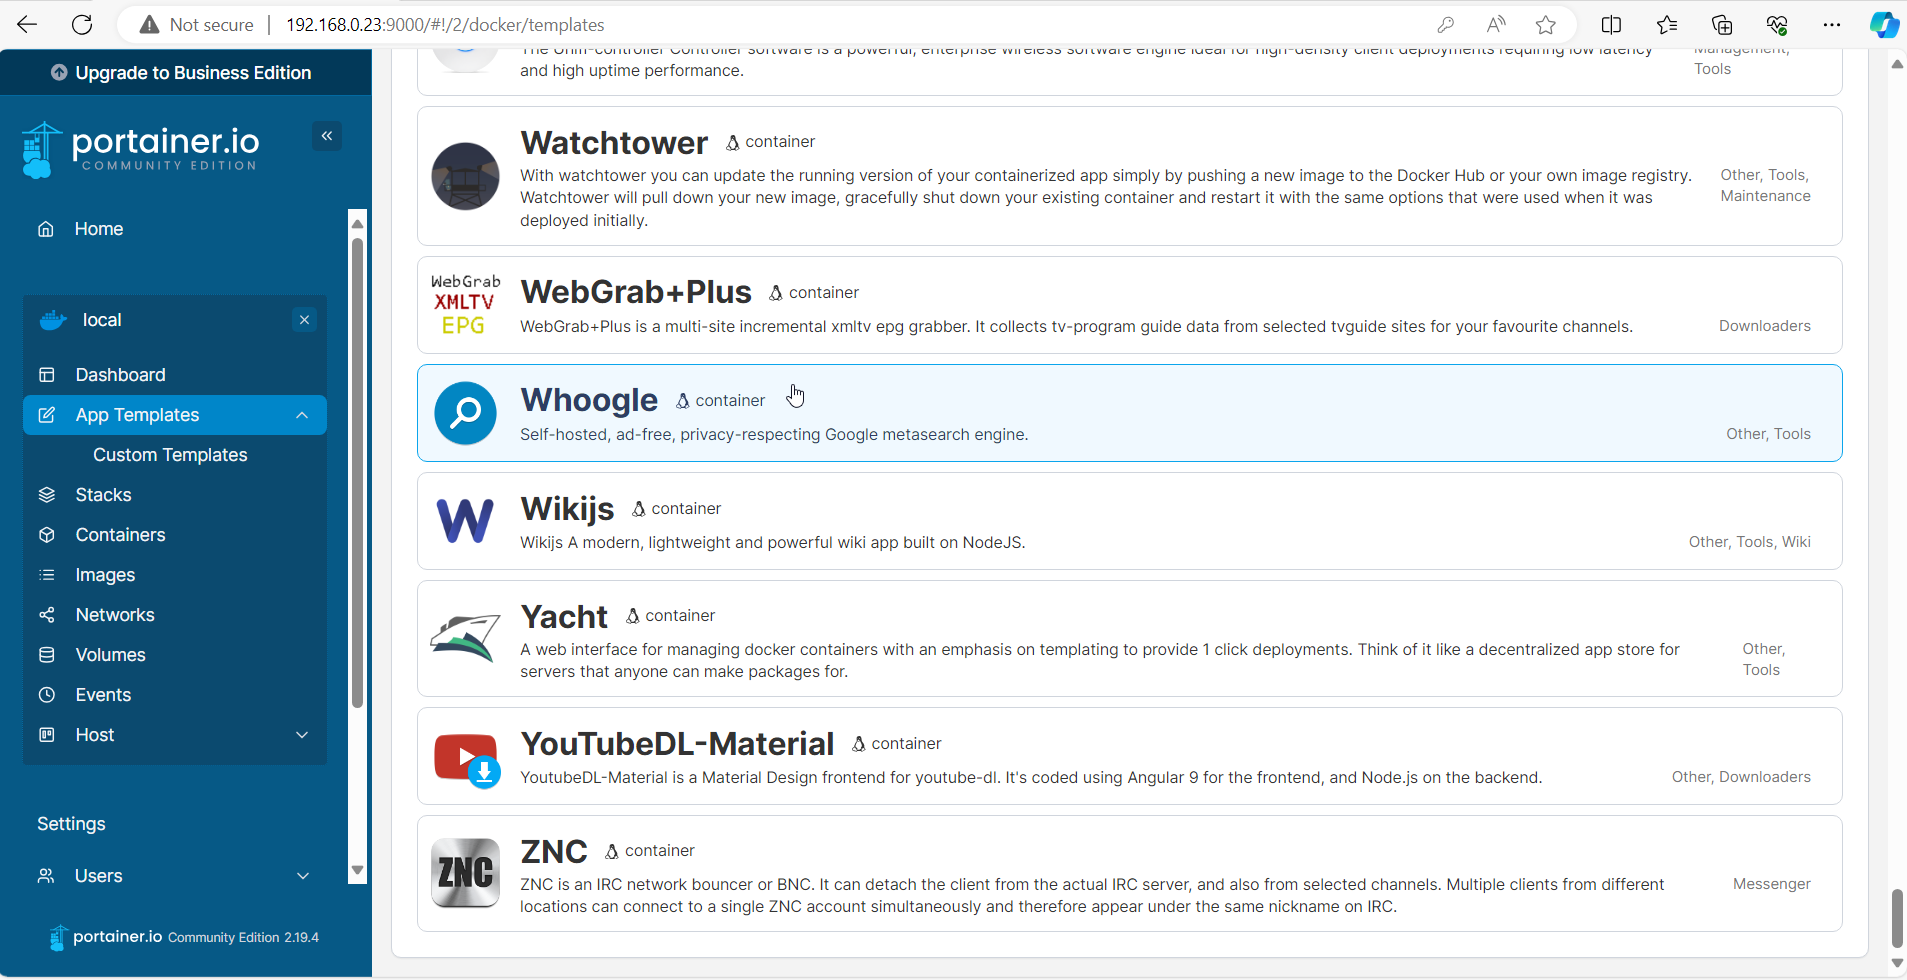
Click App Templates if you're not already there and scroll down or search for Whoogle in the list.
Click Whoogle
This will bring you to the App Template setup with the default name whoogle
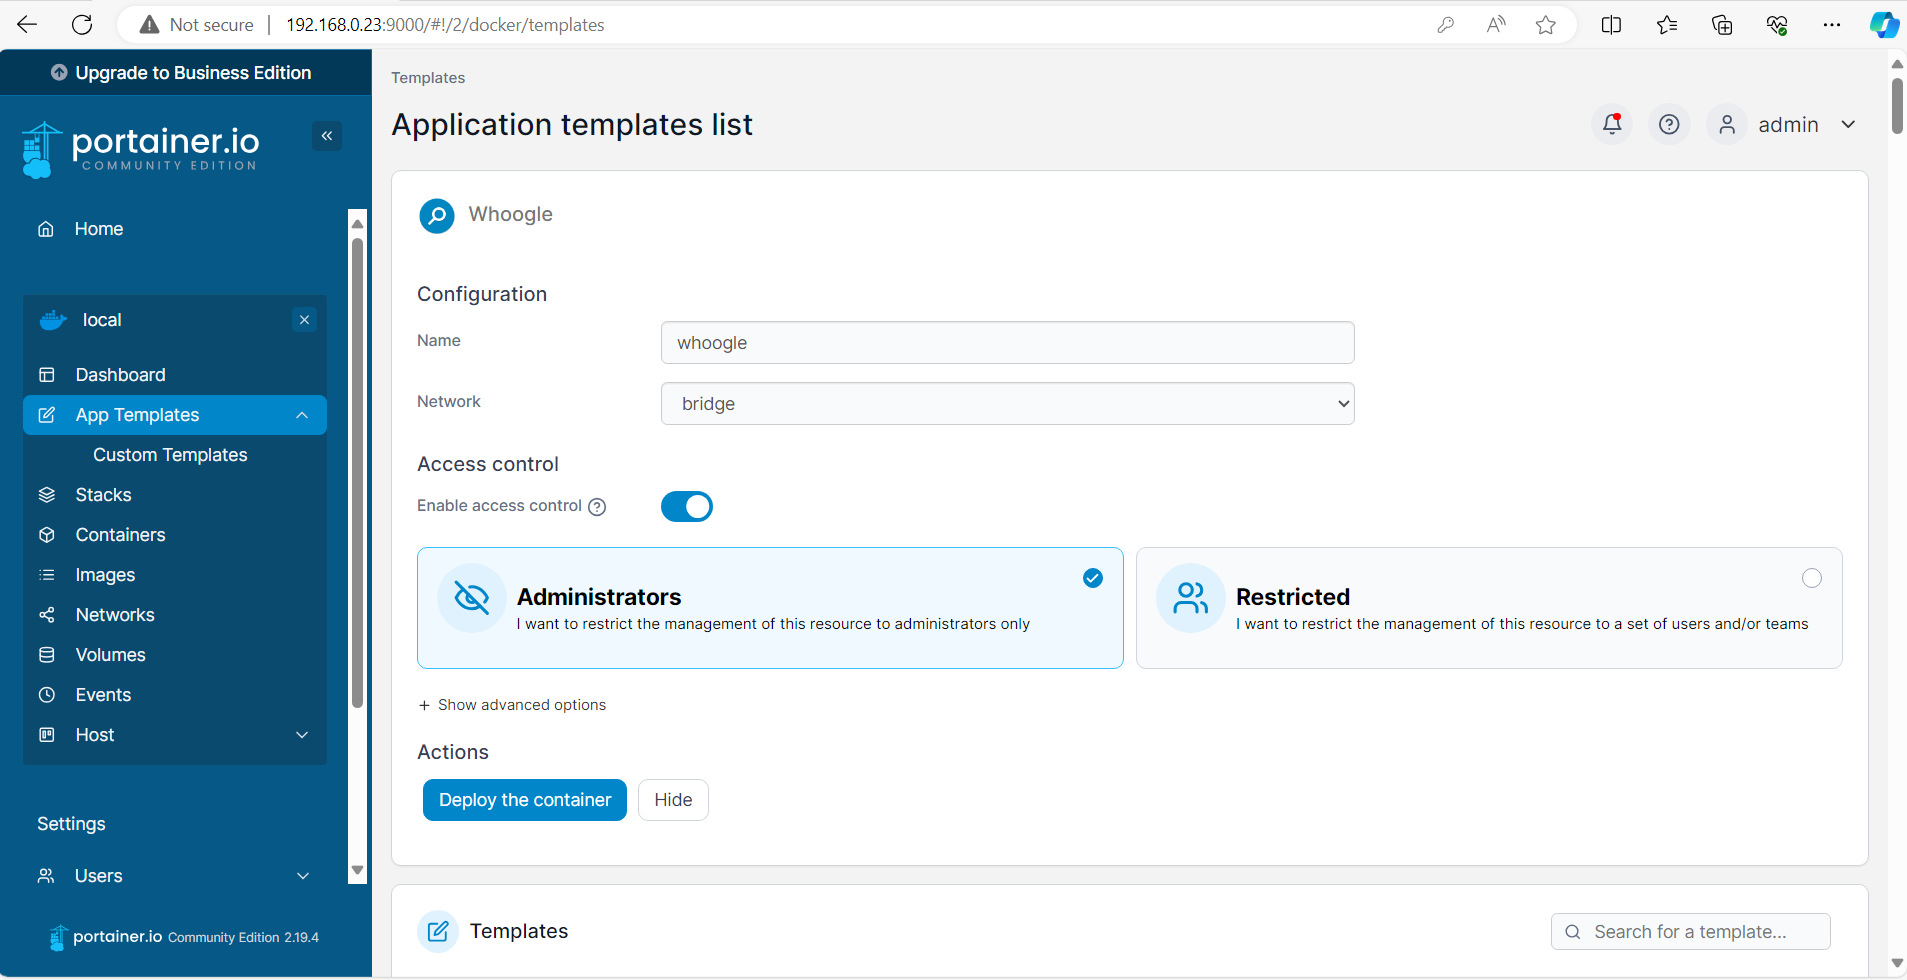
It will also have the network set to bridge as default which we'll leave for now
Scroll down and click the Plus sign to the left of Advanced Options
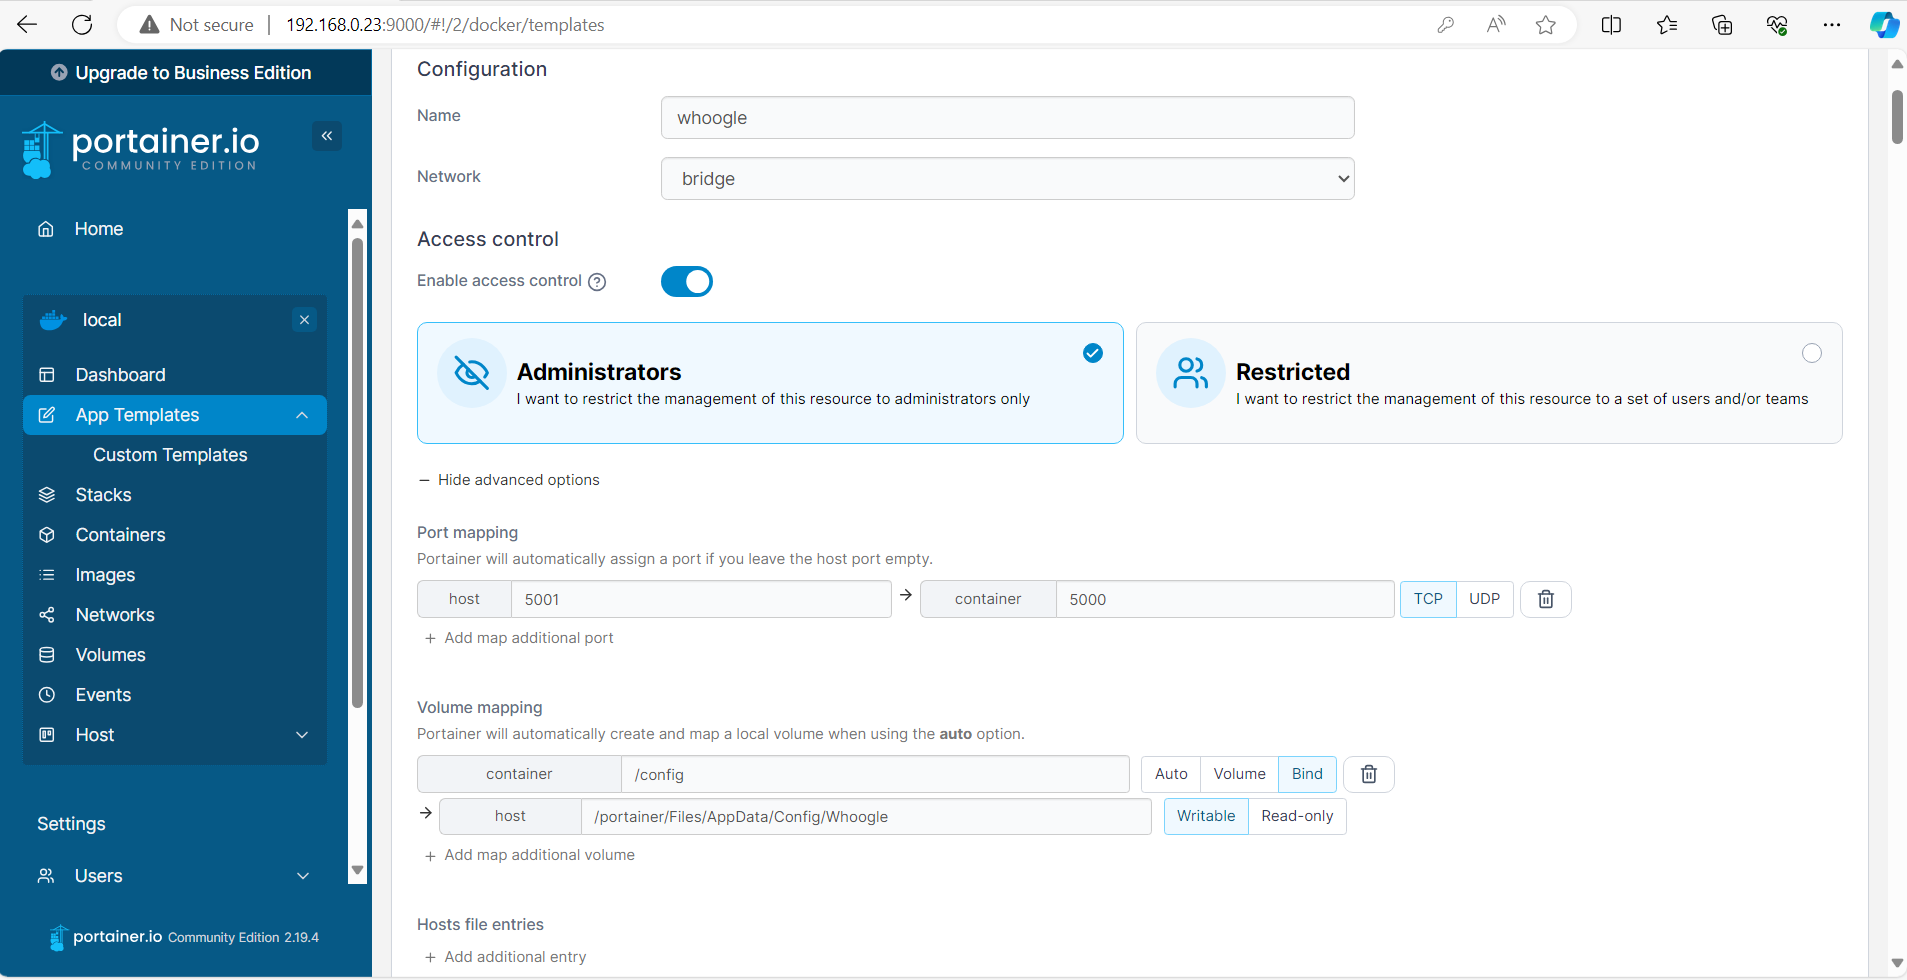
For our Port mapping, we'll leave the default host port we connect to as 5001 and container port of 5000
For this tutorial, we're going to use the auto function for Volume mapping instead of the bind function to create a local volume on the host automatically
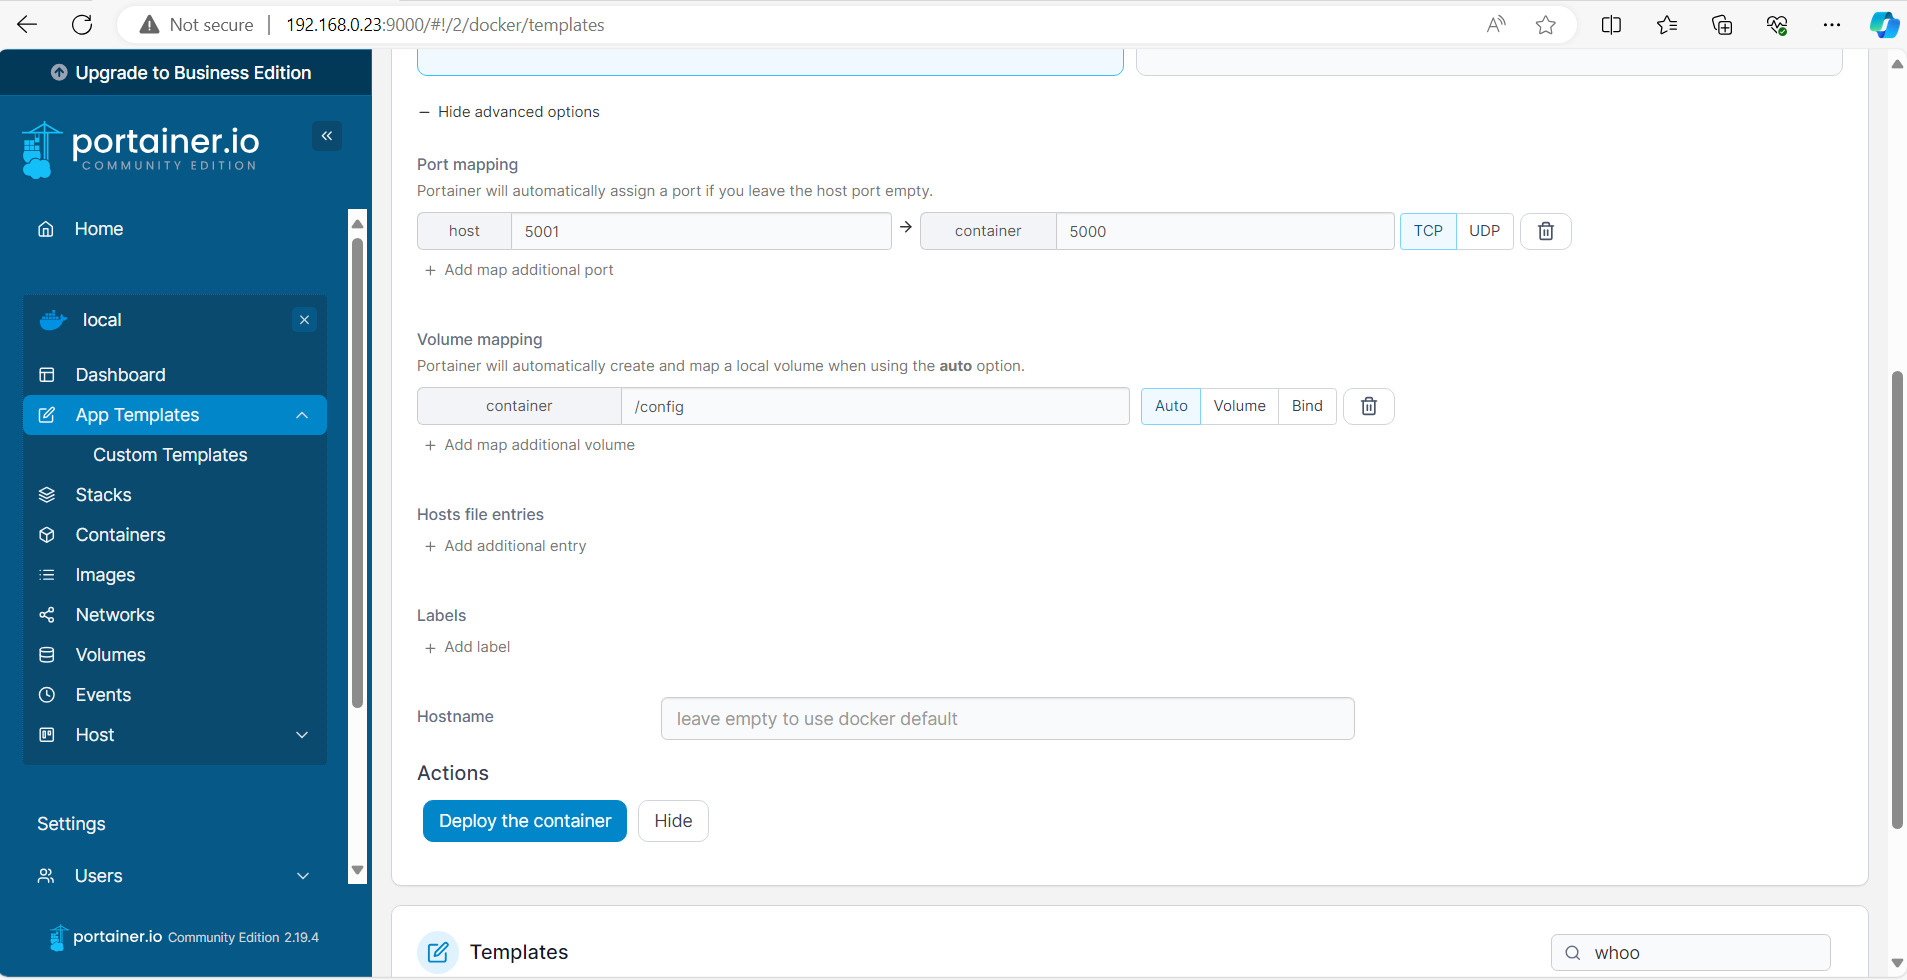
Scroll down to Actions and click Deploy the container to go ahead and start up our service
You'll be brought back to the Containers Page with your new service getting ready to start.
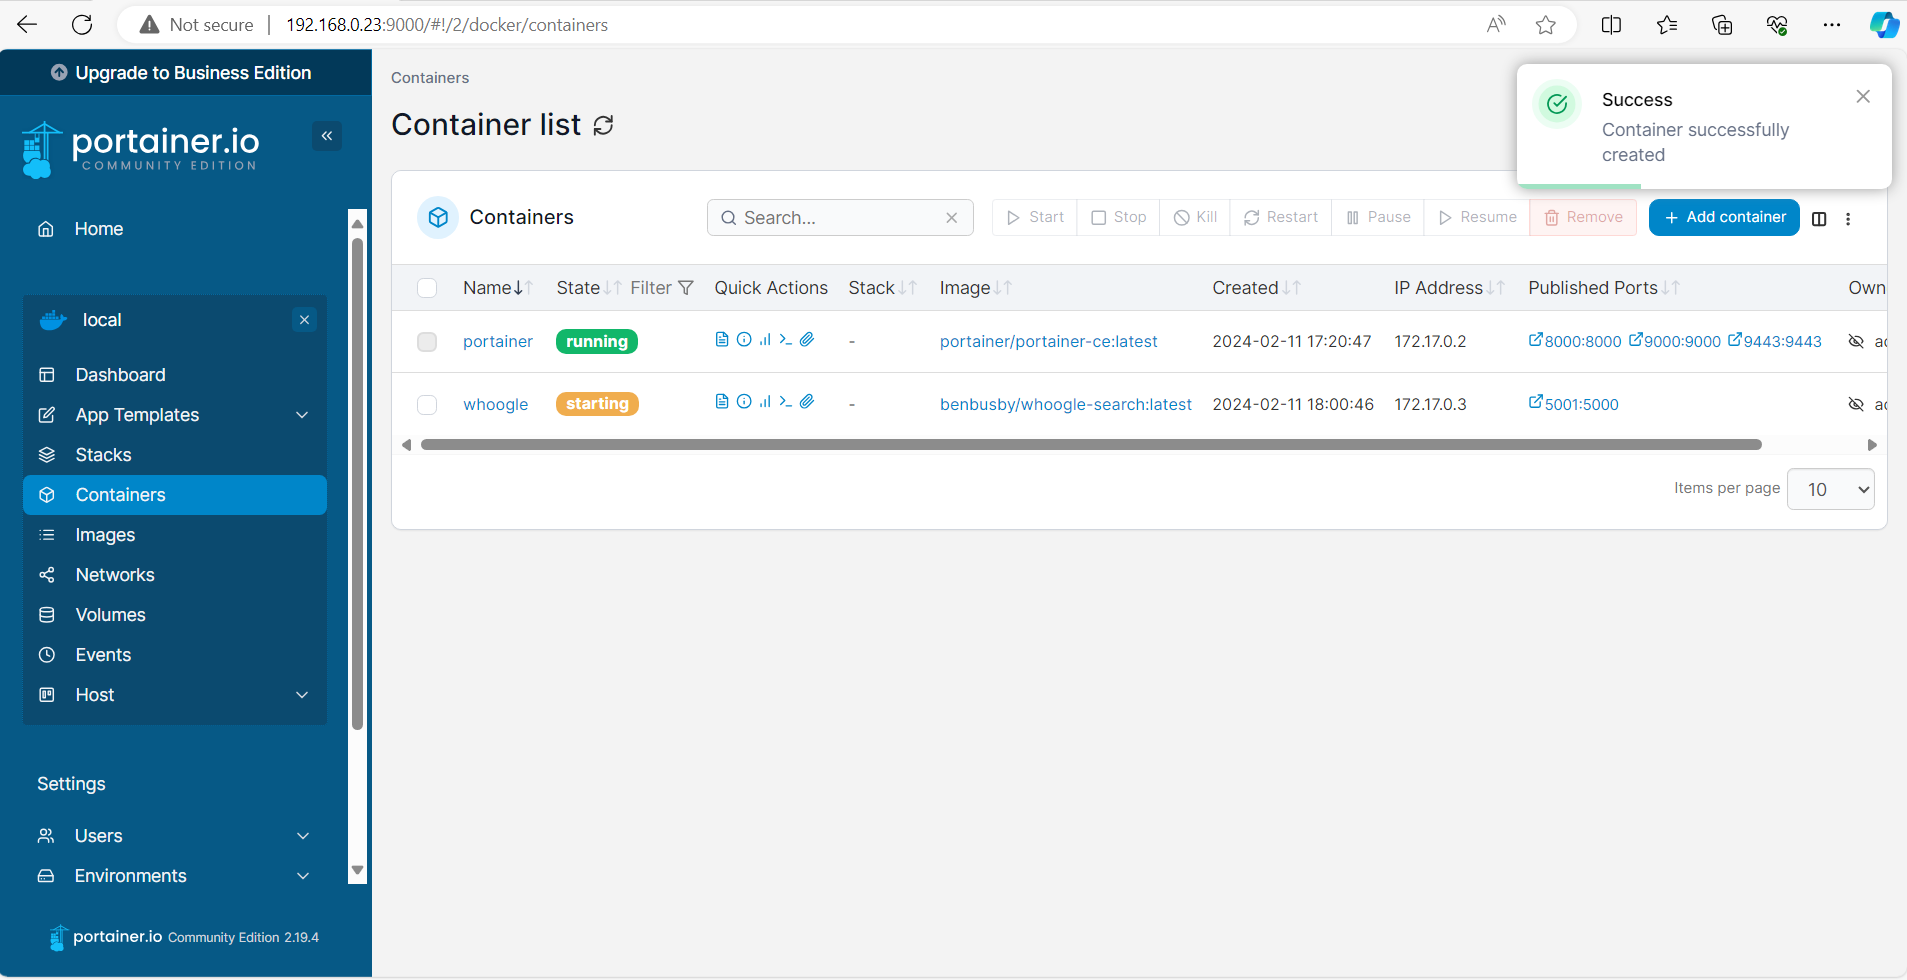
Refresh the Page and you should see the State should turn green and show as running or in our case healthy
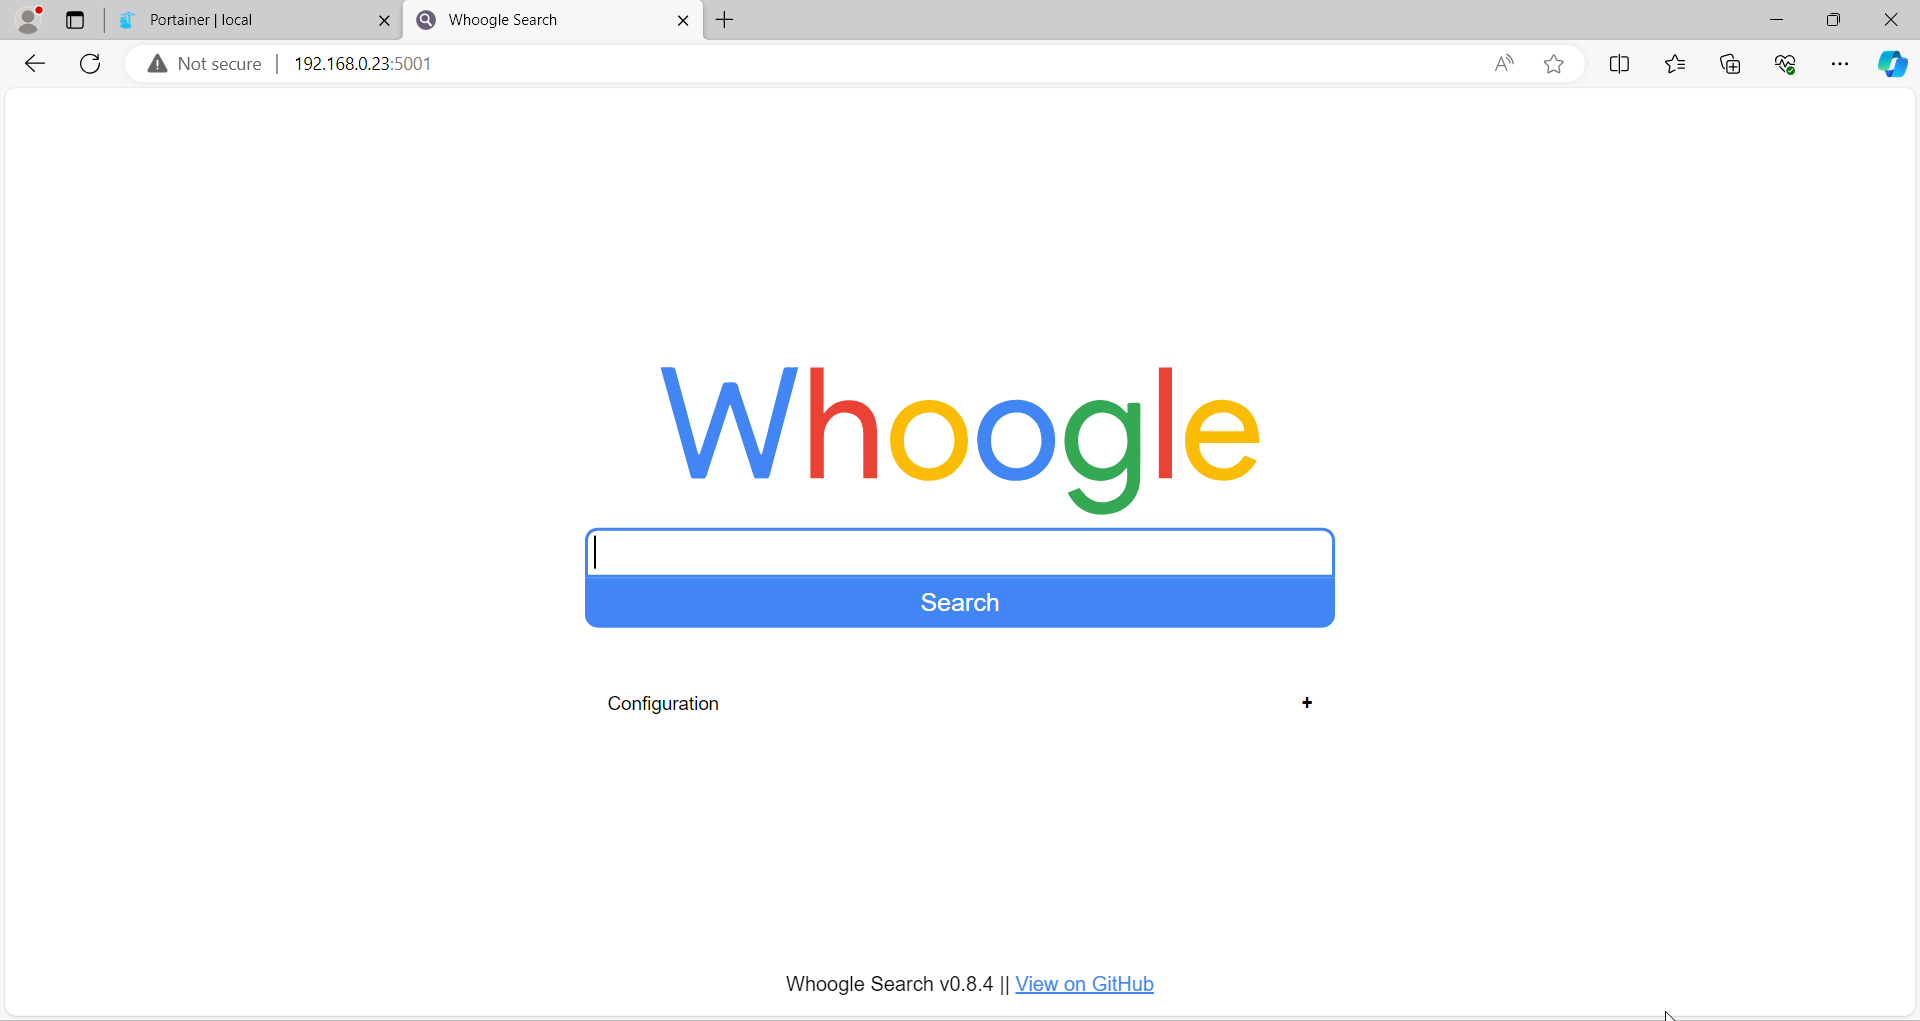
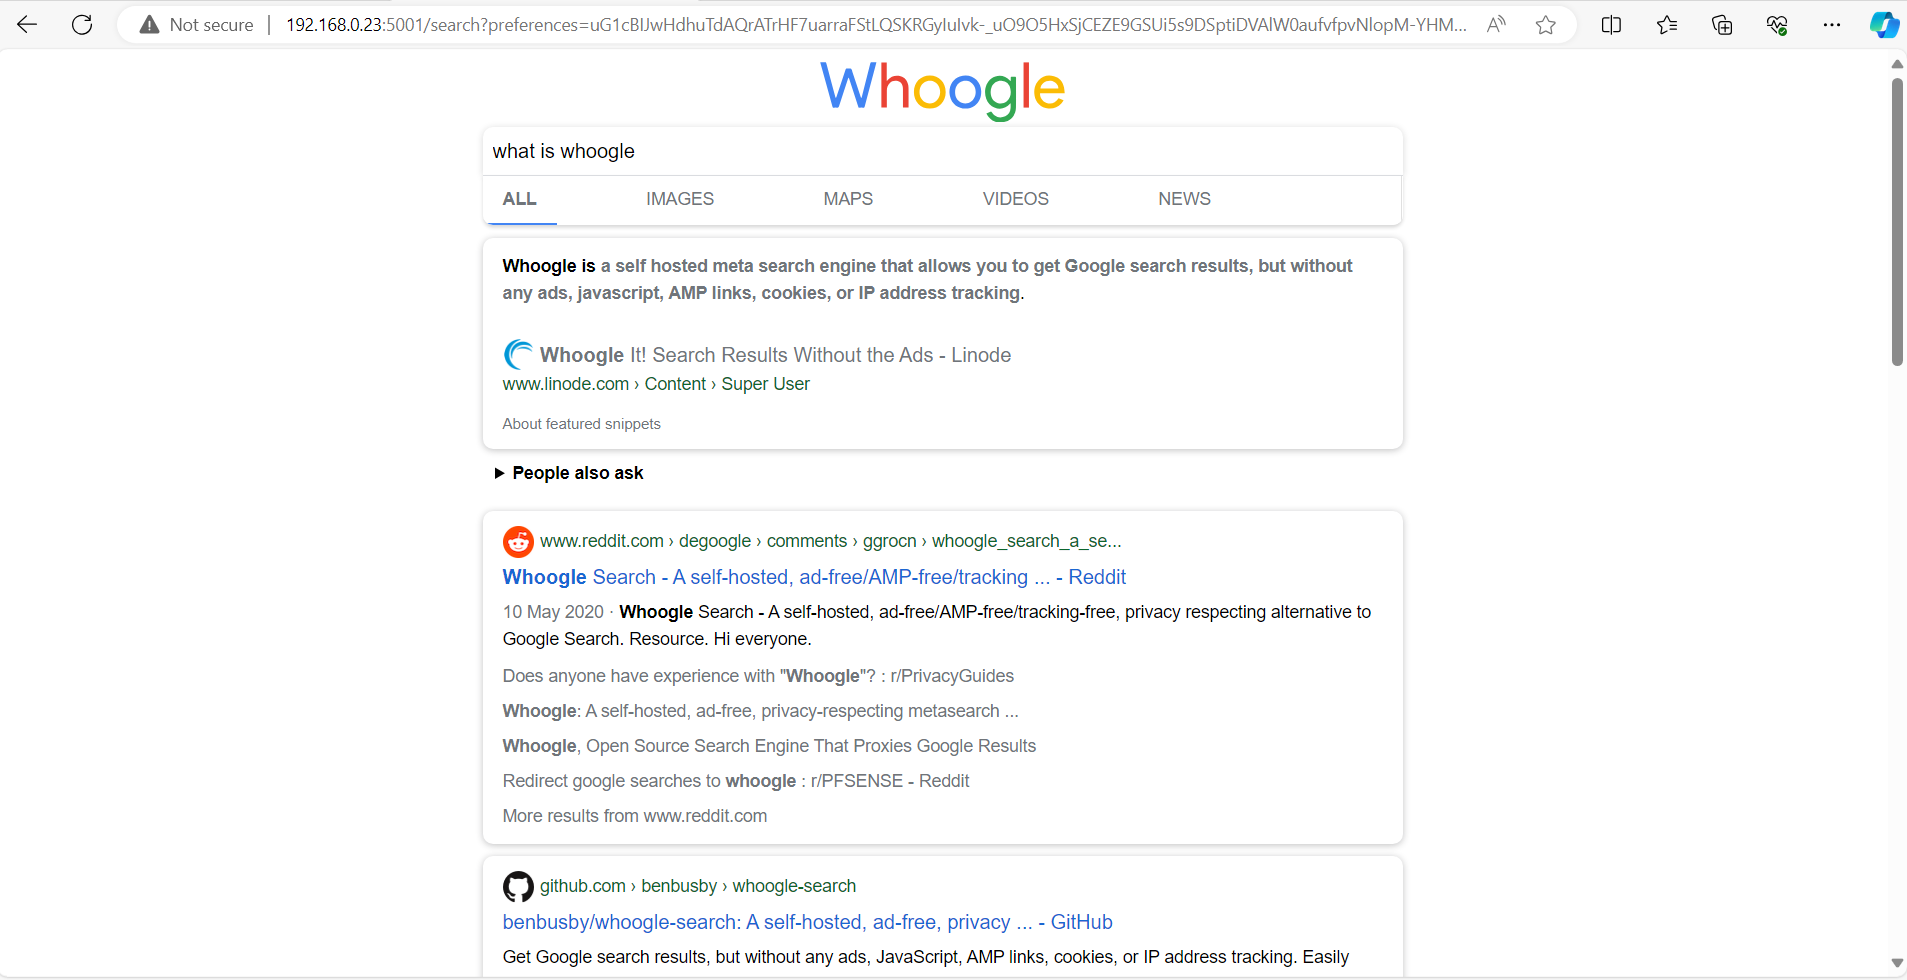
Open a new tab in your browser and go to your Server IP address and port 5001
For our example it's the below
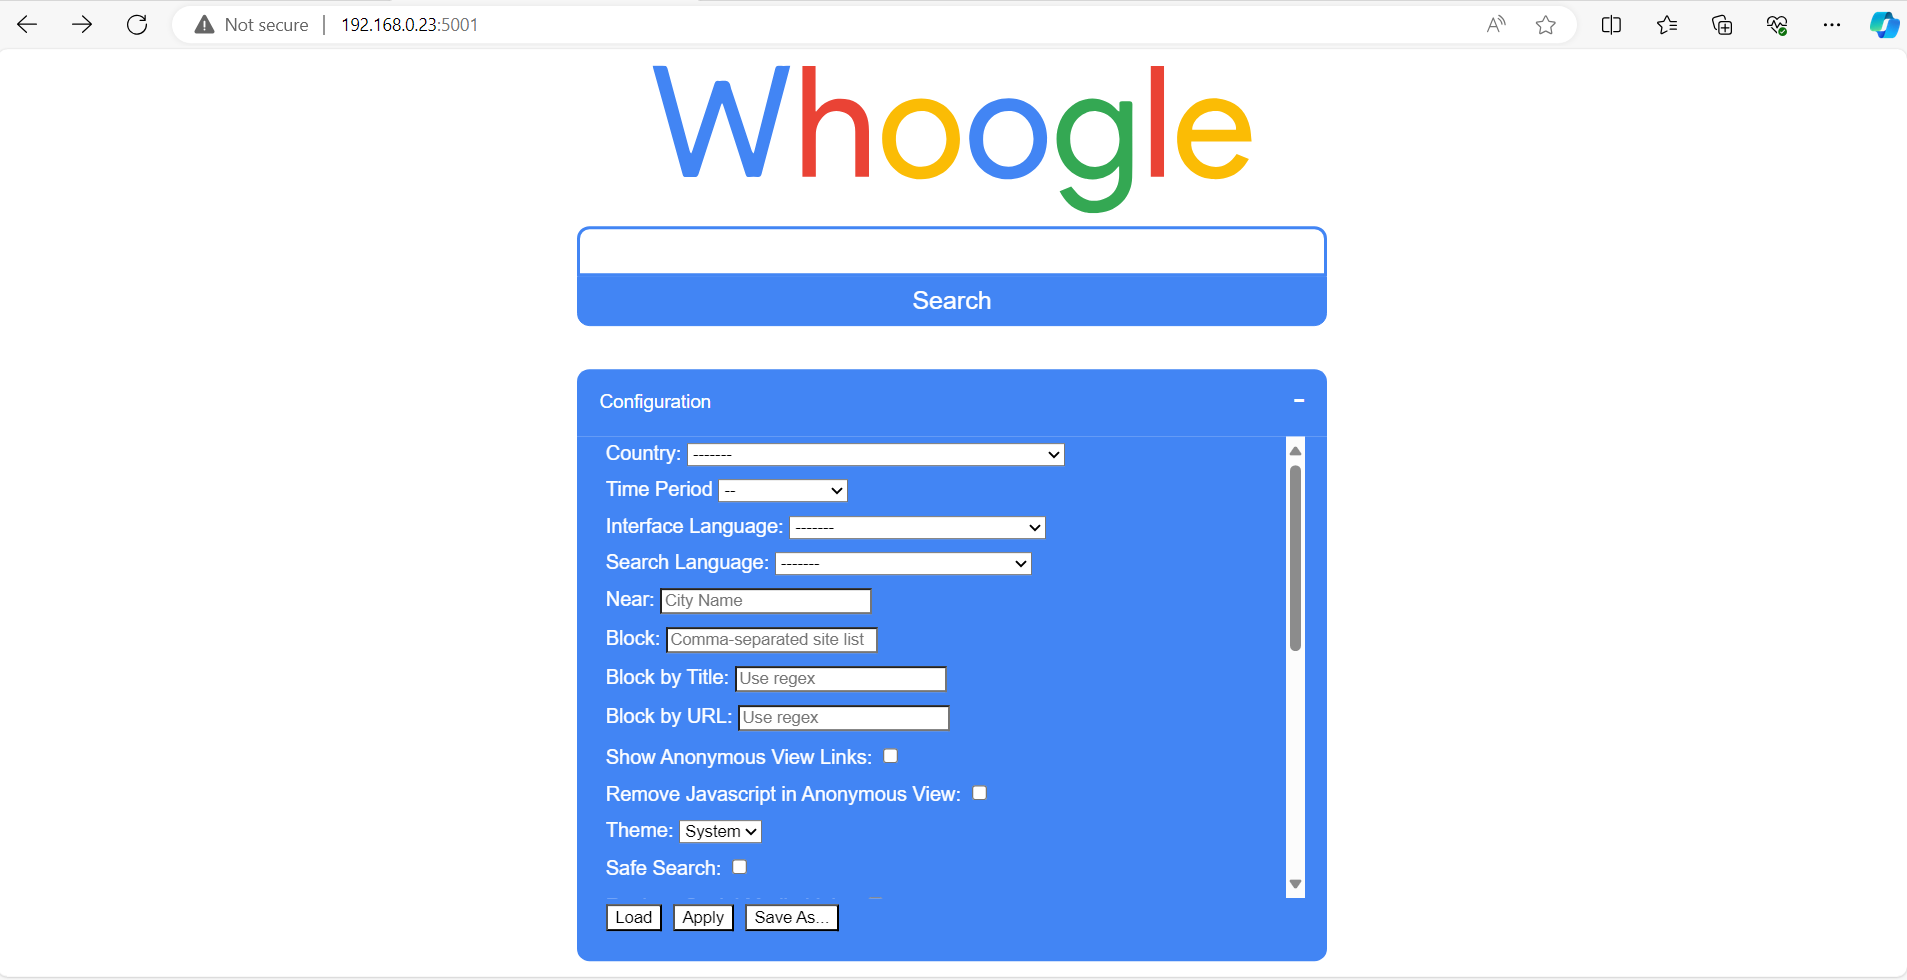
This will bring you to the Whoogle home page which is hosted on your server.
Check out the configuration options for some really interesting ways to search.
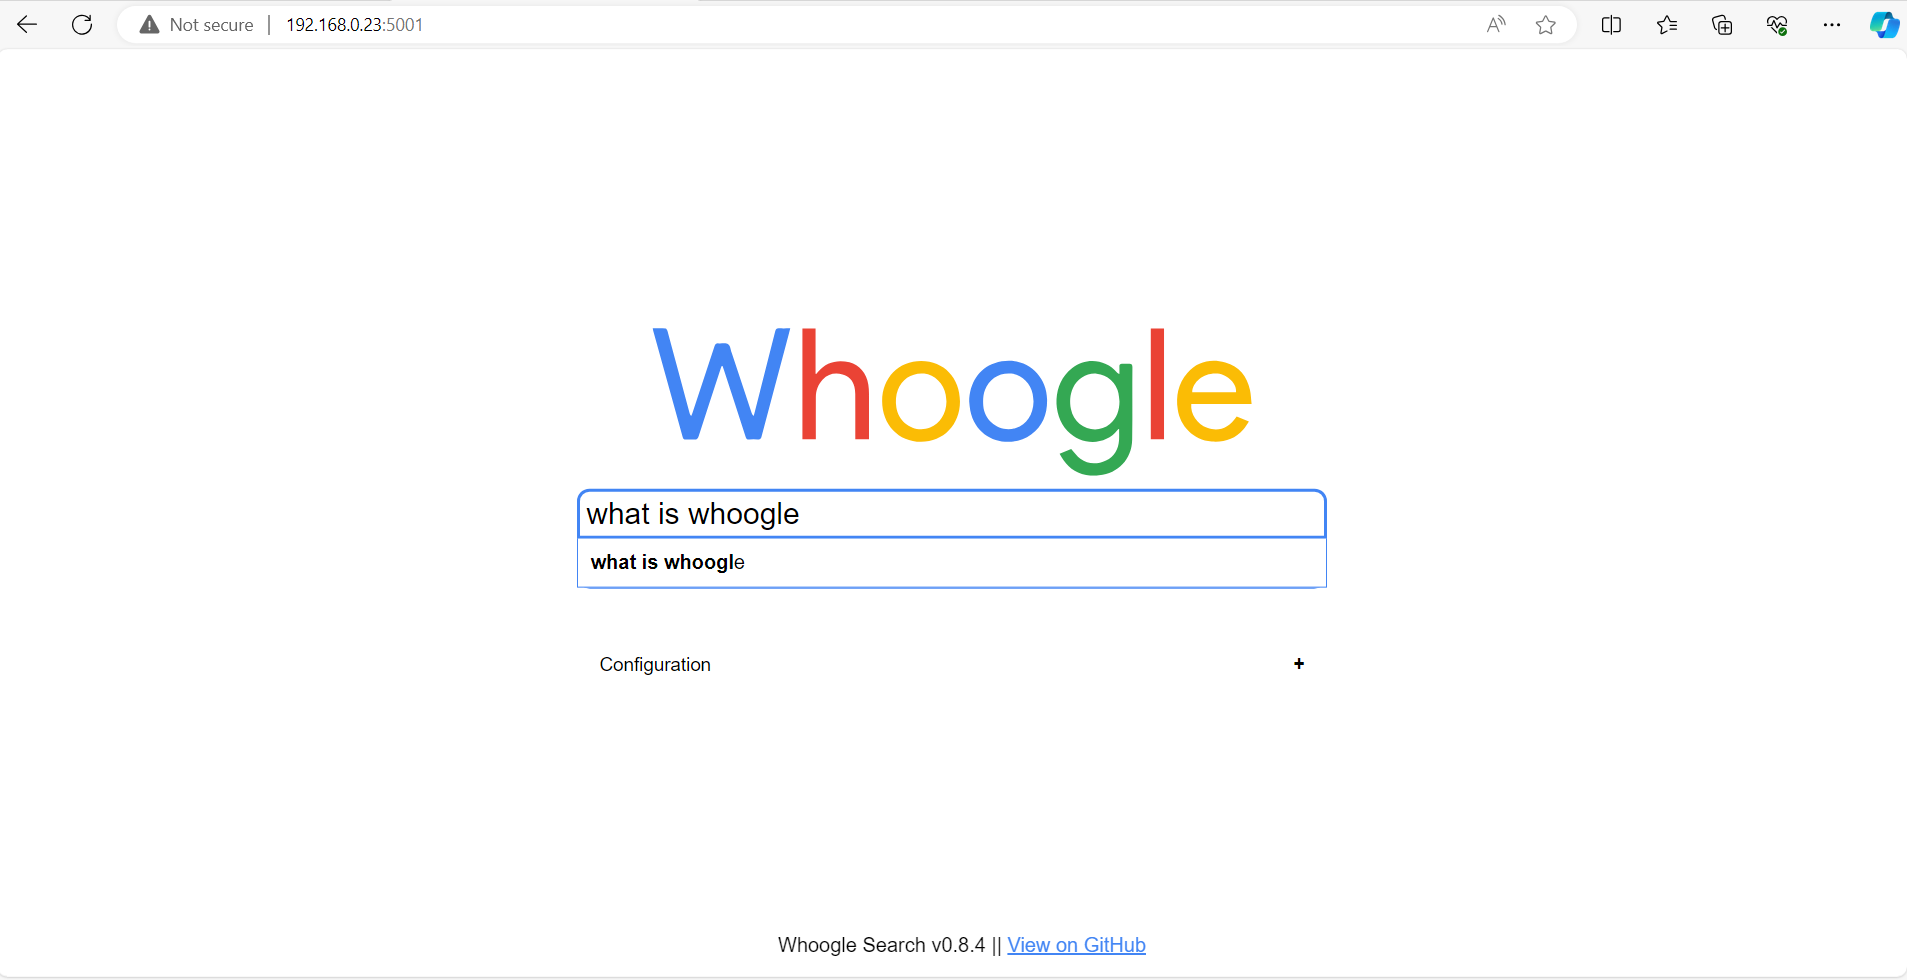
Or just do your first search without giving Google your browsing data along the way
Congratulations, you've deployed your first self hosted service in a container using Portainer.
You can deploy almost everyone of those services on the list using this same method so get exploring and try out some of those complicated services you always wanted to without all the hassle.
Next up we're going to start getting fancy by forwarding custom hostnames using Nginx Proxy Manager and Pi-Hole's Local DNS feature.
For more Docker Compose files check out ReproDev Recipes on GitHub with Docker Compose files for you to try out
reprodevCheck out the guide below if you want more information on What Docker is and how to get started

Don't forget to explore the rest of our website as we build out more content. Stay tuned for more tutorials, tips, and tricks to help you make tech work for you.
If you want to stay up-to-date with regular updates, make sure to subscribe to our free mailing list.