Get Started with Docker - Part 2b: Windows 11 Install Guide
Running Docker on Windows can be a bit trickier than on Linux but on the flipside can be easier to maintain.
Docker on Windows was mine and many other people’s first step into the Docker ecosystem.
In this guide, we'll install Docker onto a Windows 11 machine using Docker Desktop and WSL2 (Windows Subsystem for Linux).
We’re going to:
- Install WSL (Windows Subsystem for Linux) and the default Ubuntu distribution using Windows PowerShell
- Update WSL1 to WSL2 (if on Windows 10)
- Install Docker and all it’s required components like Docker Compose using Docker Desktop for Windows
- Download a Docker Image and run a test Docker Container using the WSL Shell

What’s WSL?
The Windows Subsystem for Linux (WSL) is a full Linux distribution that runs underneath the Windows 10 and 11 operating system. Once installed you can log into a WSL shell using your terminal and send Linux commands like you were using a Linux machine. Machines like a Raspberry Pi.

The real advantage to this is that you don’t need to use another application like VMWare Workstation to spin up a Linux Virtual Machine. It's also a great way to learn Linux command line. You can get more information on WSL in general from the official Microsoft Learn article linked below if you want to learn more.
You can run Docker on Windows without installing WSL by using Hyper-V for Virtualization. However, you’ll get much better performance and compatibility overall if you use the WSL2 backend.
Install WSL
We’re going to use Windows PowerShell to get this installed in just one command
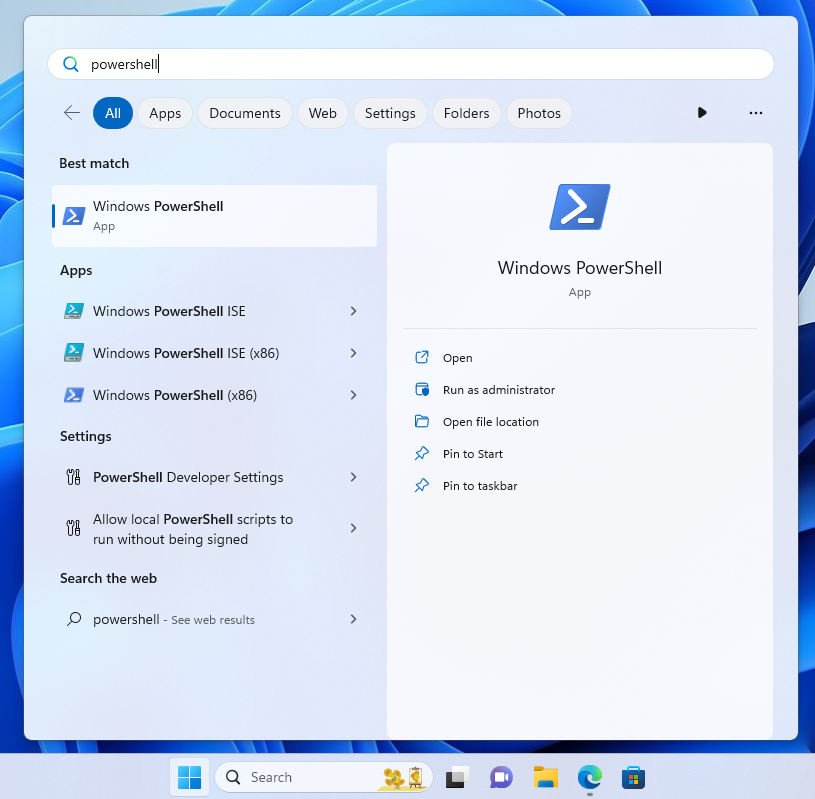
- Click the Start Menu and type ‘powershell' to find the app in the list
- Left click “Run as administrator” in the right hand menu to open this up as Administrator
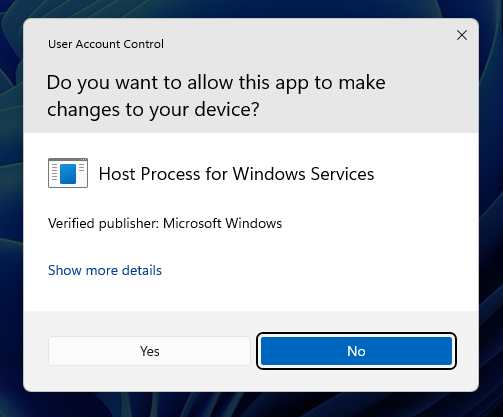
- Click Yes on the User Account Control notification to continue
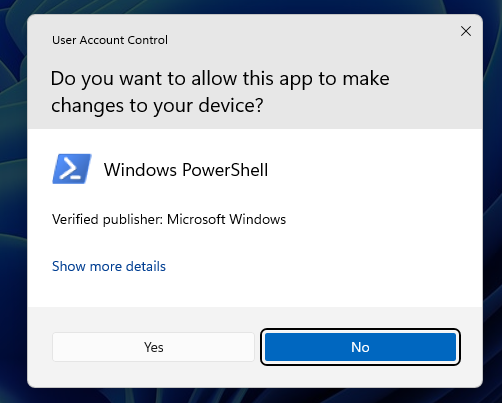
- Click Yes on the User Account Control notification to open PowerShell
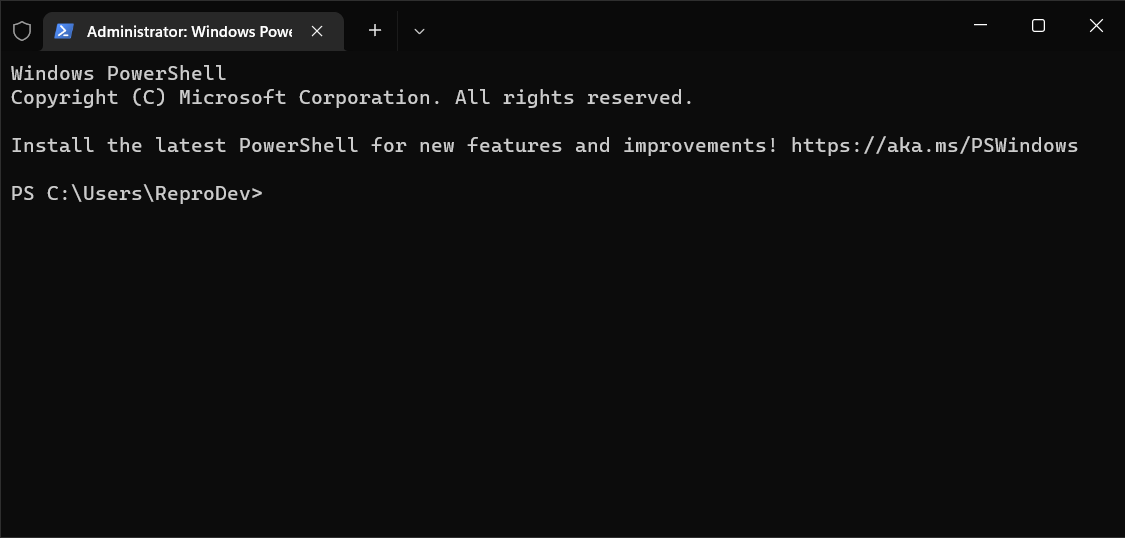
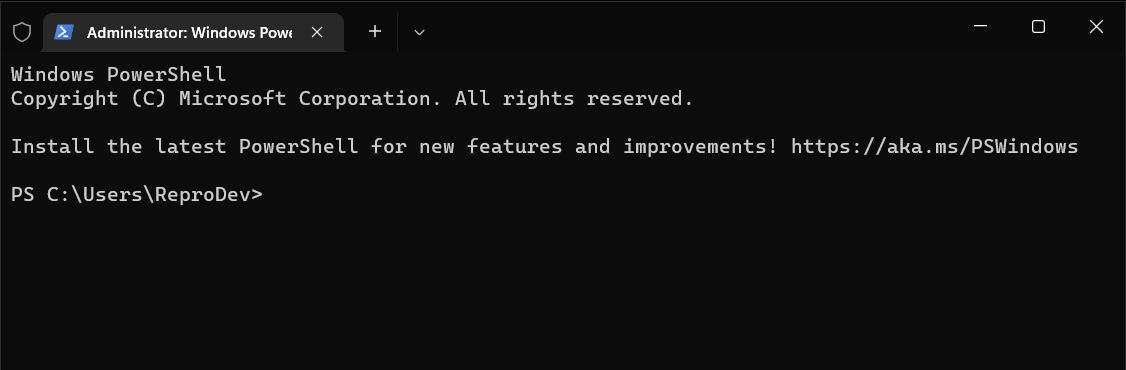
- You now have a Windows PowerShell command prompt running as an Administrator
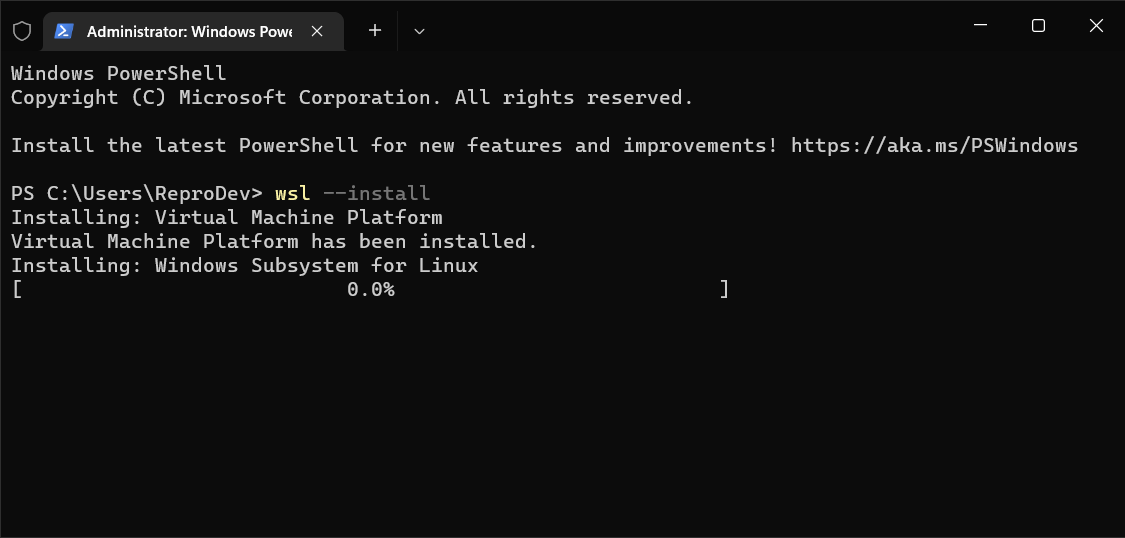
- Type the below command and Press Enter to start the install
wsl --install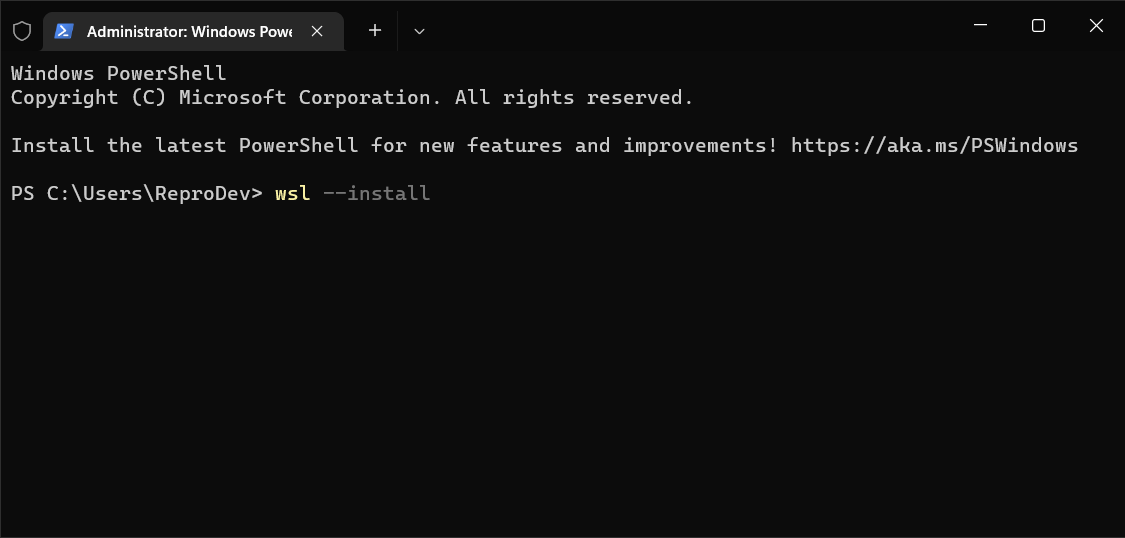
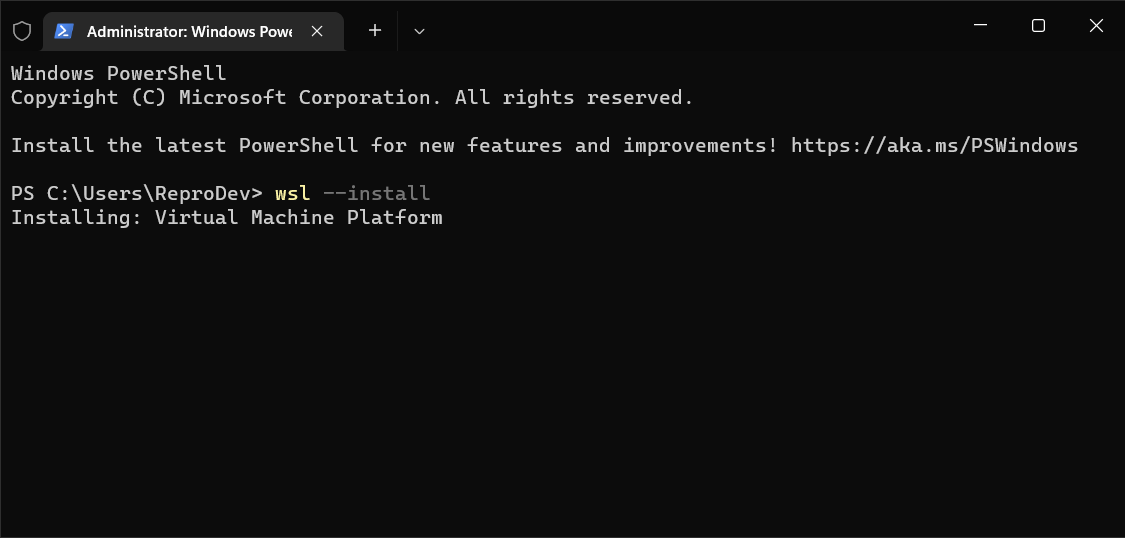
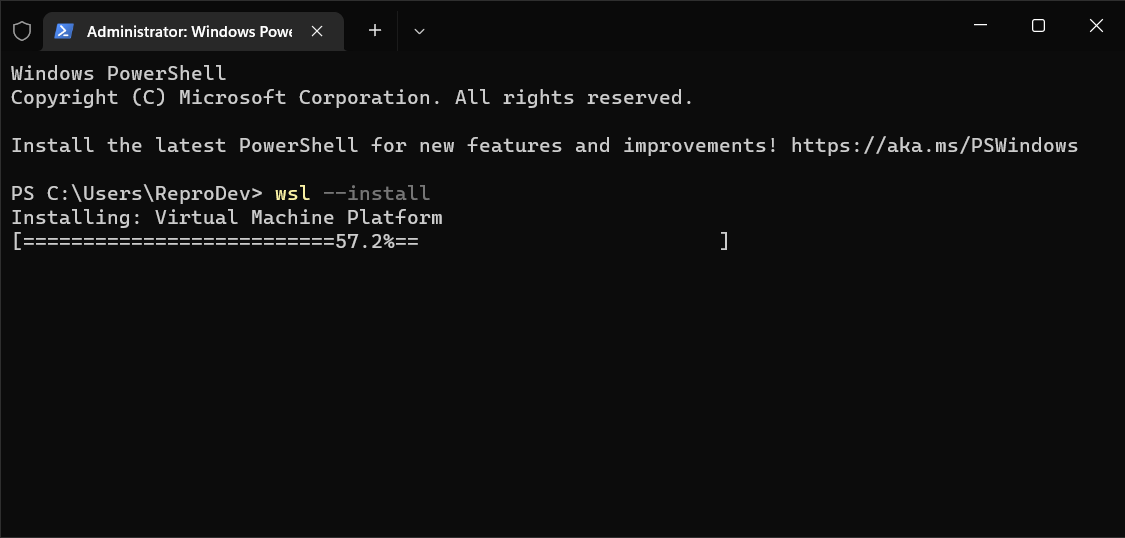
- This command will enable a few optional Windows features automatically
- First up, it will install and enable the Virtual Machine Platform
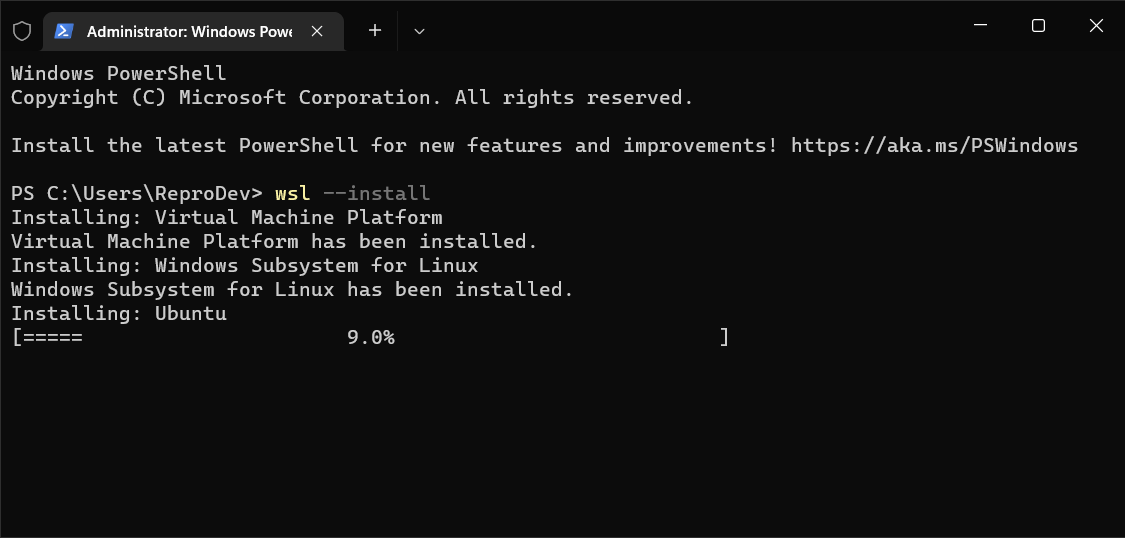
- Then it will install and enable the Windows Subsystem for Linux
- Finally, it'll install and download the Default Linux distribution provided by Microsoft for WSL
- The Default distribution at time of writing is Ubuntu 22.04.01 LTS
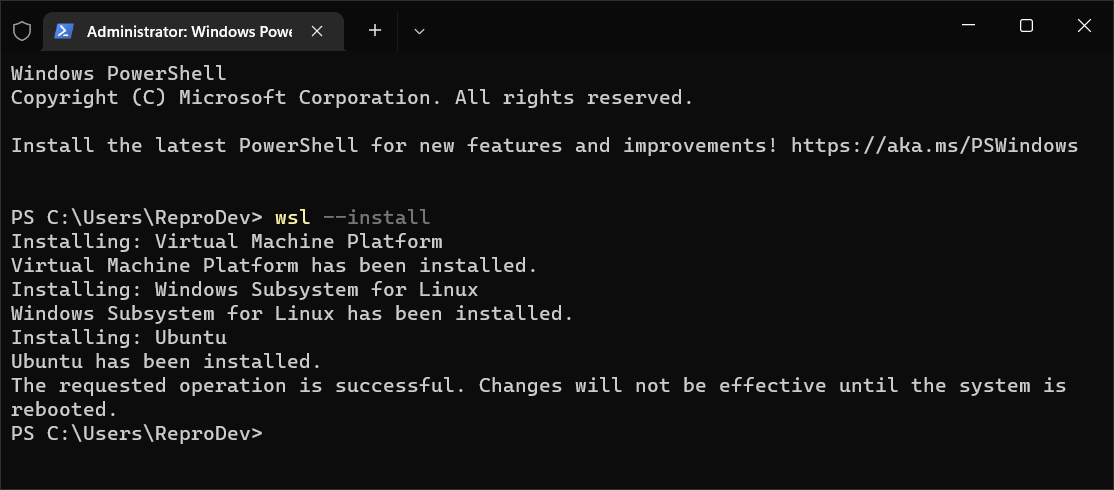
- Restart your machine from the Start Menu to complete the install
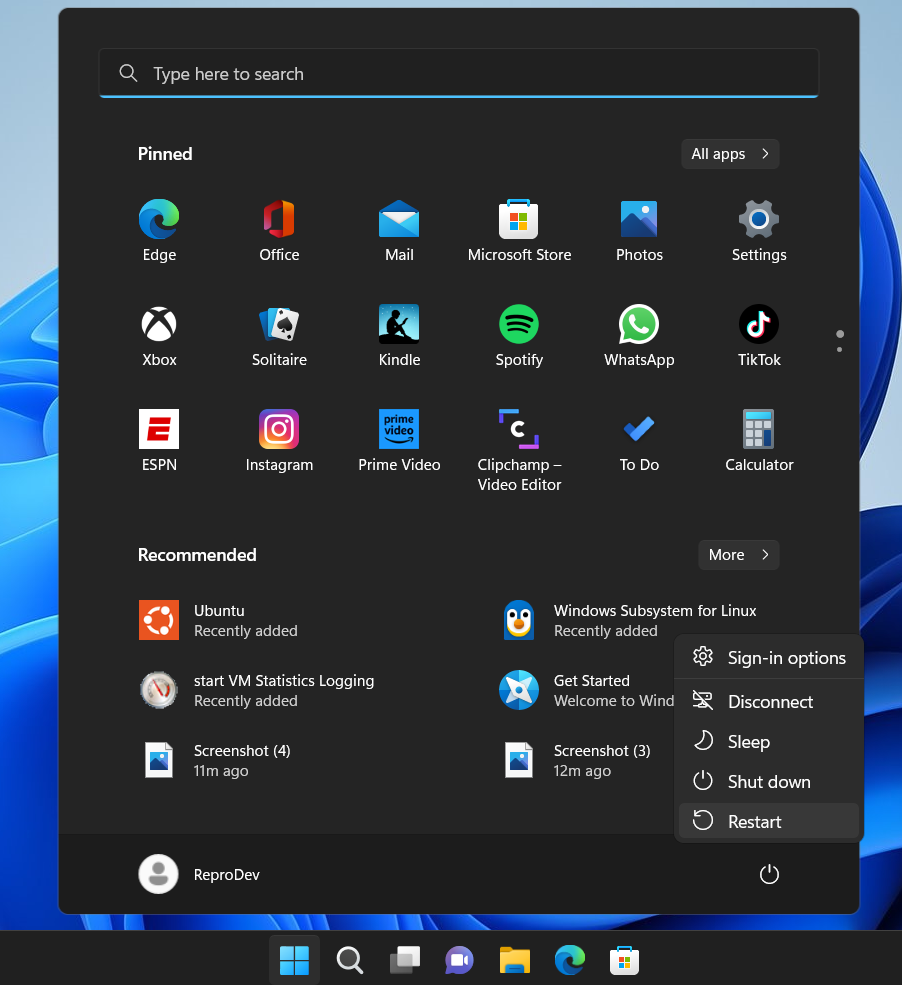
- You’ll get a screen saying saying “Configuring Windows” or “Adding Features".
- Once rebooted, go ahead and log back in to Windows to continue the installation.
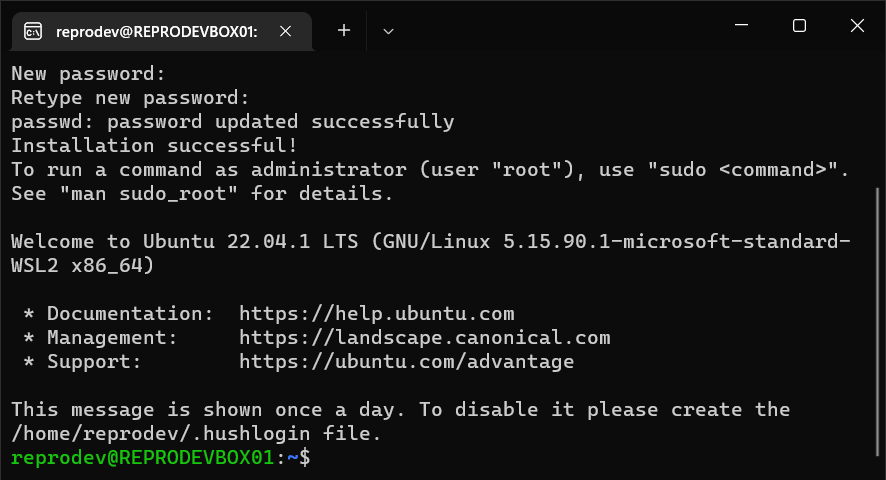
- Wait a few minutes and a command prompt window will pop up up like below with a title e.g. Ubuntu.
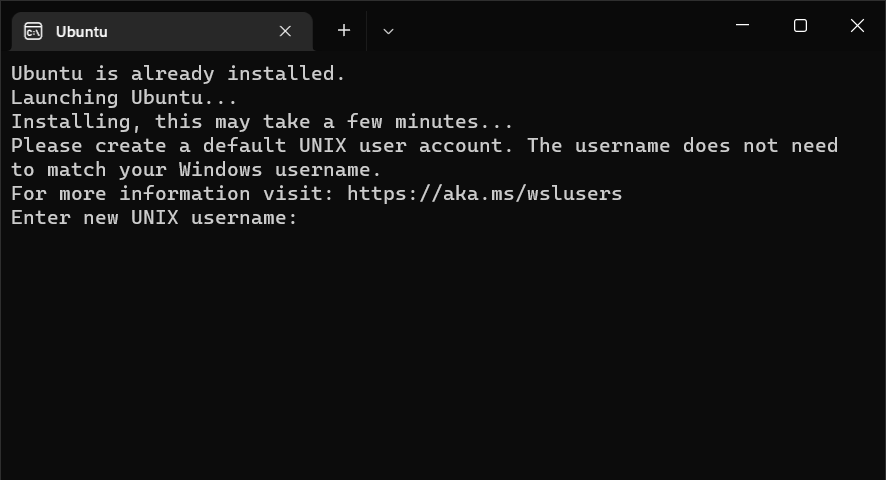
- This will launch Ubuntu for the first time.
- You'll need to set a Username and password for your WSL installation.
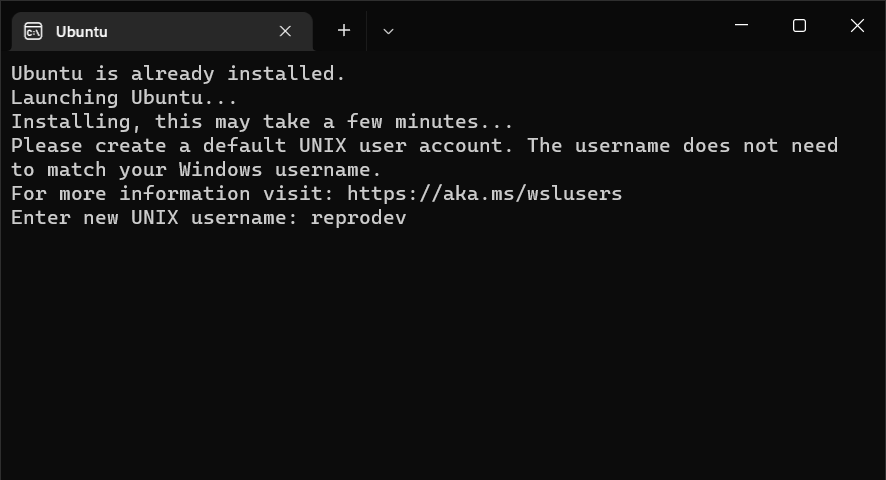
- In this example, we'll set the UNIX username as reprodev
- Type your username and Press Enter to continue
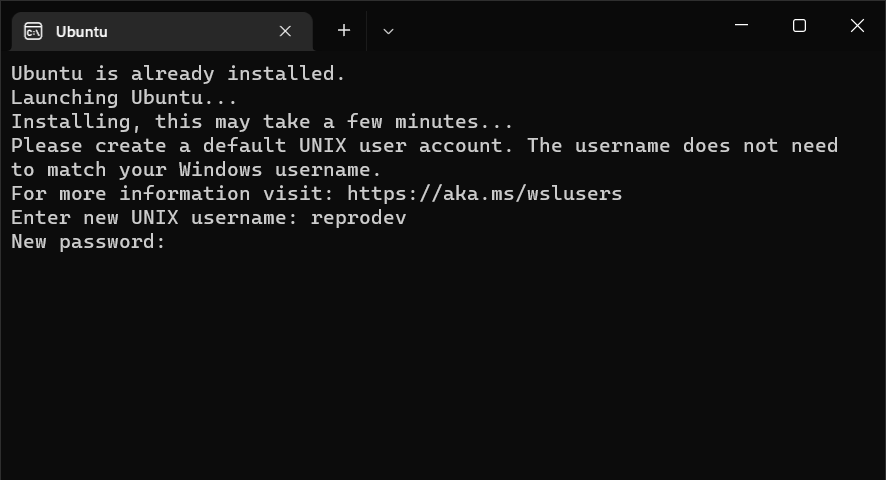
- Set a New password and Press Enter
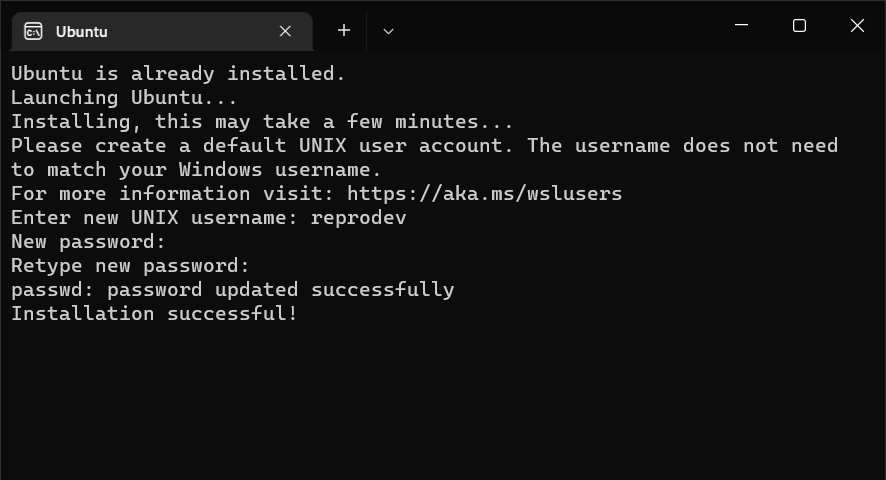
- Retype the New password to confirm

- Press Enter and as long as the passwords match, then it'll be updated
- You'll get a message with "Installation successful!" to wrap up the Ubuntu setup in WSL
- After a minute or so you'll be taken to the Ubuntu command line
- We'll be getting more familiar with this soon but for now type the below command to exit and Press Enter to close this window
exit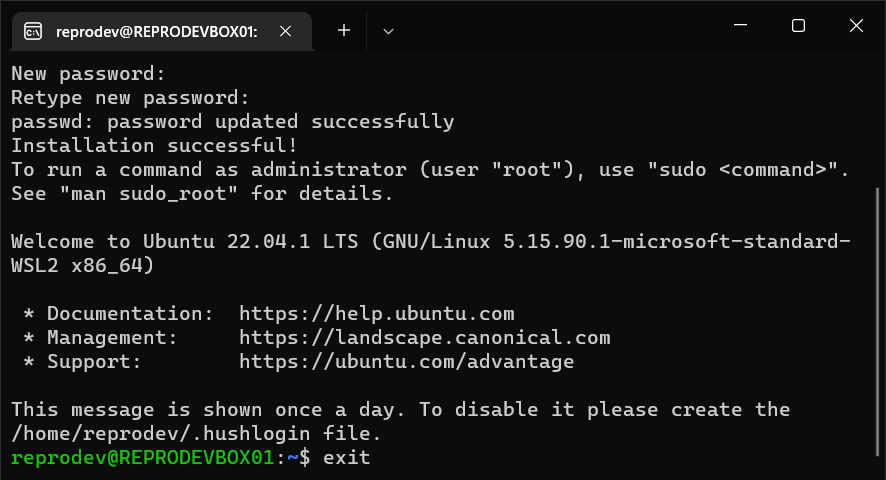
Check and Test the WSL Installation
Before we get onto the Docker Desktop installation we need to take a moment to check that WSL and Ubuntu have installed correctly.
- Open up Windows PowerShell again as an Administrator

- Type the below command to confirm that WSL has been installed correctly
wsl --status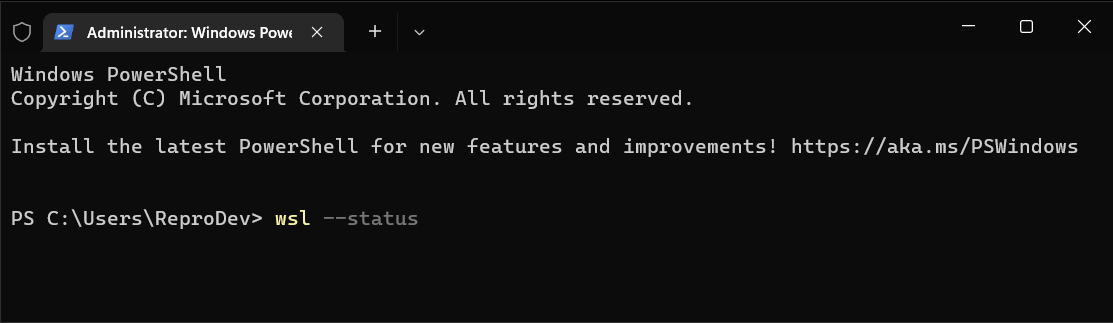
- You should see the Default Distribution as Ubuntu and the Default Version 2 for WSL

Congratulations, we're halfway there. We’ve installed Linux on Windows using Windows PowerShell on Windows 11.
Update WSL1 to WSL2 (For Windows 10)
The latest version of Windows Subsystem for Linux is WSL2, if you don’t update now you’ll get an error when starting Docker Desktop later on.
If you're using Windows 10 then you may have to update your WSL version manually.
- Type the below command and run as an Administrator in Windows PowerShell
- Press Enter to start the update.
wsl --update- Once completed you'll need to reboot and then you can install Docker Desktop
Install Docker on Windows with Docker Desktop
Now that we've installed WSL2 on Windows, we can get started on the Docker part of this installation and get those containers running.
- Open a Web Browser, go to Docker.com and download the latest Docker Desktop for Windows

- Click the button on the Homepage to start the download of "Docker Desktop Installer.exe"
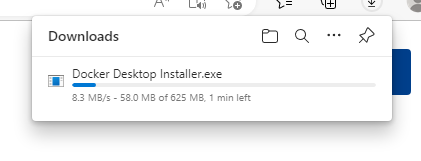
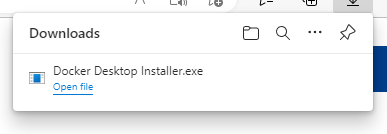
- Open your Downloads folder and double click the executable once finished downloading.

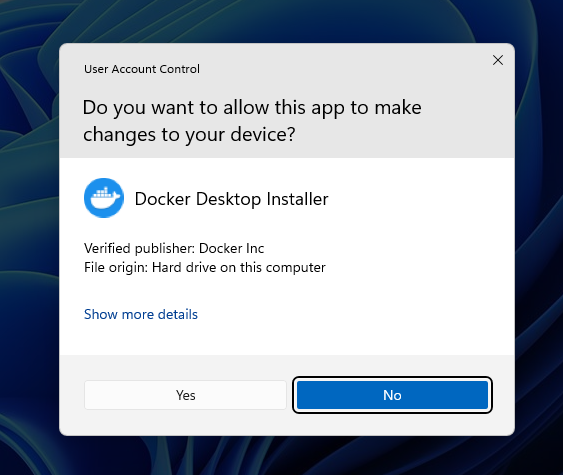
- Click Yes on the User Account Control window to start the install
- This installation of Docker Desktop should take about 5 minutes but you may just have time to get a drink.
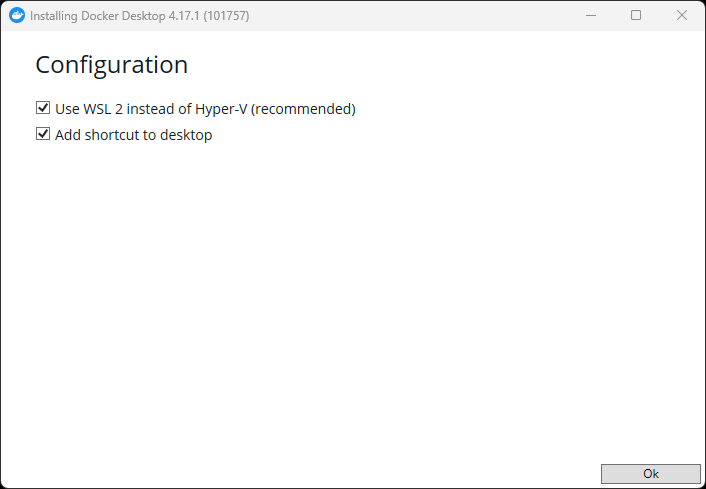
- Make sure you have "Use WSL 2 instead of Hyper-V" and "Add shortcut to desktop" ticked in this Configuration window
- Click Ok to continue.

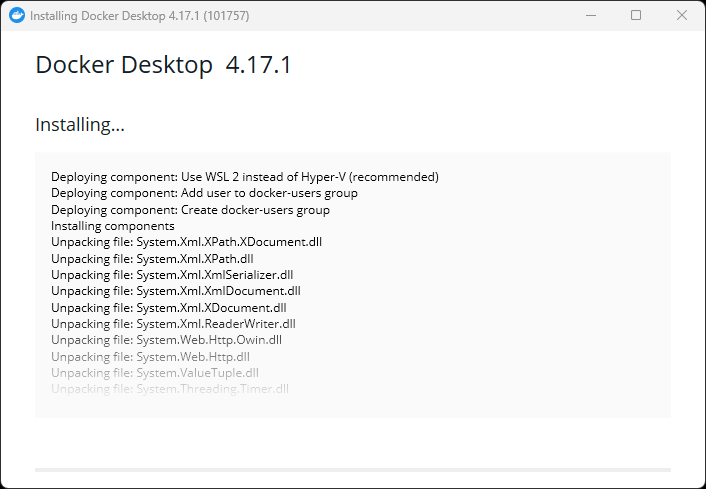
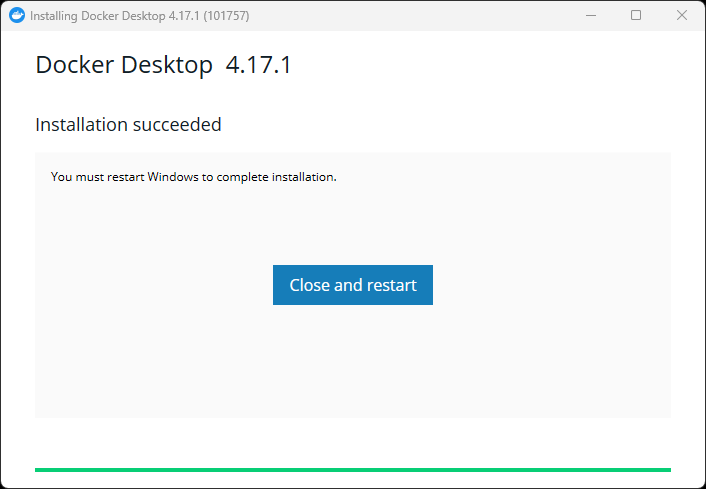
- Once the Installation has completed, click the "Close and restart" button to reboot Windows.

- This Restart will take a lot longer than normal as it will be applying all of the features we enabled earlier.
- If you didn't get a coffee before I'd definitely suggest getting one now as this will take a while
- Once you've rebooted and logged back in, you'll see a new shortcut on your Desktop for Docker Desktop.
- Double click this to open up Docker Desktop for the first time on this machine.

- Go ahead and click Accept to start up the program after you've read the Docker Subscription Service Agreement.
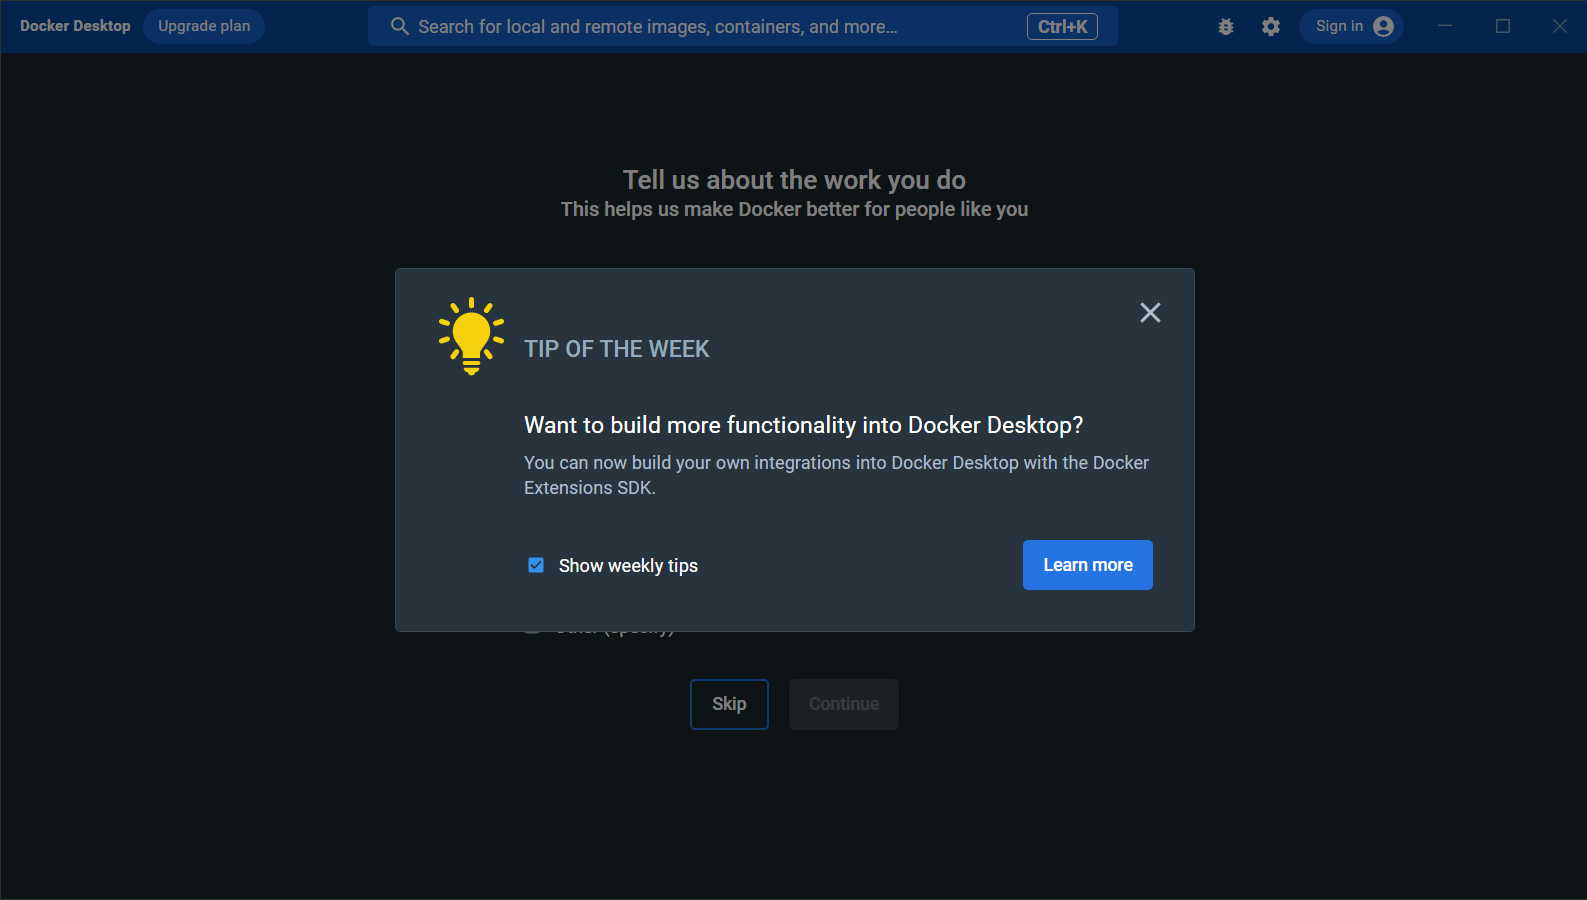
- This will open up Docker Desktop for the first time.
- Untick "Show weekly tips" to stop this window from opening every time you load up the application.
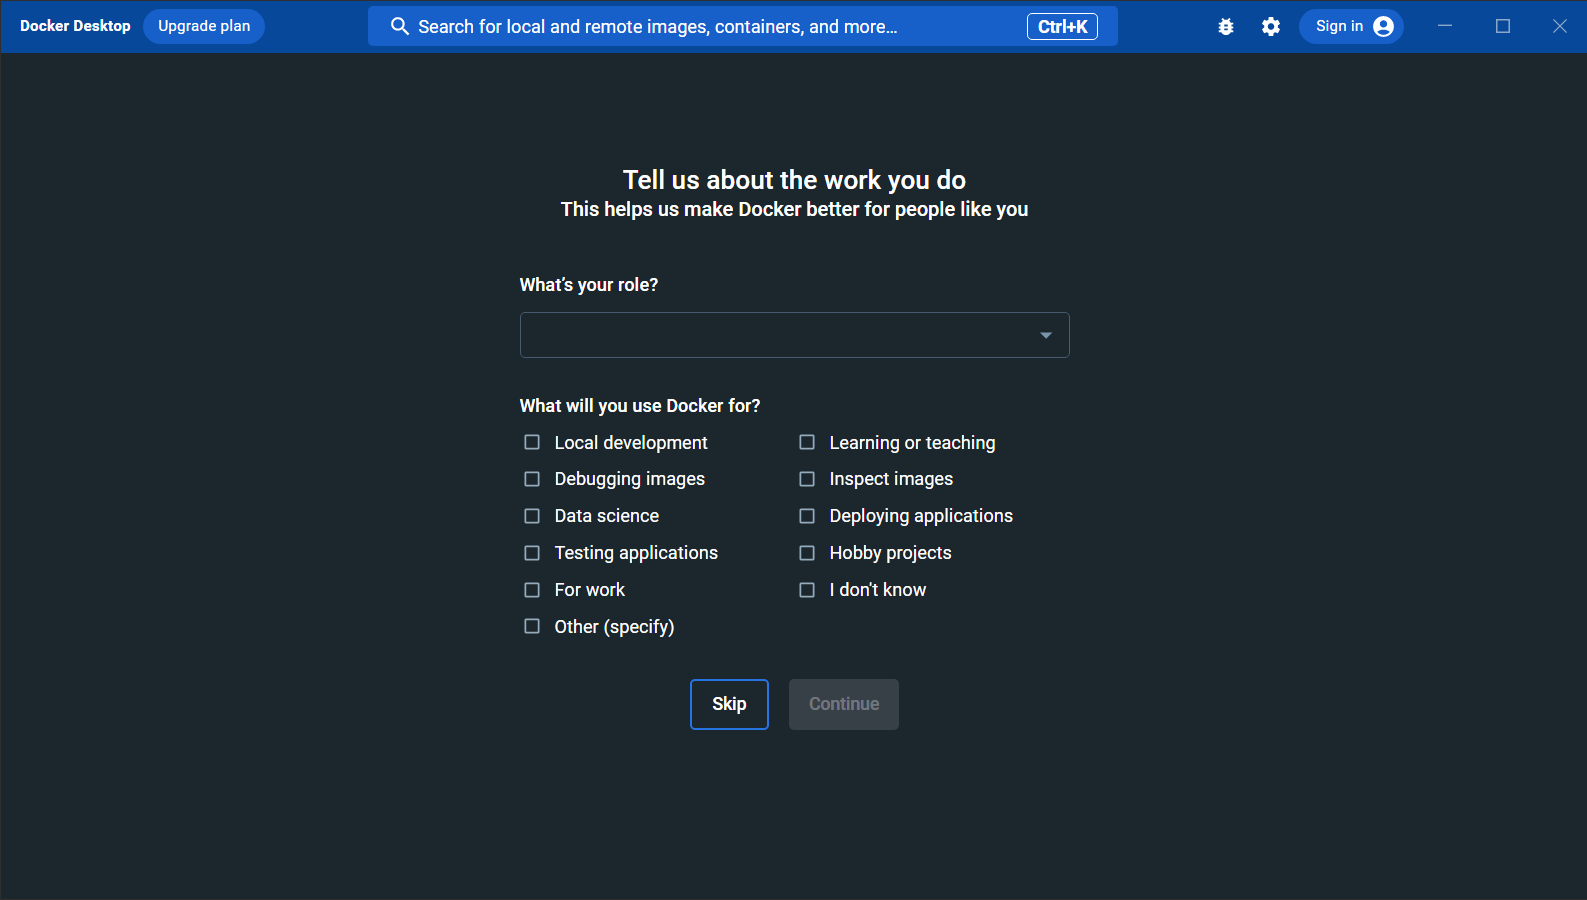
- You can pick your Role from the dropdown and tick the boxes related to why you are using Docker Desktop. Click Continue once you've made your choice.
- This is just optional so you can just click Skip
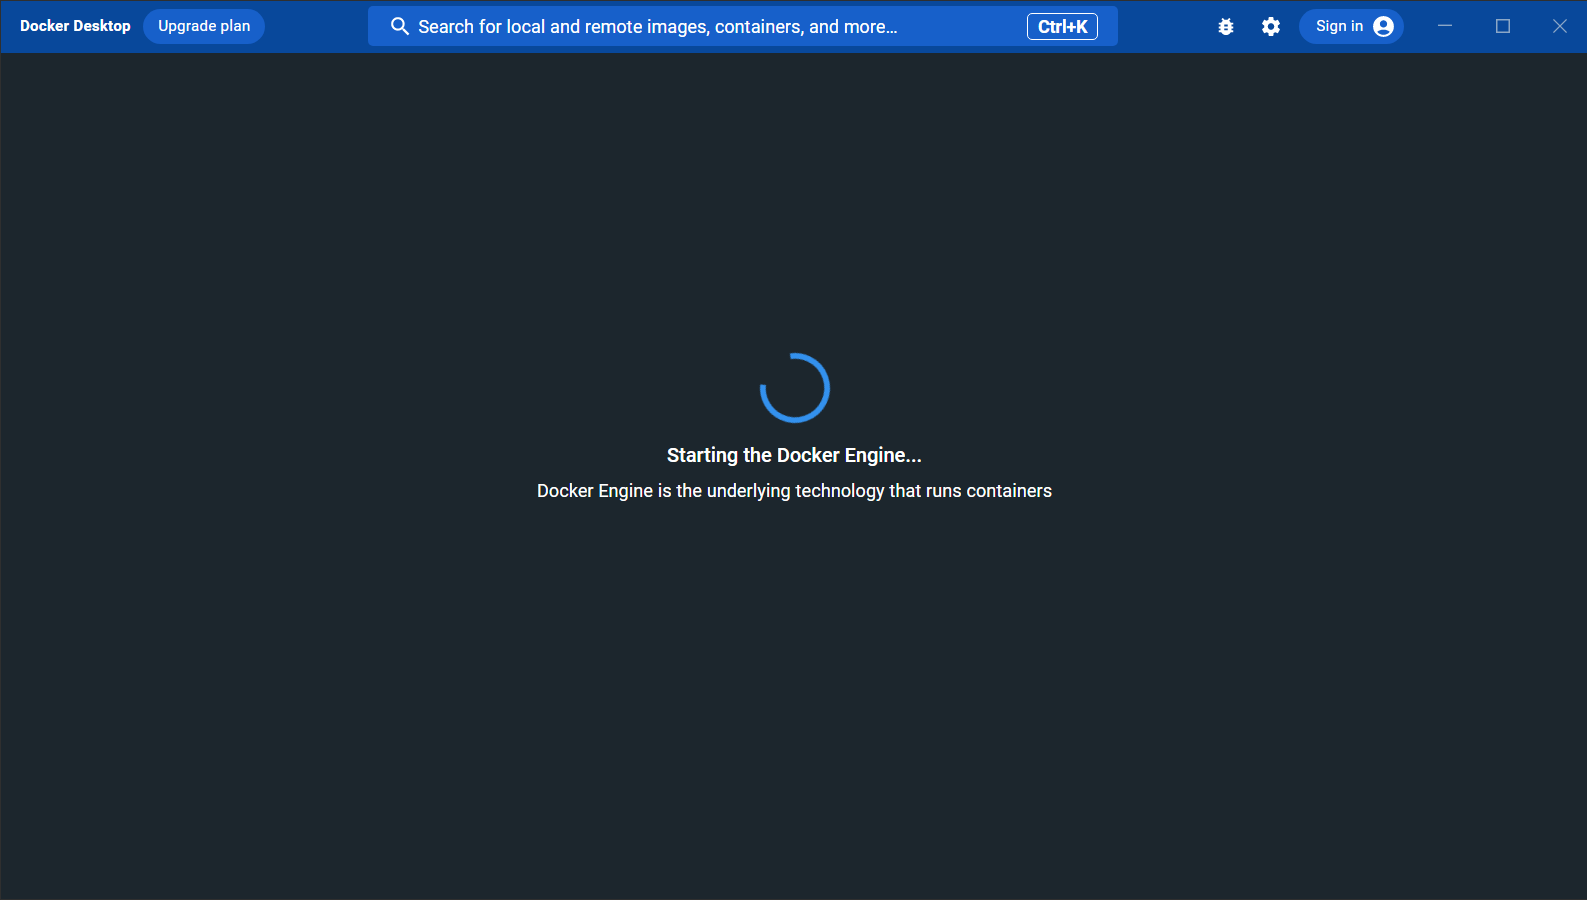
- This will start up the Docker Engine for the first time.
- This first time could take up to 10 minutes to load depending on your hardware and any other applications open at the time
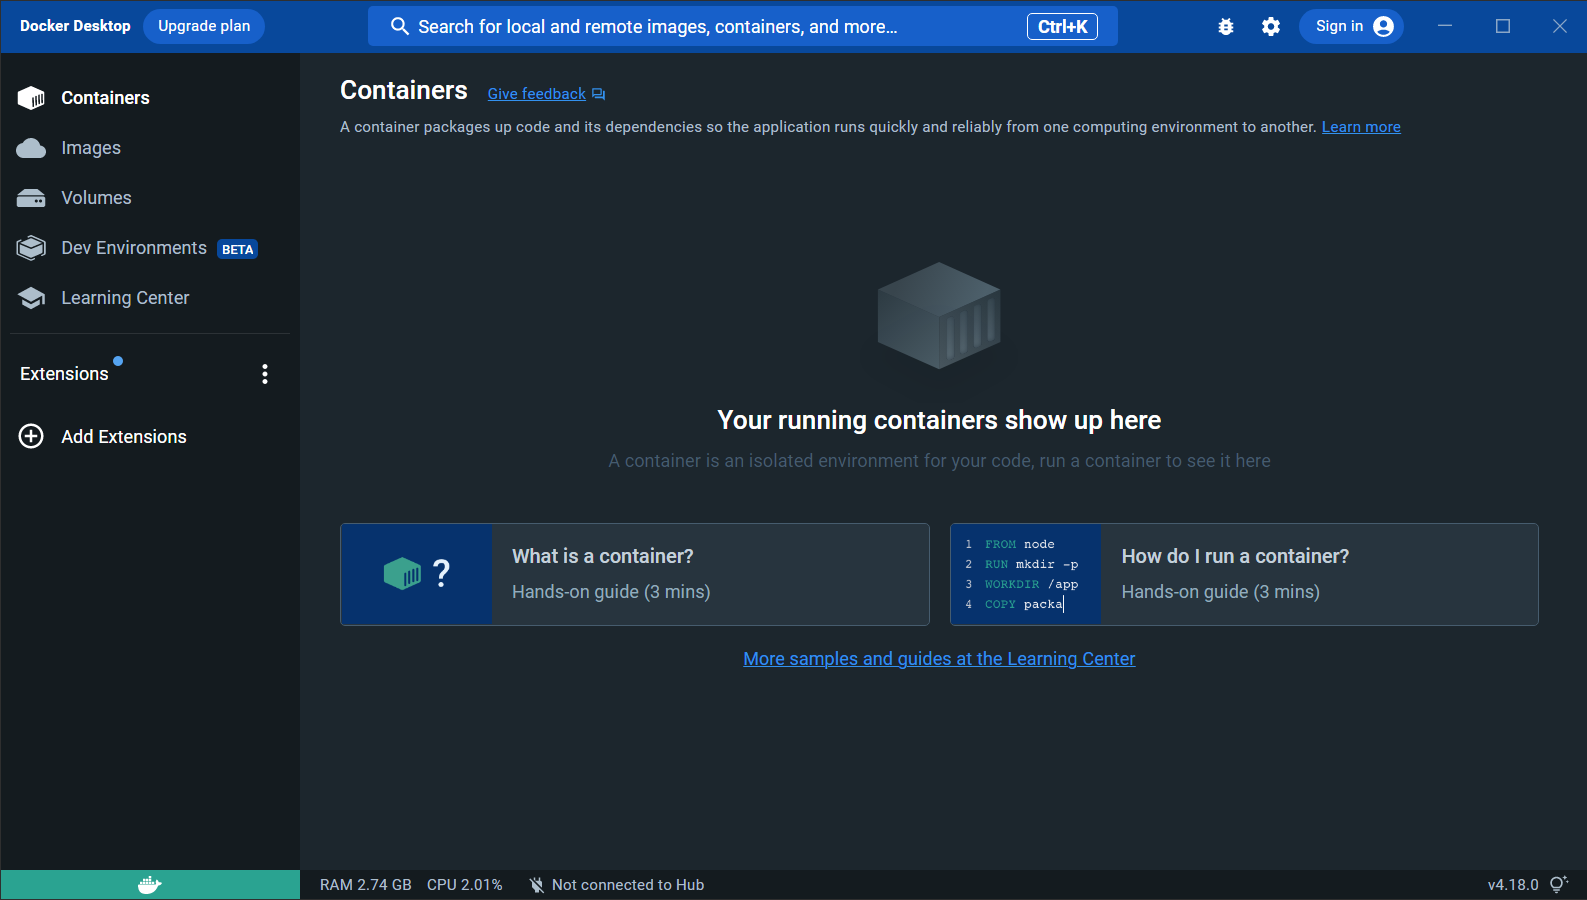
- You are now at in the Containers menu section of Docker Desktop
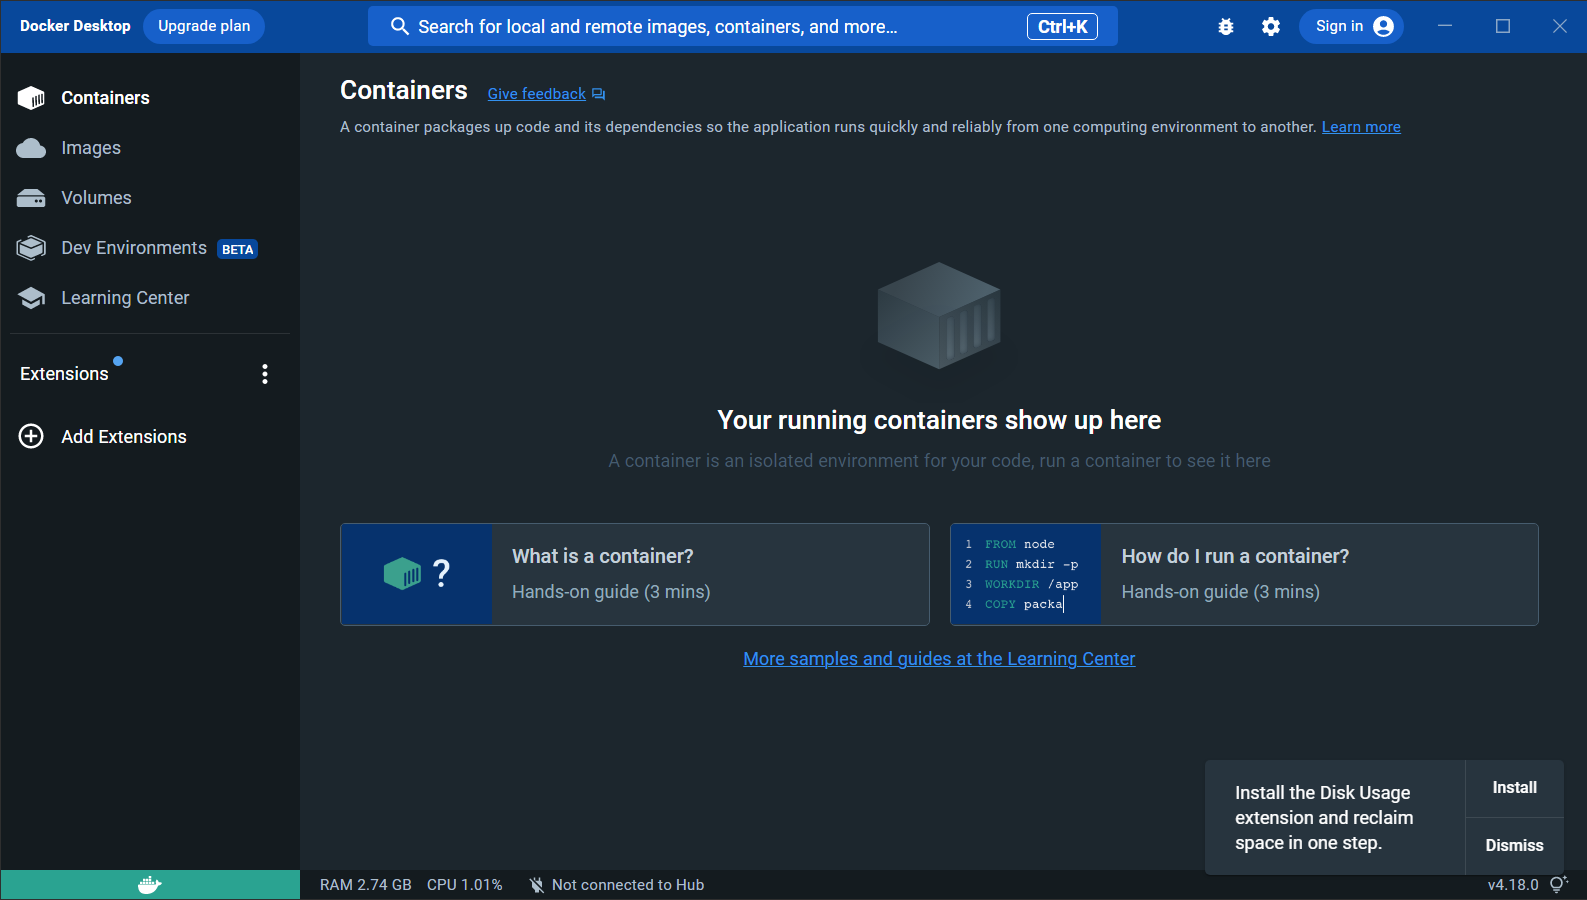
- Right now there is nothing here. Click Dismiss in the bottom right to get into the rest of the program
- This page will normally show any currently running or recently closed Docker Containers
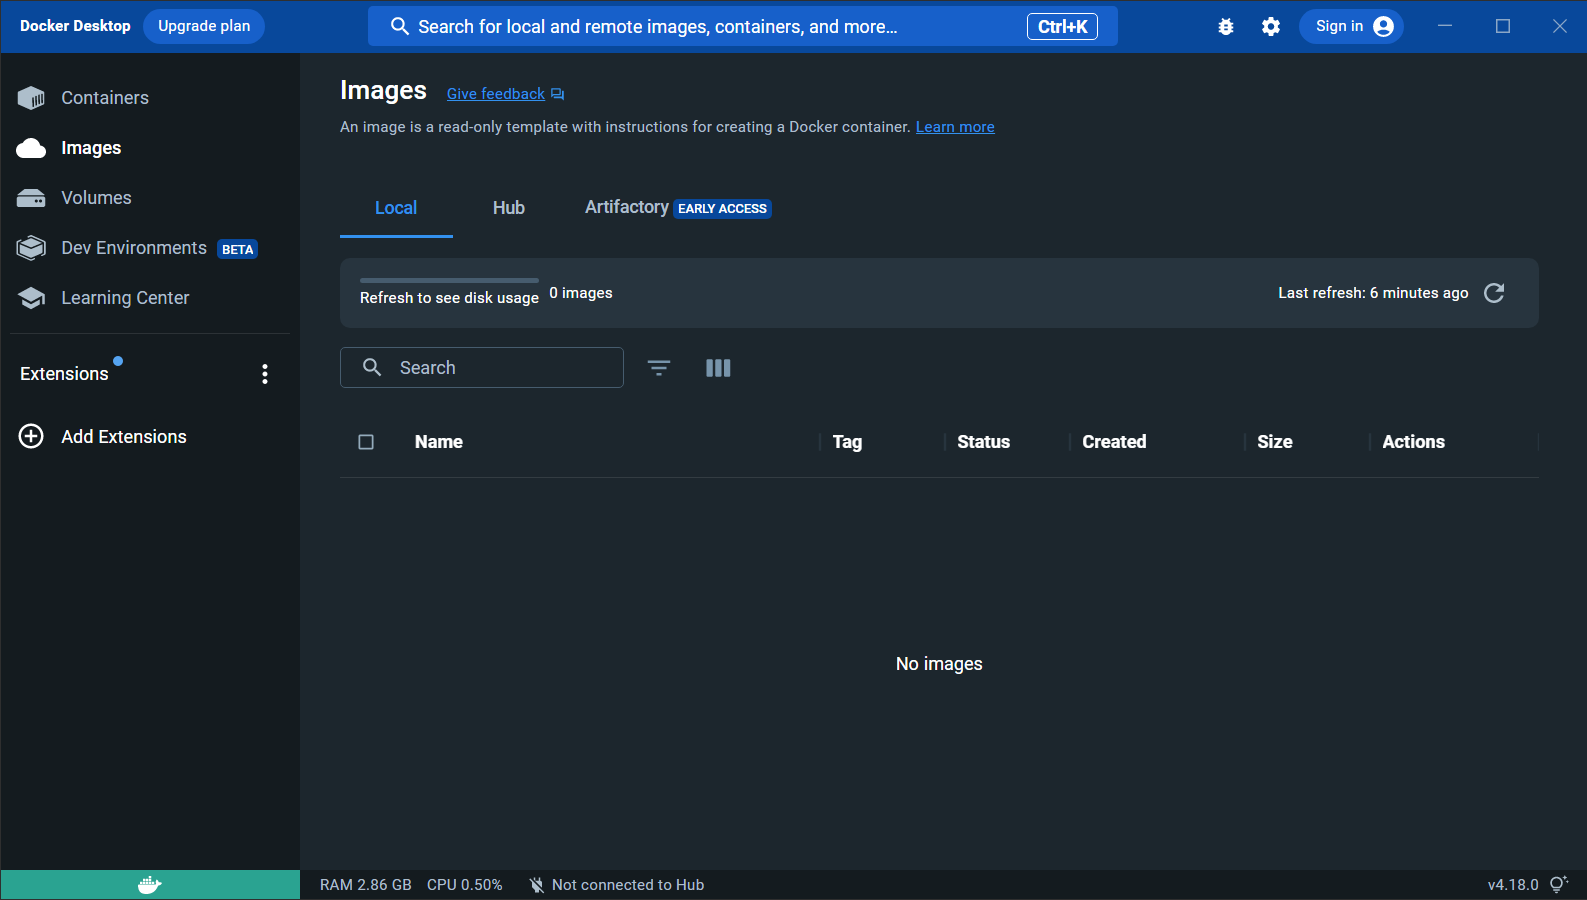
- Click Images on the left to see where your Docker Images will be downloaded to
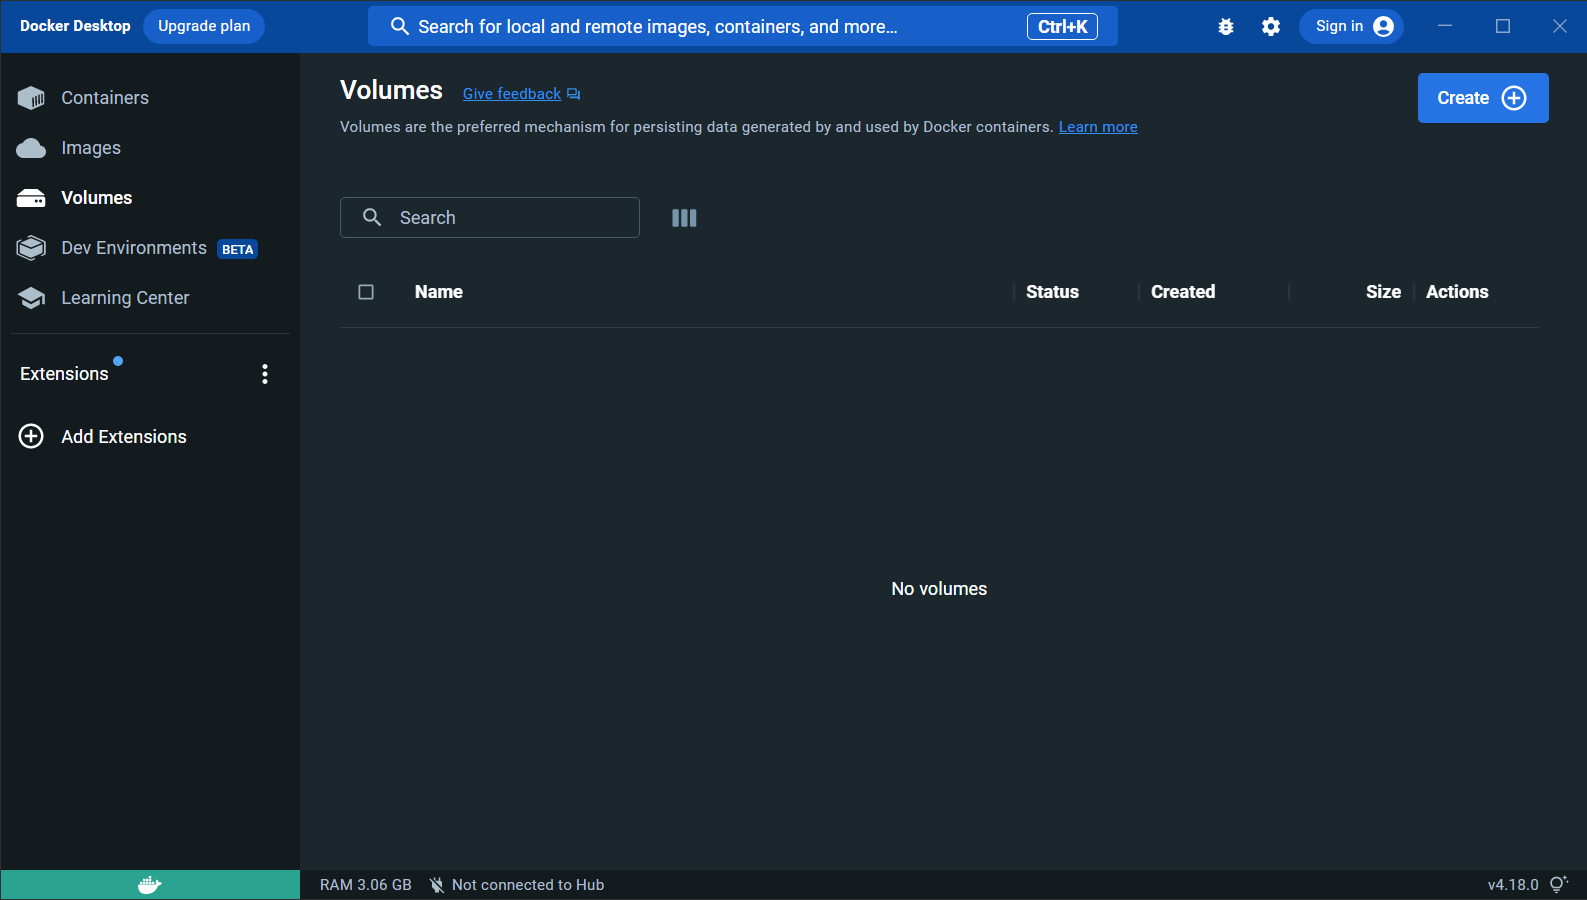
- Click Volumes on the left to see where your created Docker Volumes will be usually found

Testing your Docker Installation - Hello World
We should now have WSL 2, Ubuntu and Docker Desktop installed on Windows.
Let's check it's all working by running our first test Docker container
- Open up a Windows PowerShell terminal and make sure you Run as Administrator
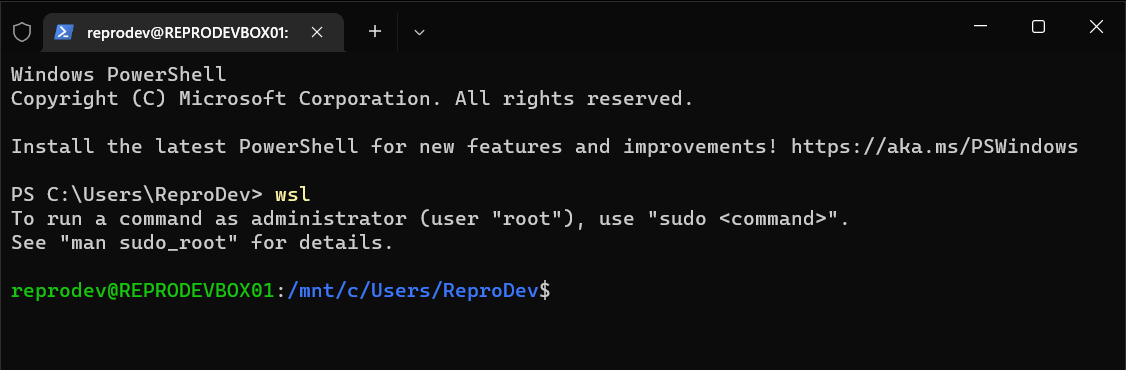
- Type the below command wsl and Press Enter to open a WSL shell
wsl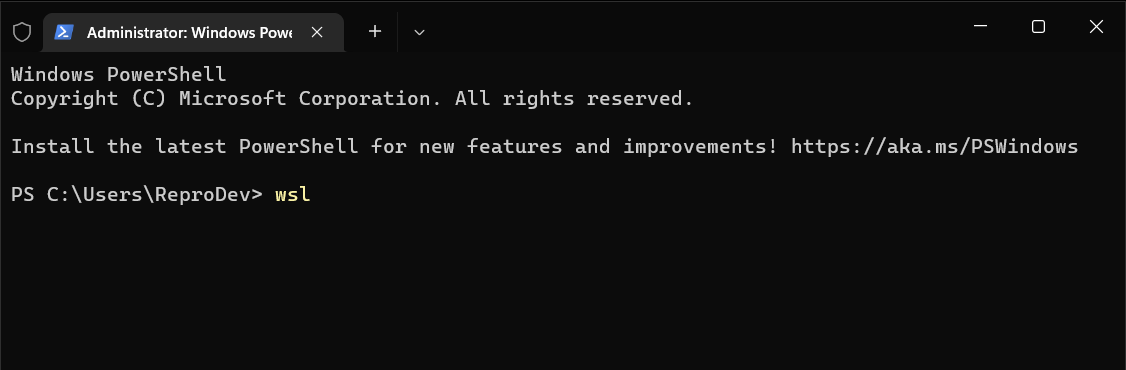
- This will let you interact with the Ubuntu distro running under WSL
- Type the below command and Press Enter to check for any running containers
docker ps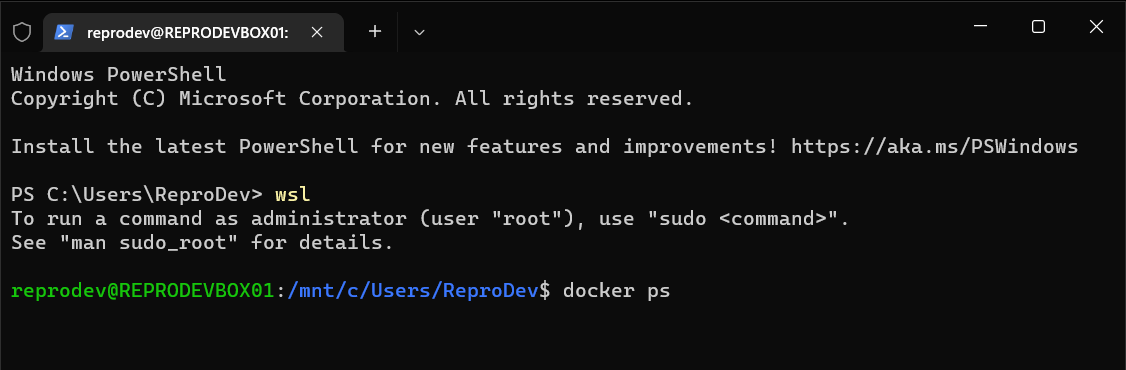
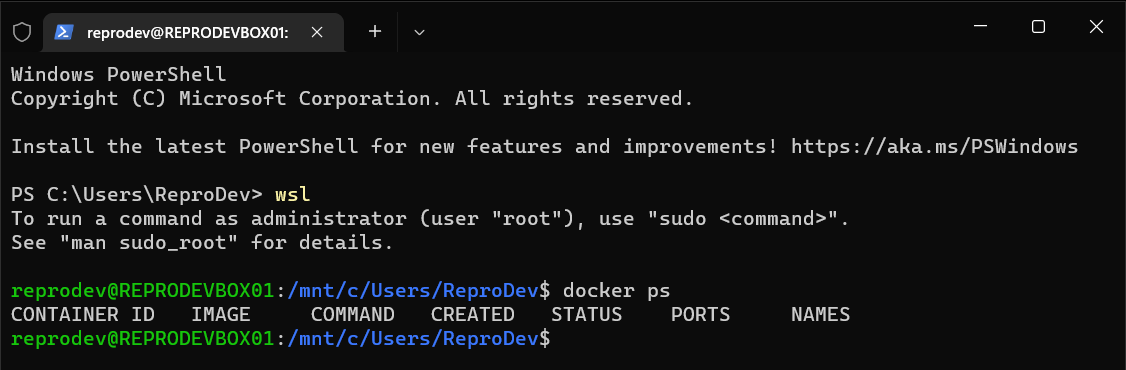
- As you can see there are currently no running containers at the moment
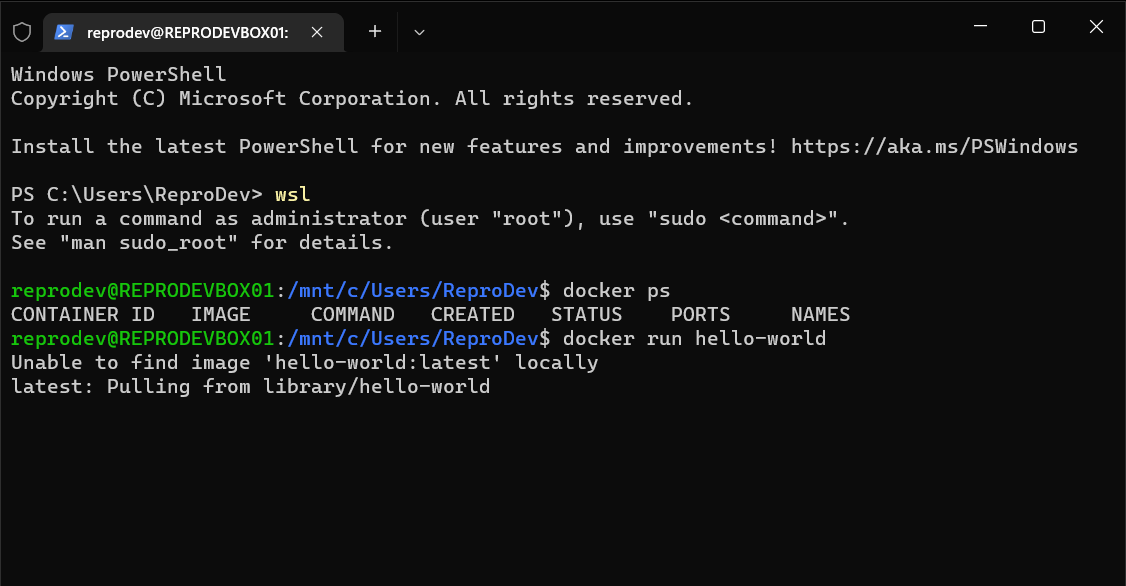
- To test use the below command to run the Docker Container for Hello-World
docker run hello-world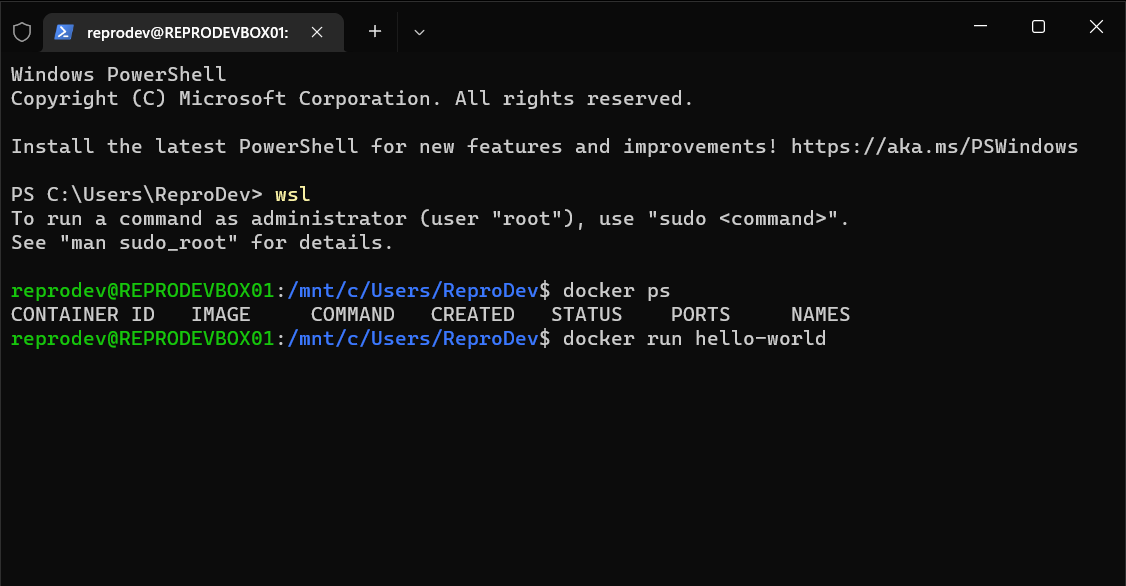
- The Docker Image will be downloaded locally, run the container and output a message in the terminal when successful.
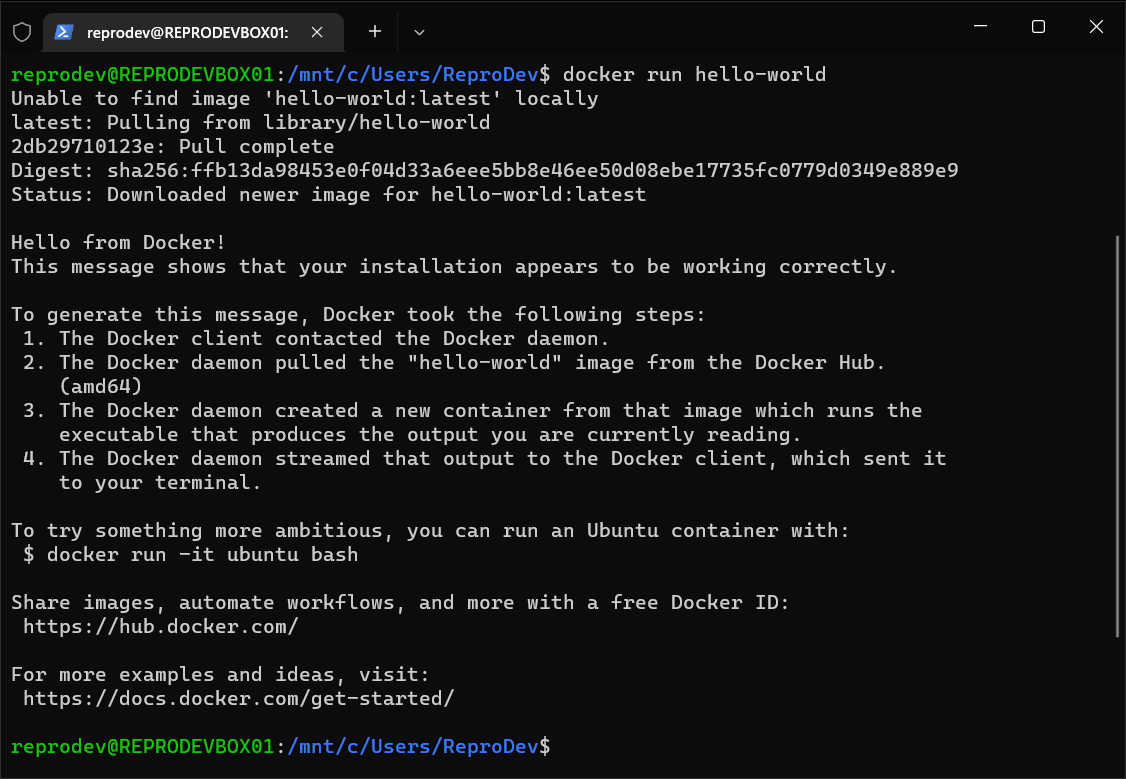
- The Hello-World code has been executed and the Docker Container has been destroyed.
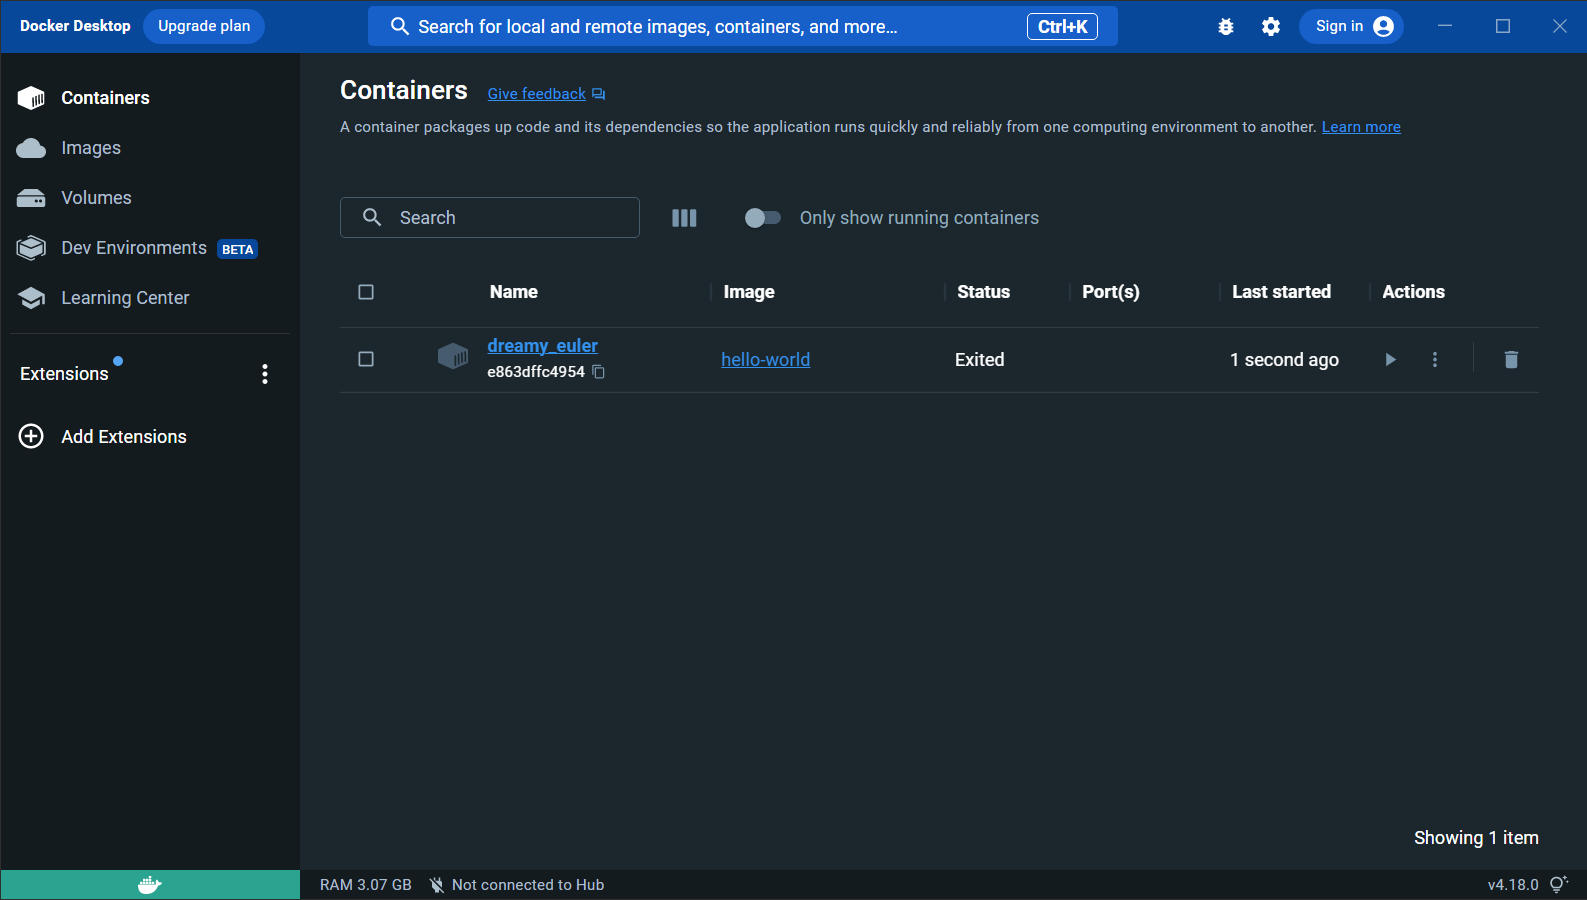
- If you open up Docker Desktop and now check the Containers section you'll see the container we just ran.
- It will have a random name which may be different to yours but the Image will be hello-world
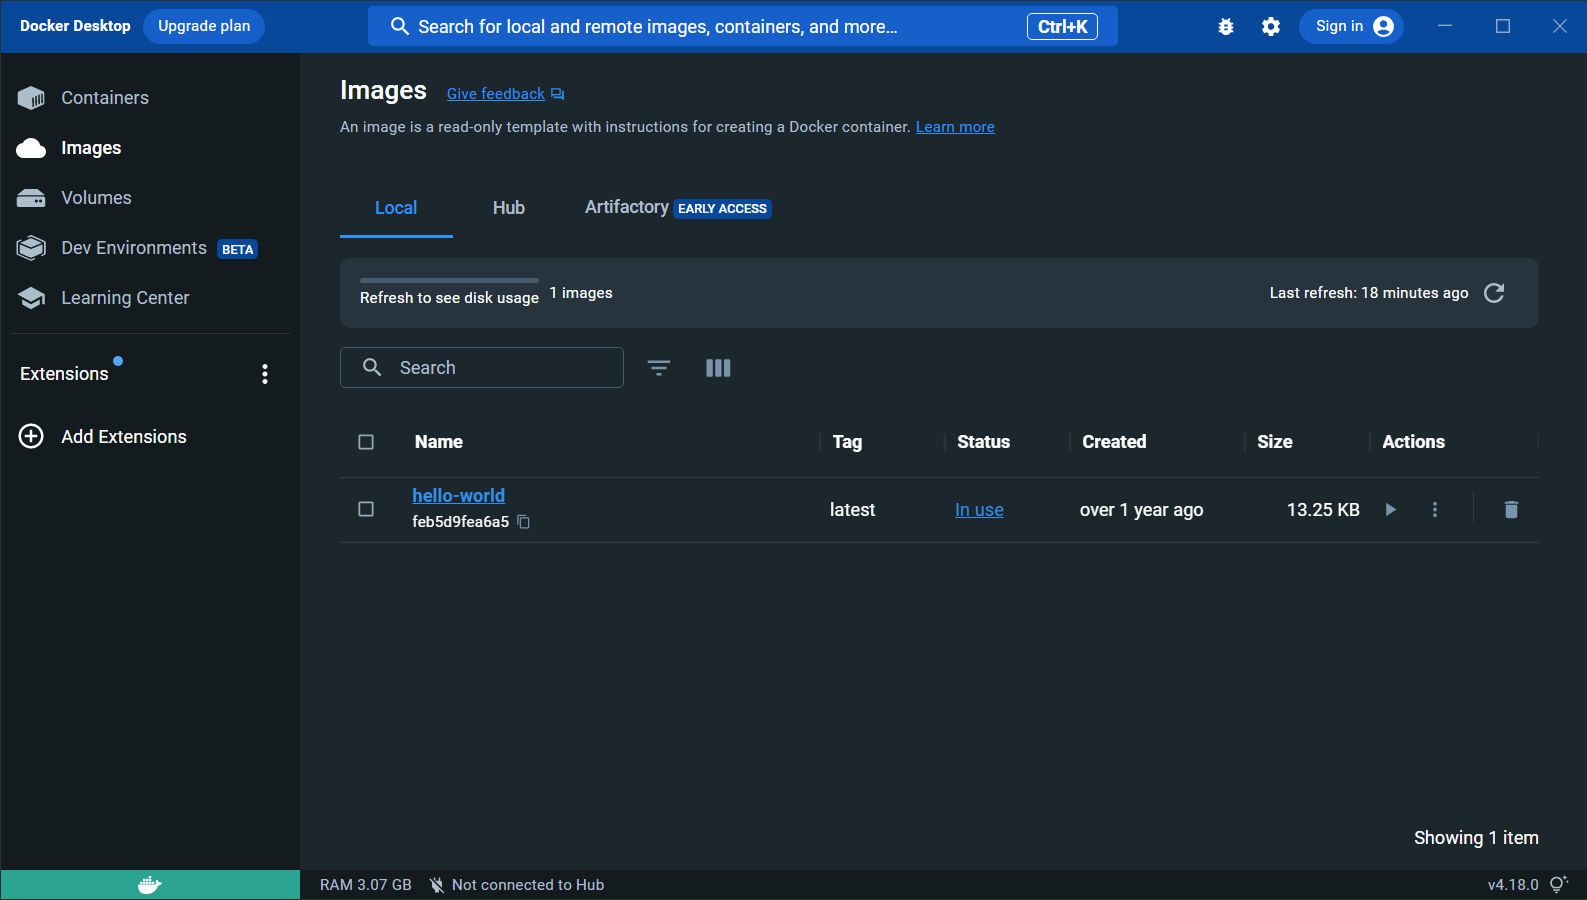
- If you open the Images section you'll see the hello-world image in there now, ready to run without downloading again
- This container didn't create a Docker Volume so this section is still empty for now
- Congratulations, you've finally installed Docker on Windows using the WSL 2 backend and even ran a test container.
Next time, we’ll set up our first Docker Container on the Raspberry Pi 4 to help block ads and malicious websites on your whole network, Pi-Hole.
Don't forget to explore the rest of our website as we build out more content. Stay tuned for more tutorials, tips, and tricks to help you make tech work for you.
If you want to stay up-to-date with regular updates, make sure to subscribe to our free mailing list.