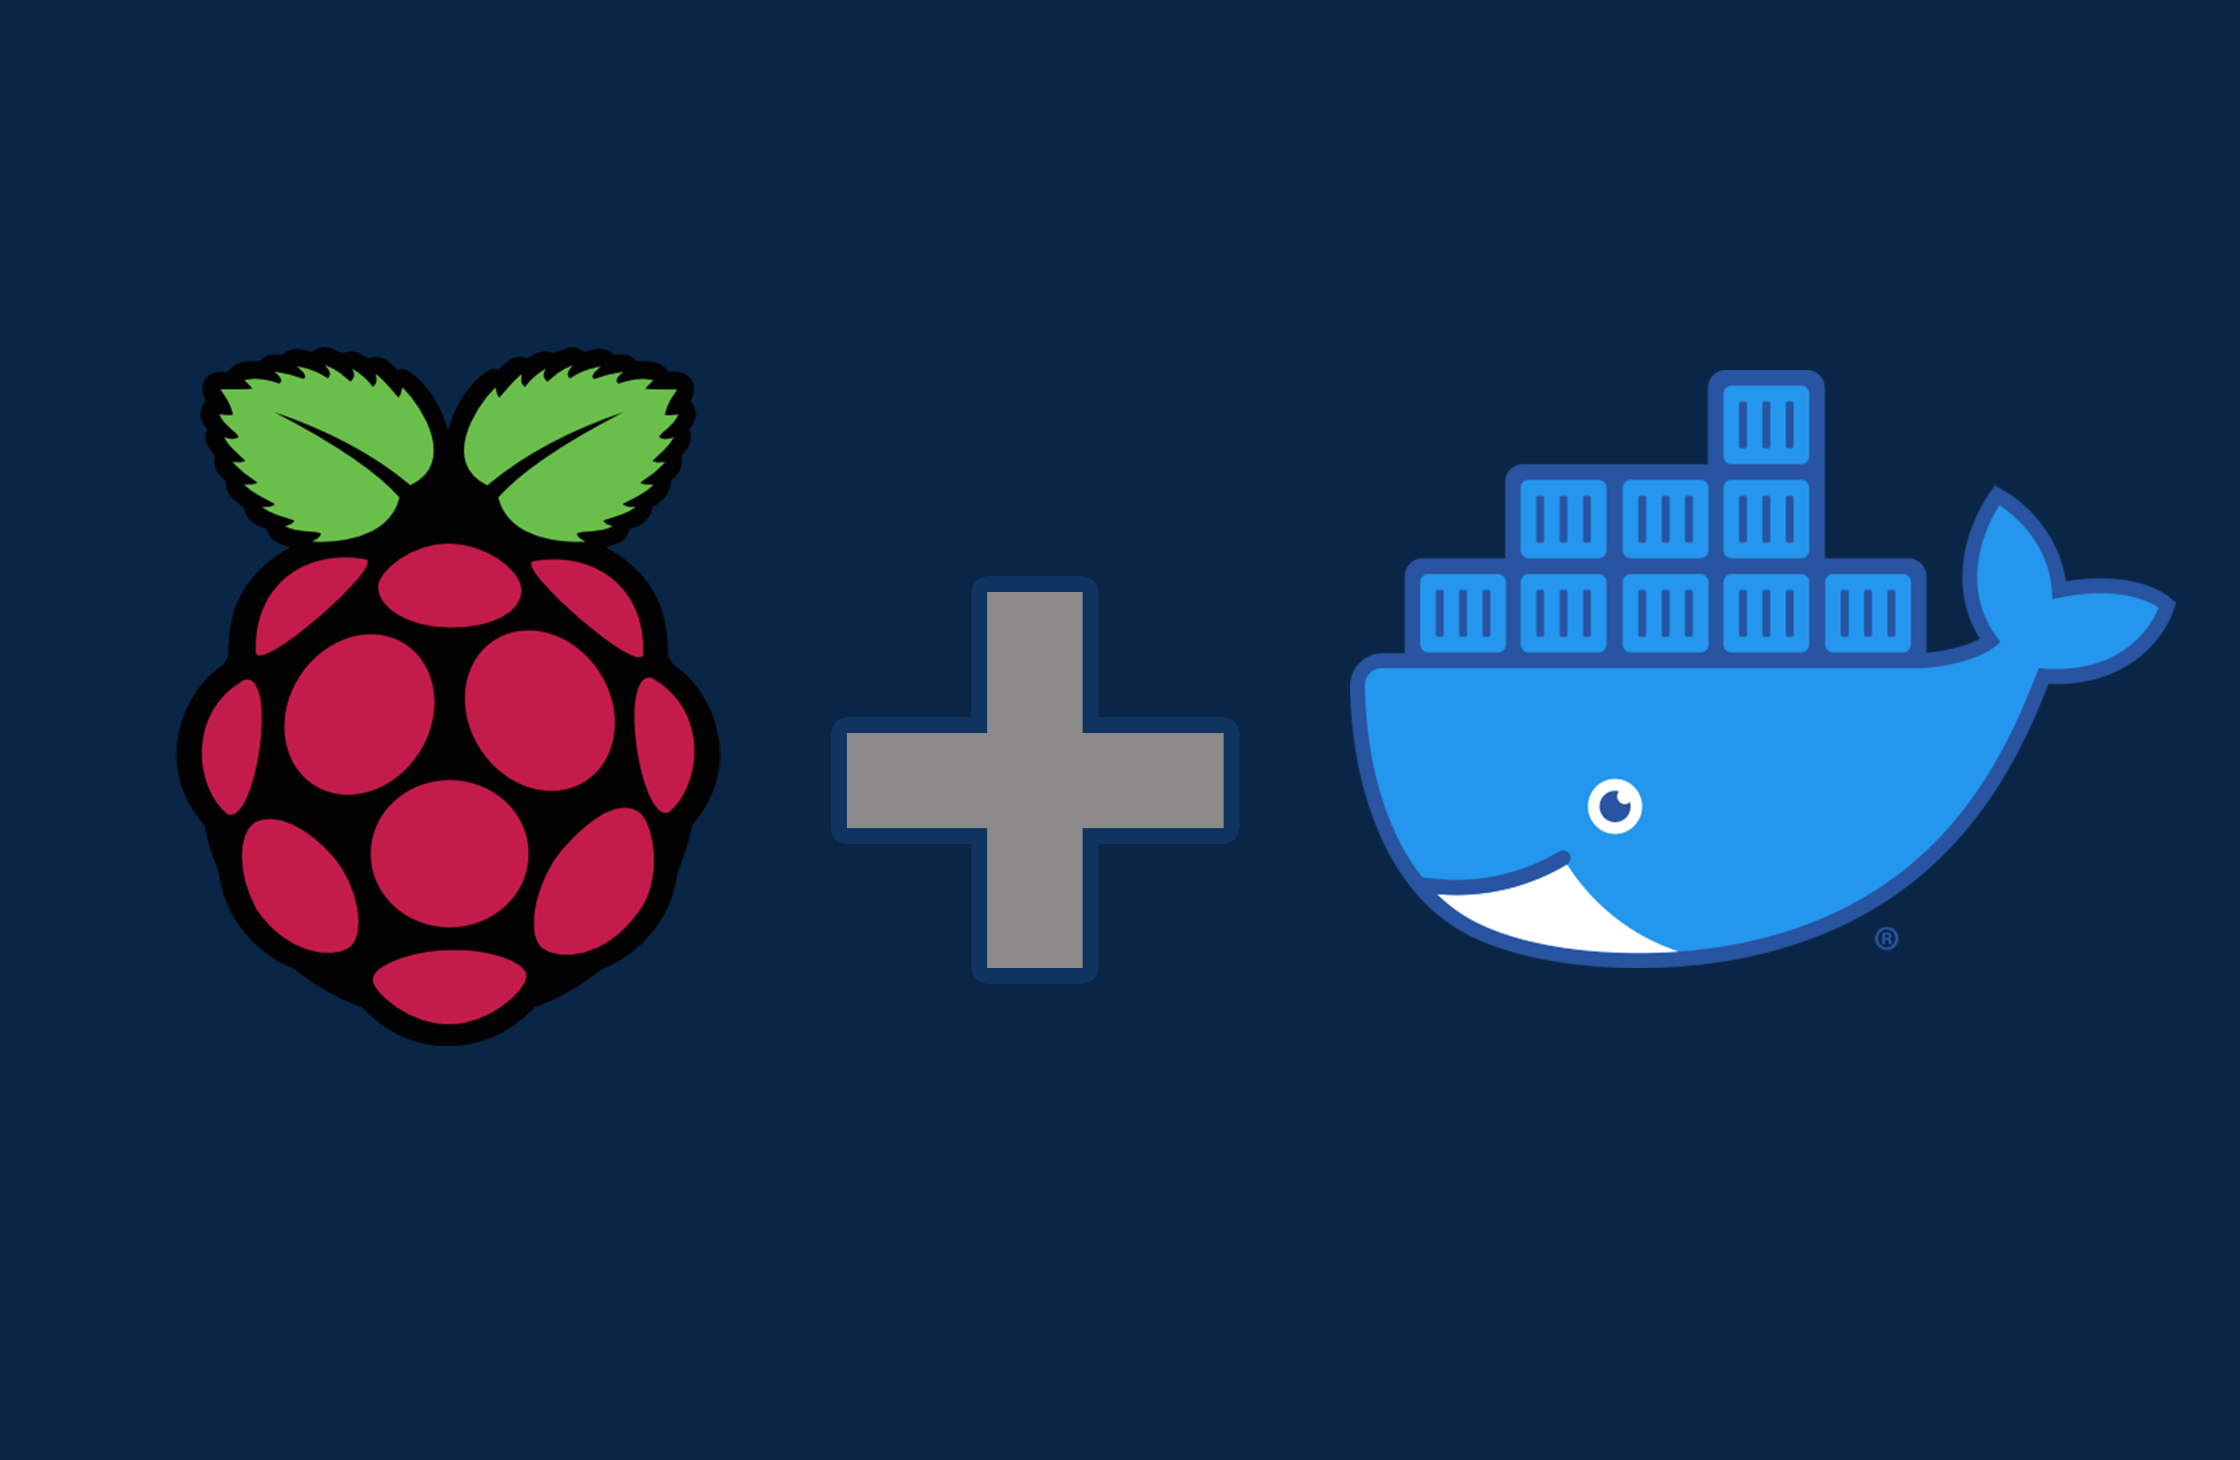
Get Started with Docker - Part 2a: Raspberry Pi Install Guide
Running Docker is pretty straightforward on Linux and makes using a Raspberry Pi, in my opinion a lot easier. It's really helpful when trying to squeeze out every last bit of performance from the lil computer that can.
Personally, I’ve found Raspberry Pi OS to be most the stable distribution when using the Pi. You can of course use your preferred Linux flavour like Ubuntu, Fedora etc as the operating system for your Pi.
In this guide, we'll install Docker onto a Raspberry Pi 4B 4GB using Raspberry Pi OS.
We're going to:
- Update your Raspberry Pi and Raspberry Pi OS Linux
- Install Docker and all it’s required components using the convenience script
- Install Docker Compose
- Add your Pi user to the Docker group
- Test the installation with your first test Docker Container

Using GUI or SSH?
In my case I like to use SSH to connect from another machine, as it uses less resources than the GUI.
Using SSH means you don't have to have a monitor plugged into your Pi to run commands which can help devices like the Pi Zero.
You’re welcome to use the commands in this guide either in the terminal using the GUI, or connecting via SSH.
This guide will also assume that you've connected to your Pi using SSH once already and know it's IP address or can find it.
The Beginner's Guide walks you through how to find your Pi's IP address if you need a refresher or are unsure.
First, let's make sure the Pi's updated.
Update Your Pi
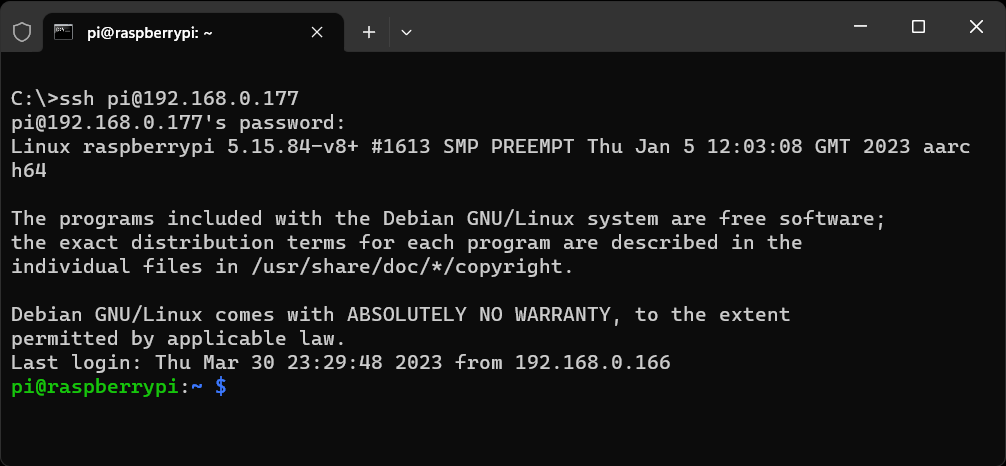
- Connect to your Pi using SSH
- Open up Windows Terminal and enter the below with your username and IP Address
ssh [email protected]- You'll then be prompted for your password to login.
- Run an update and upgrade on the Pi using the sudo command below
sudo apt-get update && sudo apt-get upgrade- This will take a few minutes depending on your internet connection and the last time your Pi was updated.
- Type "Y" and Press Enter to continue and install the updates.
- Installing the updates will take a lot longer than checking for them so this is the perfect time to grab a coffee and come back later.
-
Once updated you'll come back to the command line.
-
Type the below command to reboot your PI to commit the updates, wait for it to start back up and connect again by using SSH for the next step.
sudo systemctl rebootInstall Docker
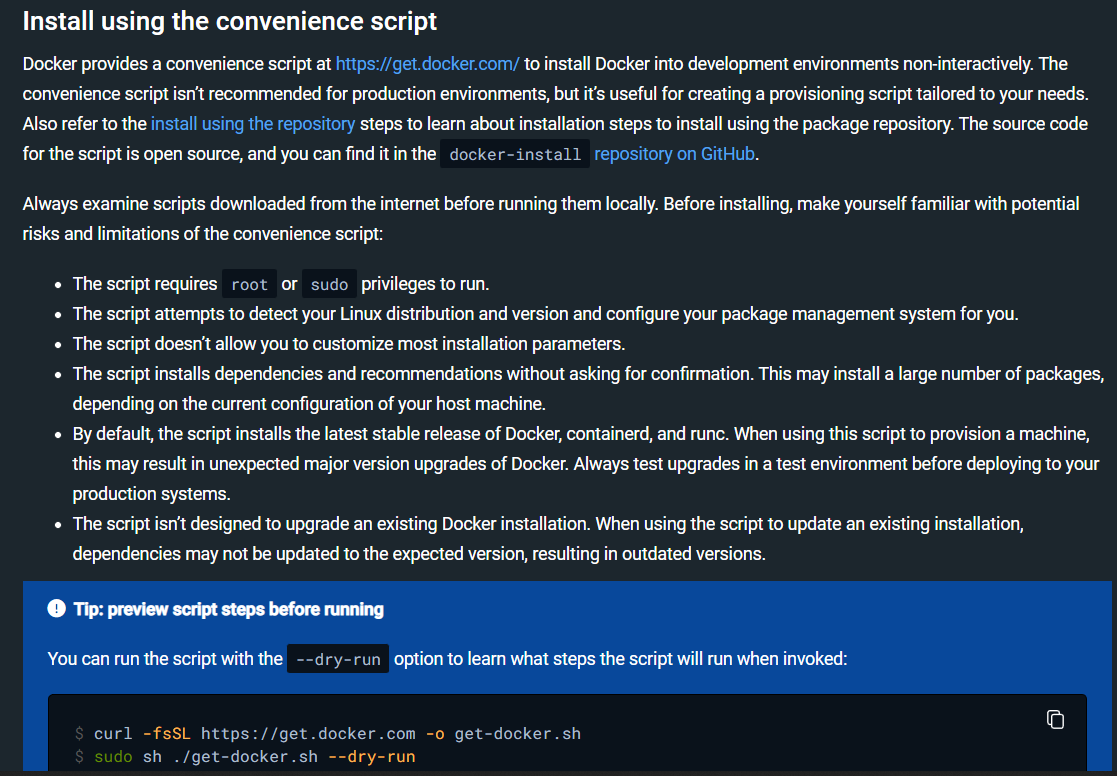
Docker on Raspberry Pi OS is officially supported and that means we can use an install script to automate most of the setup, provided by Docker.
- Once you've updated and rebooted then connect back to the Pi using SSH
- Credit to this article from PiMyLife for the suggestion of piping the script directly into the terminal using the below one liner.
- I'd also suggest adding on the sudo command at the beginning as I've had some issues with the curl command failing to download on an Azure Ubuntu VM installation.
sudo curl -sSL https://get.docker.com | sh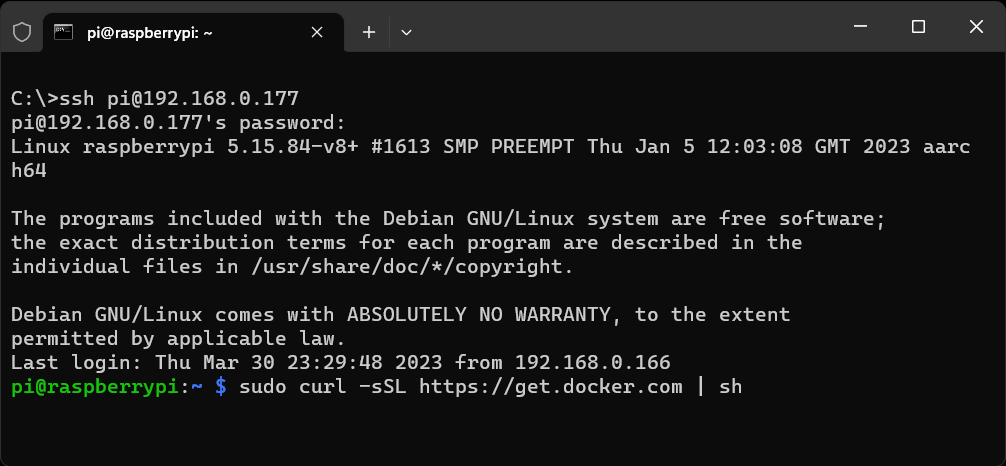
- This will take a lot longer than the previous update took earlier and the script will download all files and dependencies needed for your Docker installation.
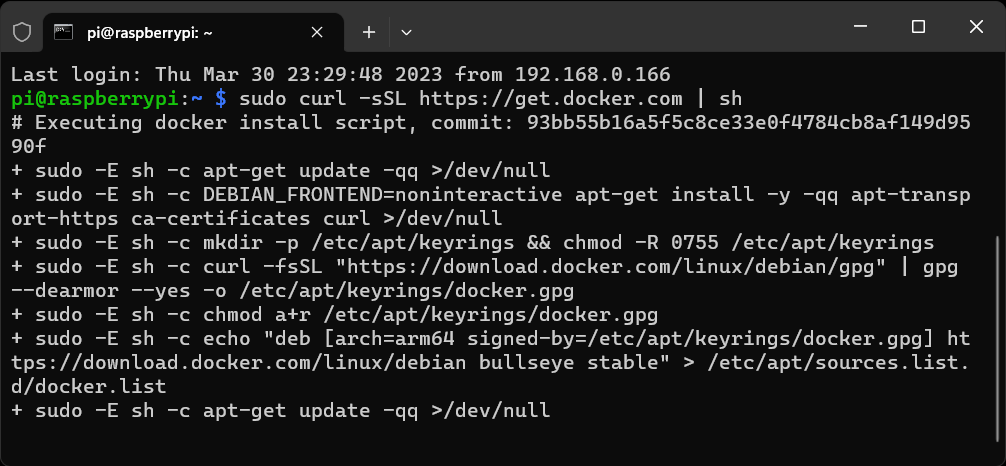
- You may want to grab another coffee and let the script do it's work
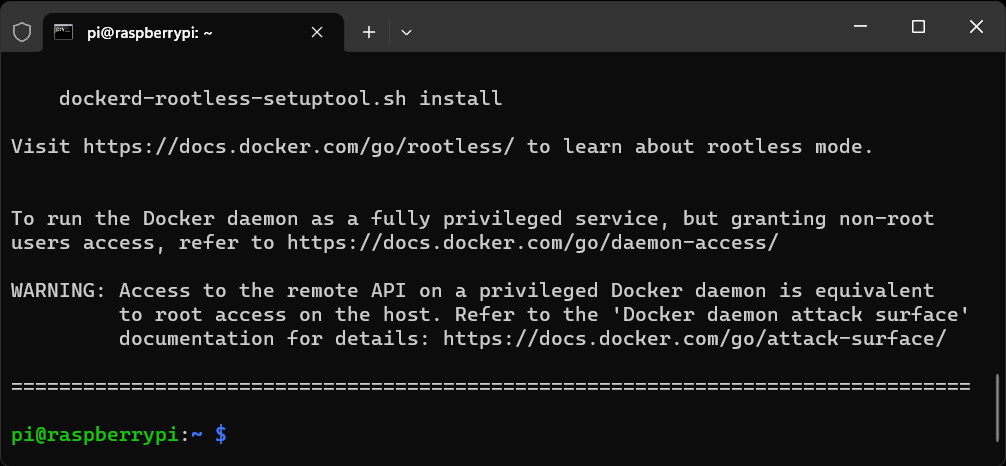
- You now have Docker with the Docker Engine installed on your Raspberry Pi.
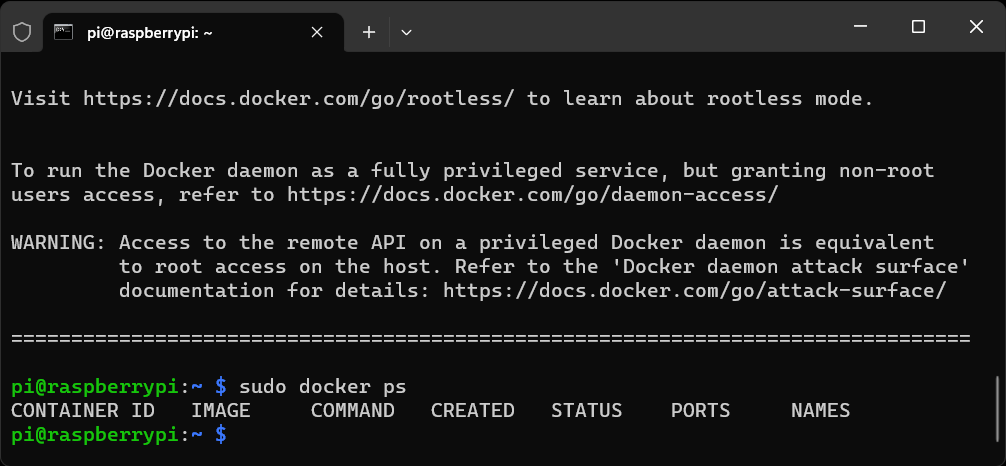
- Type the below line and Press Enter to check for any running docker containers
sudo docker ps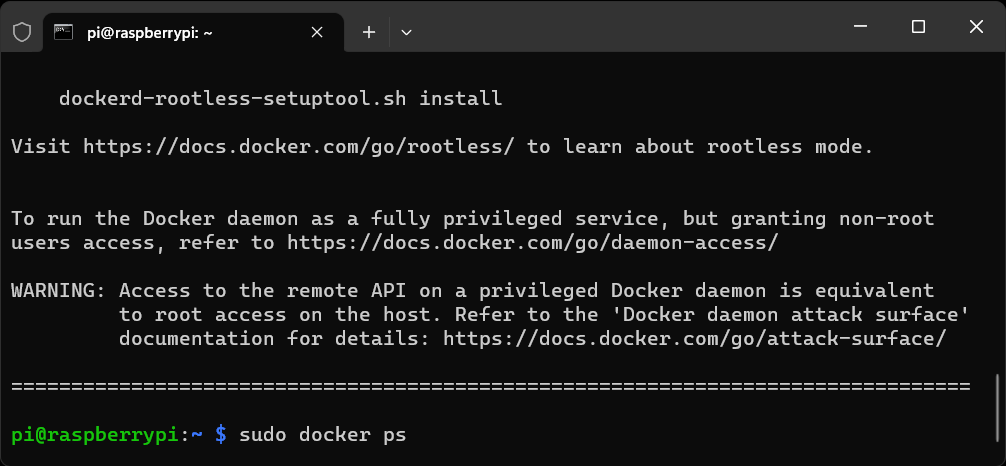
Install Docker Compose
You’ve almost got all of the basic components for Docker installed but if you want to use Docker Compose YAML files then you’ll need to have Docker Compose installed.
- Type the below command and Press Enter to get it installed
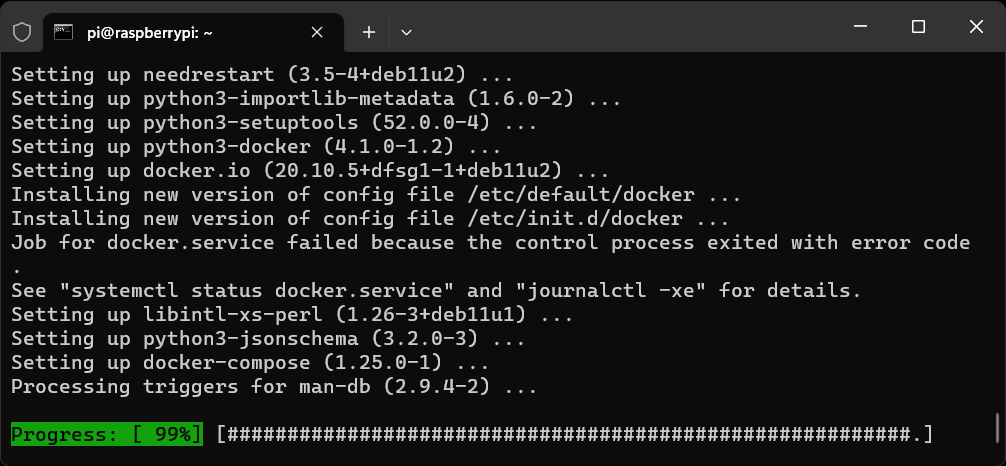
sudo apt install docker-compose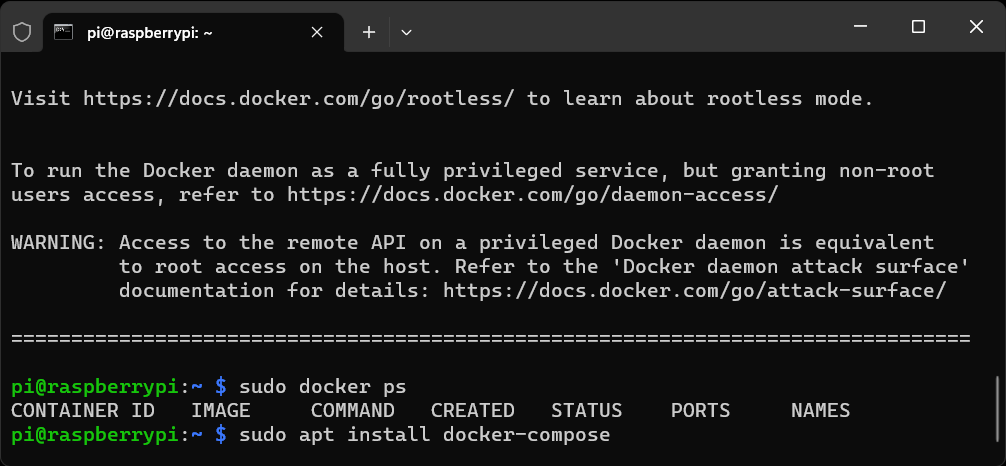

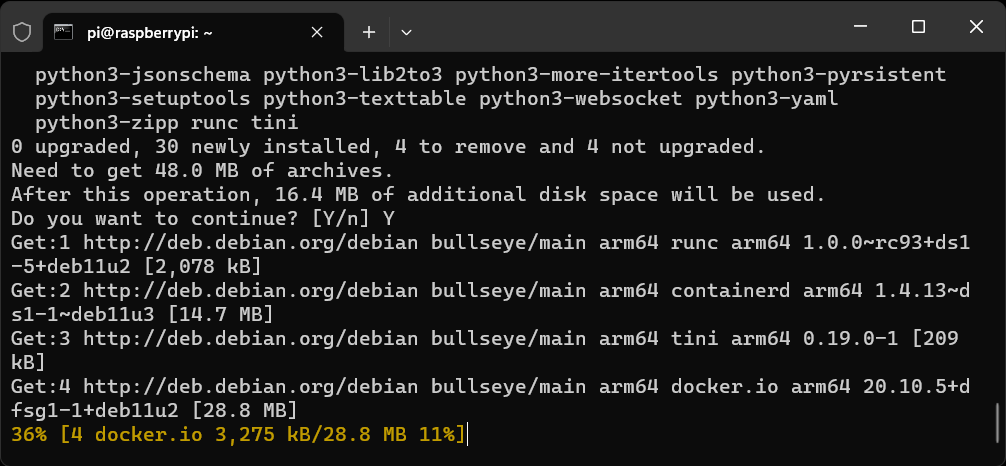
- Type "Y" and Press Enter to continue and install the updates.
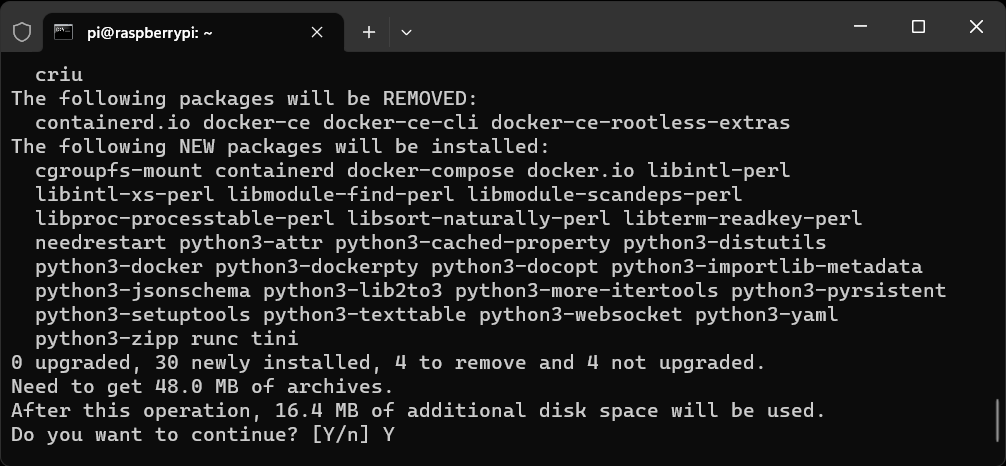
- This will remove any extra parts to Docker that were installed using the Automated script and also install what we need to get Docker Compose running.
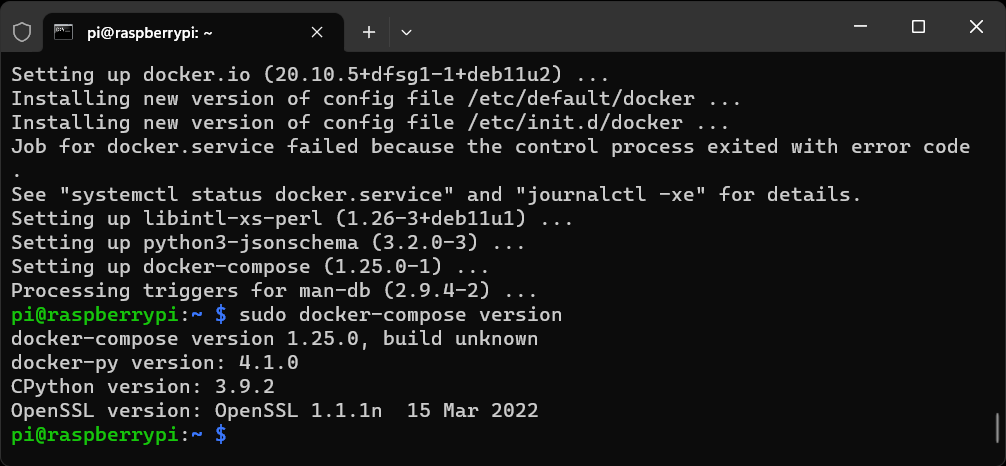
- Once that’s installed, you can check your Docker Compose version with the below command.
sudo docker-compose version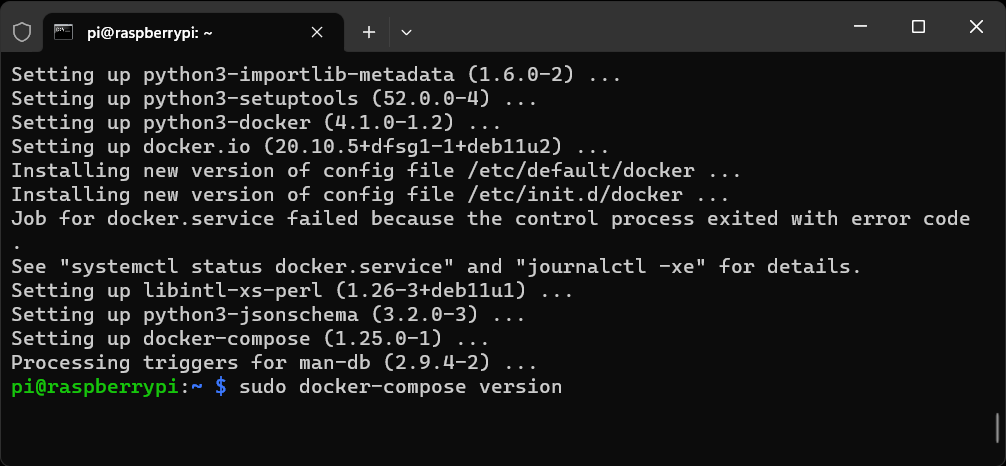
- Then type "clear" and Press Enter to clear the terminal for our next step.
clear
Now that we’ve installed Docker, Docker Engine and Docker Compose, we need to set up our Docker permissions.
Add Pi User to Docker
You've now got Docker installed but when you try to run a Docker command you get a permissions issue.
We have a few options here.
You can add sudo before every command, su - to become root or add the Pi user to the Docker group.
We’re going to go for the third option.
- Open a New Terminal or if you're continuing from our last step it should look like this
- If you HAVEN'T used the convenience script then you need to create the docker group first using the below command
sudo groupadd docker
- If you HAVE used the convenience script then type the below line and Press Enter to add the Pi user to the Docker group.
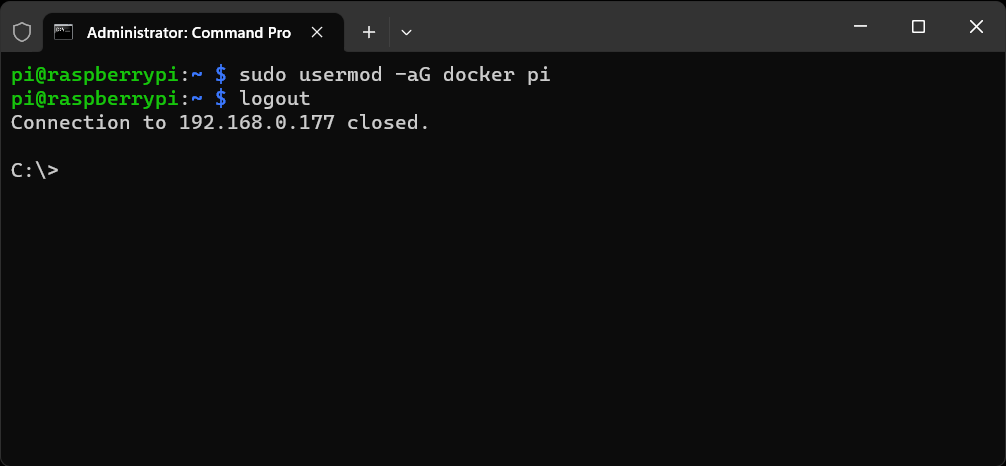
sudo usermod -aG docker pi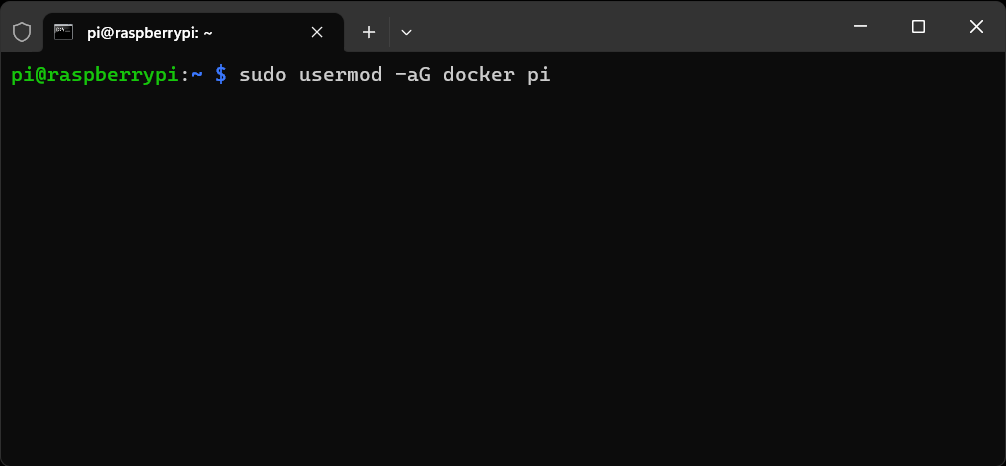
- To apply the changes you’ll need to log out and back in via SSH.
- Type "logout" and Press Enter to logout
logout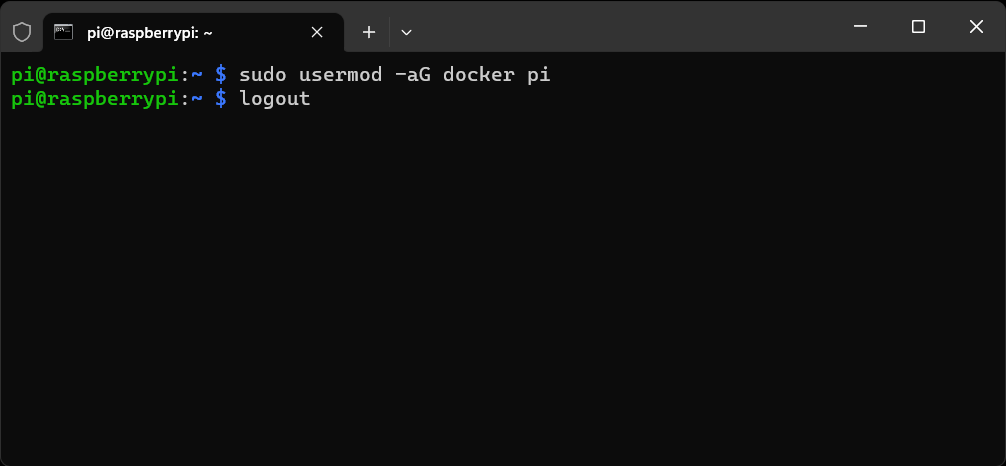
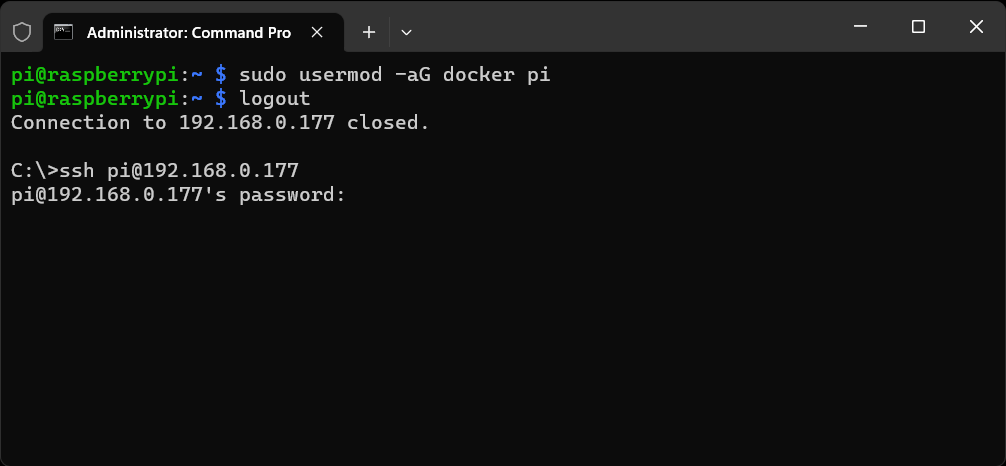
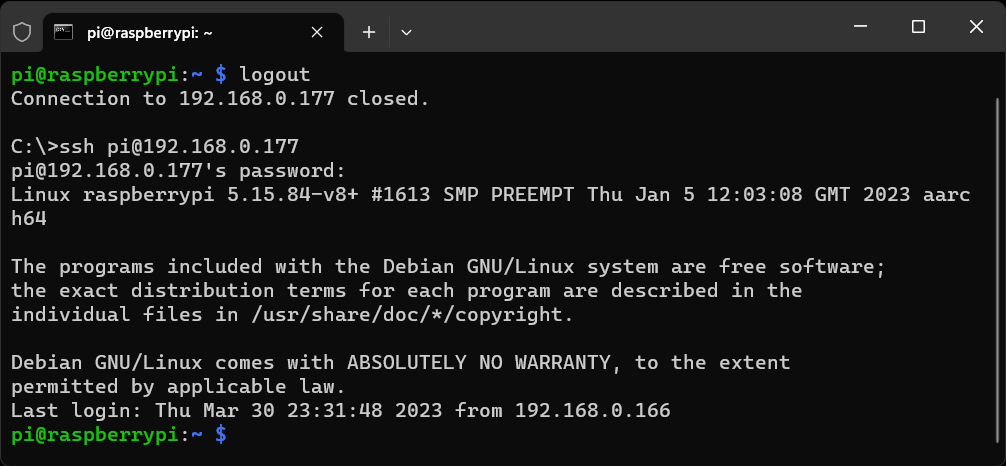
- Connect back to Log back in, using the Pi user and password
- Run the below command to see which groups the Pi user is currently a member of
groups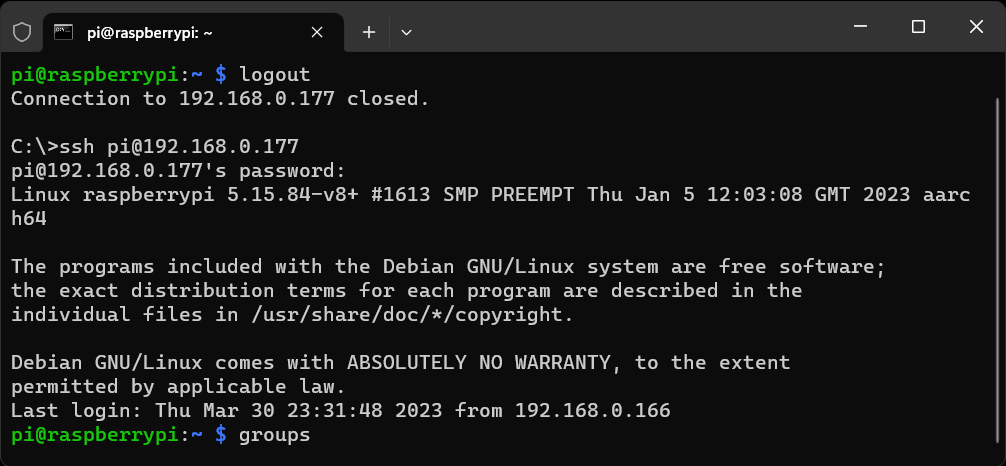
- You should see docker as one of the groups listed for Pi with a line similar to this in the terminal output.

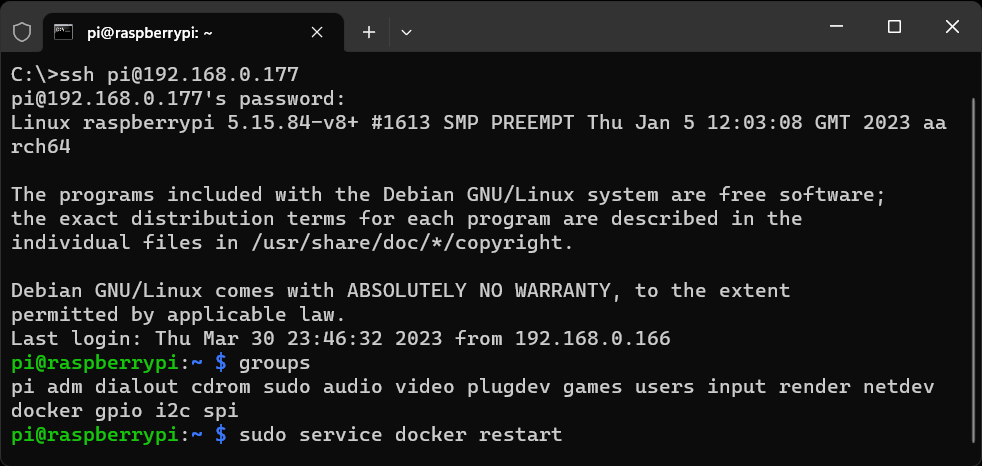
- We need to apply the changes to the running Docker Service.
- We can do this by restarting that service only, without restarting the whole Pi
- Run the below command and Press Enter to restart the docker service
sudo service docker restart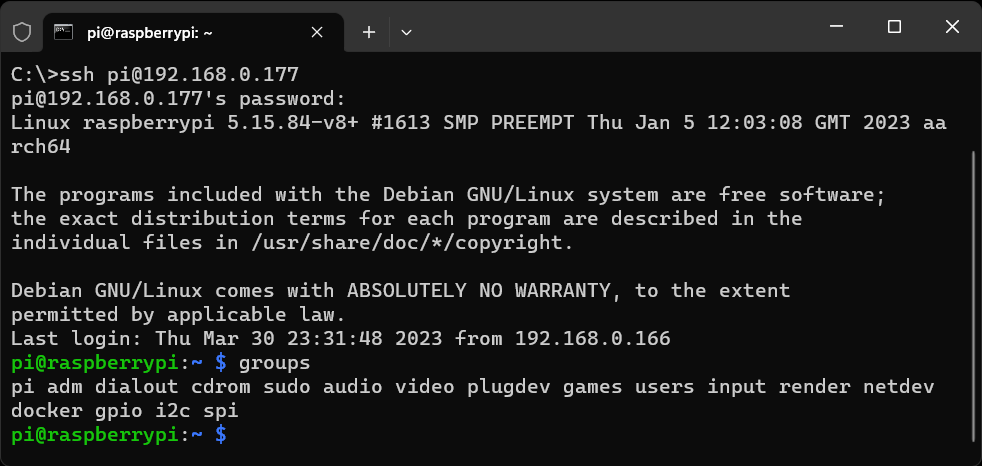
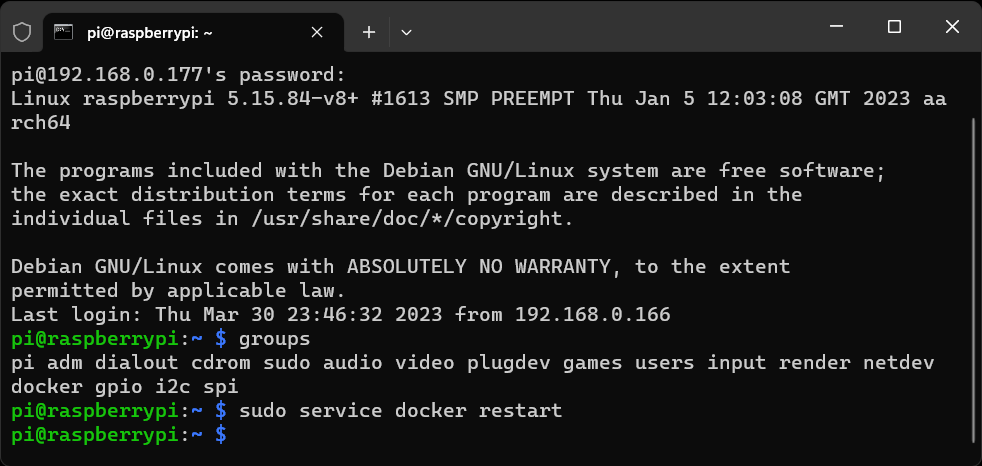
- Run the below docker command to check for running containers again. This time without using sudo before it
docker ps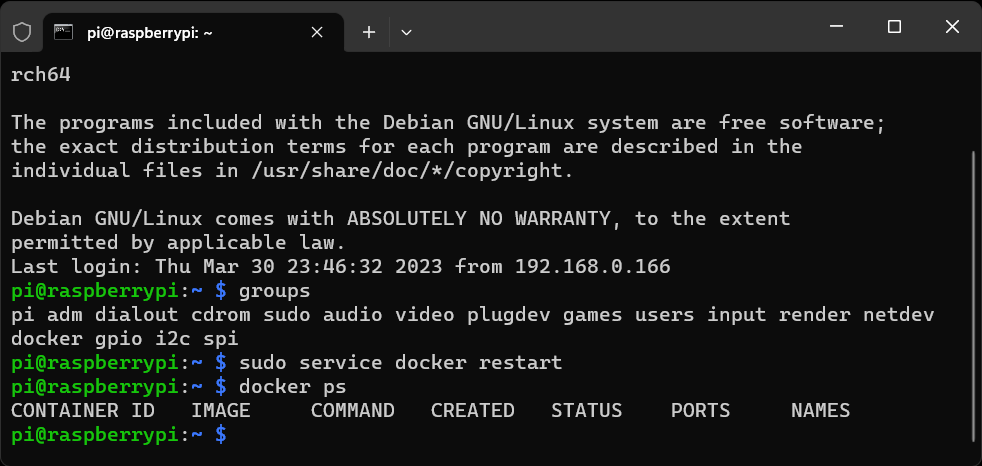
Congratulations, the Pi user is now part of the docker group.
This means you can now run docker commands without running sudo or being logged in as root.
Testing your Docker Installation - Hello World
We should now have Docker and Docker Compose installed. In addition, the Pi user should be able to use Docker commands.
- To test this all out run the below command in your terminal
docker run hello-world
- This should then download the "hello world" docker image from Docker Hub, create the container locally and output some text to the terminal.
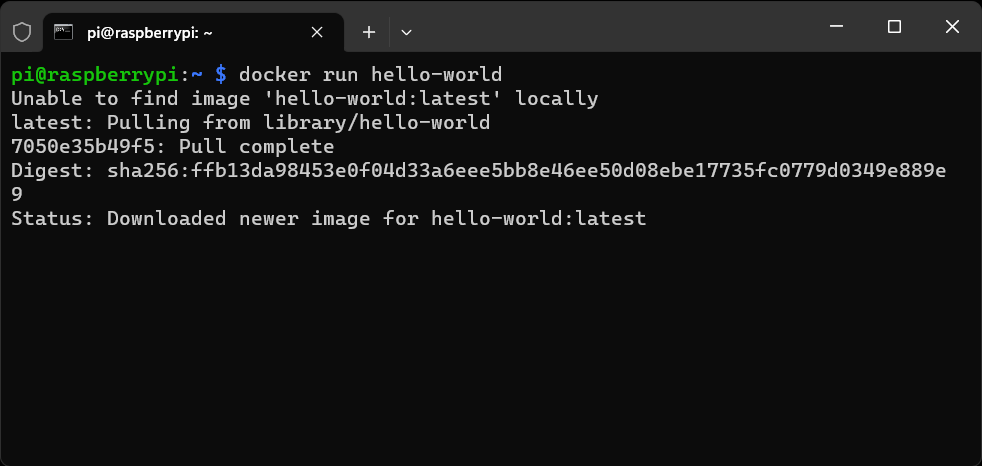

- If you look in the output you'll see this message and then a brief explanation of what this just did.
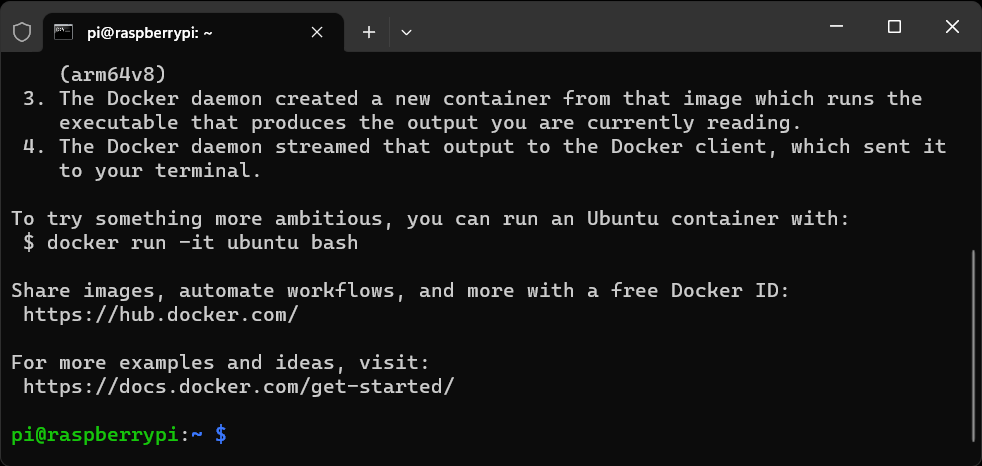
Hello from Docker!
This message shows that your installation appears to be working correctly.- Congratulations, you've successfully set up Docker on your Raspberry Pi. We're finally ready to spin up some applications and services.
Next up, we’ll set up our first Docker Container on the Raspberry Pi 4 to help block ads and malicious websites on your whole network, Pi-Hole.
Don't forget to explore the rest of our website as we build out more content. Stay tuned for more tutorials, tips, and tricks to help you make tech work for you.
If you want to stay up-to-date with regular updates, make sure to subscribe to our free mailing list.