📖 AZ-802 Study Series: This is Part 7 of my hands-on lab series leading up to the Microsoft AZ-802 exam. To see the preceding steps, check out Part 6: Centralizing Fleet Patching, Part 5: Onboarding Servers to Azure Arc, Part 4: Bridging On-Prem AD with Entra ID, Part 3: Automating Replica Domain Controller Promotion, Part 2: Automating Windows Server Lab Setup, and Part 1: Building a Multi-DC Active Directory Forest, or check out The Ultimate Guide to Windows Server Hybrid Administrator Associate (AZ-802) Study Guide for the complete roadmap.
High availability (HA) infrastructure is a key focus of the Microsoft AZ-802 certification. In enterprise systems, failover clustering typically relies on expensive Storage Area Networks (SANs) or shared SAS drives to act as shared storage and quorum witnesses.
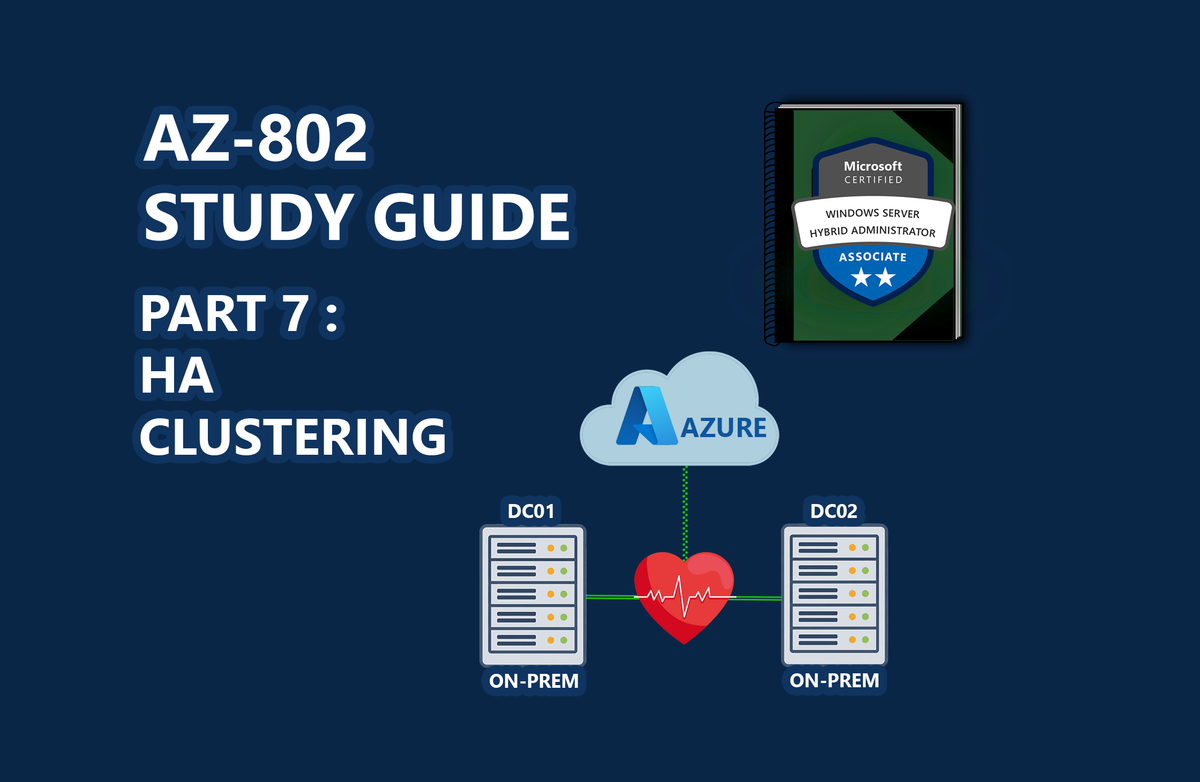
However, in modern devops practices (and in home labs), physical SANs are impractical. In this guide, we will walk through deploying a 2-Node Windows Server Failover Cluster (WSFC) in a home lab using Azure Cloud Witness as a remote quorum arbiter. This design allows you to build clusters without shared physical storage arrays.
🎓 Exam Alignment (High Availability & Failover Clustering):
Implementing and managing failover clusters and hybrid quorum technologies are heavily tested objectives within the "Configure and Manage High Availability" domain of the AZ-802: Configuring Windows Server Hybrid Advanced Services exam. You must understand:
- Cluster Validation: Running cluster validation reports to verify that nodes, networks, and system configurations are fully supported.
- Quorum Witnesses: Selecting the correct quorum model based on node count and network architecture, specifically configuring and troubleshooting Cloud Witness using Azure Storage Accounts.
- Active Directory Integration: Pre-staging Cluster Name Objects (CNO) and managing virtual machine access permissions within AD.
- Storage Spaces Direct (S2D) & CSV: Basic concepts of shared storage and Cluster Shared Volumes (CSV) in high availability workloads.
What is a Quorum Witness?
To prevent a cluster split-brain scenario (where nodes lose communication and both attempt to host cluster resources simultaneously, corrupting data), clusters use a voting system called Quorum.
- The Problem: In a 2-node cluster, if communications fail, each node holds 1 vote. Neither has a majority (2 out of 3 votes required).
- The Solution: Add a third voting entity: a Quorum Witness.
- Azure Cloud Witness: Uses a low-cost Azure Blob Storage account. The cluster writes a tiny file to Azure to flag which node is active, establishing the deciding third vote dynamically without local shared storage disks.
graph TD
    Node1["REPRO-DC01 (Node 1) - 1 Vote"] <--> Node2["REPRO-DC02 (Node 2) - 1 Vote"]
    Node1 -->|Quorum Vote| CloudWitness["Azure Cloud Witness (Deciding Vote)"]
    Node2 -->|Quorum Vote| CloudWitness
Step 1: Provisioning the Azure Storage Account
- Log into the Azure Portal.
- Create a standard Storage Account (LRS replication is sufficient and keeps costs under cents per month).
- Under Security + Networking, navigate to Access Keys.
- Copy the Storage Account Name and the key1 string.
Step 2: Provisioning the Cluster via PowerShell
Save and run this script from an Administrator PowerShell console on one of your target cluster candidate nodes:
# WINDOWS FAILOVER CLUSTER PROVISIONING UTILITY
# Brand: Reprodev
# Run this from an Administrator PowerShell console on one of the cluster candidate nodes.

# 1. Configuration Variables
$ClusterName     = "REPRO-CLUSTER"
$Node1           = "REPRO-DC01.lab.reprodev.local"
$Node2           = "REPRO-DC02.lab.reprodev.local"
$ClusterIP       = "10.0.1.100"
$StorageAccountName = "stclwitnessrepro"
$StorageAccountKey  = "your-storage-account-access-key"

# 2. Install Failover Clustering role and PowerShell tools
$nodes = @($Node1, $Node2)
foreach ($node in $nodes) {
    Install-WindowsFeature -Name Failover-Clustering -IncludeManagementTools -ComputerName $node -Restart:$false
}

# 3. Validate Cluster Configuration (Prerequisite check)
Test-Cluster -Node $Node1, $Node2

# 4. Create the Failover Cluster
New-Cluster -Name $ClusterName -Node $Node1, $Node2 -StaticAddress $ClusterIP -NoStorage -Force

# 5. Configure Quorum to use Azure Cloud Witness
Set-ClusterQuorum -Cluster $ClusterName -CloudWitness -AccountName $StorageAccountName -AccessKey $StorageAccountKey
Critical Gotcha: Active Directory DNS Permissions
[!IMPORTANT]
When creating a cluster, theNew-Clustercmdlet attempts to create a new Computer Object (known as the Cluster Name Object, or CNO) in your Active Directory domain database.If the user account executing
New-Clusterdoes not have Domain Admin rights, or if the Computer container in Active Directory is locked down, the cluster creation will fail withAccess Denied.How to Resolve:
- Open Active Directory Users and Computers on your DC.
- Create a computer object manually matching the name of your cluster (e.g.,
REPRO-CLUSTER).- Disable the computer object (this is normal; the cluster service will enable it when joining).
- Right-click the object, select Properties -> Security, and grant the first candidate node's computer object (
REPRO-DC01$) Full Control permissions over the object. This is known as "pre-staging" the CNO.
Verification & Quorum Validation
Verify that your cluster is operational and utilizing the Cloud Witness:
1. View Quorum Configuration
Get-ClusterQuorum -Cluster "REPRO-CLUSTER"
Expected Output:
Cluster        QuorumResource               QuorumType
-------        --------------               ----------
REPRO-CLUSTER  Cloud Witness                NodeAndDiskMajority
2. Inspect Azure Storage
Log into the Azure Portal, open your Storage Account, and navigate to Containers. You will find a new container named msft-cloud-witness containing the cluster state tracking files.
Key Takeaways
- Cloud Witness Saves Resources: Using Azure Cloud Witness eliminates the need to configure and manage a separate local file share witness (FSW) or shared SAN.
- Pre-Stage CNOs: Always pre-stage cluster computer objects in Active Directory if you are running in restricted environment scopes to bypass permission issues.
- Validate Every Time: Always run
Test-Clusterprior to building. The validation report highlights network adapter binding anomalies that will crash failover routing.
Don't forget to explore the rest of our website as we build out more content. Stay tuned for more tutorials, tips, and tricks to help you make tech work for you.
If you want to stay up-to-date with regular updates, make sure to subscribe to our free mailing list.