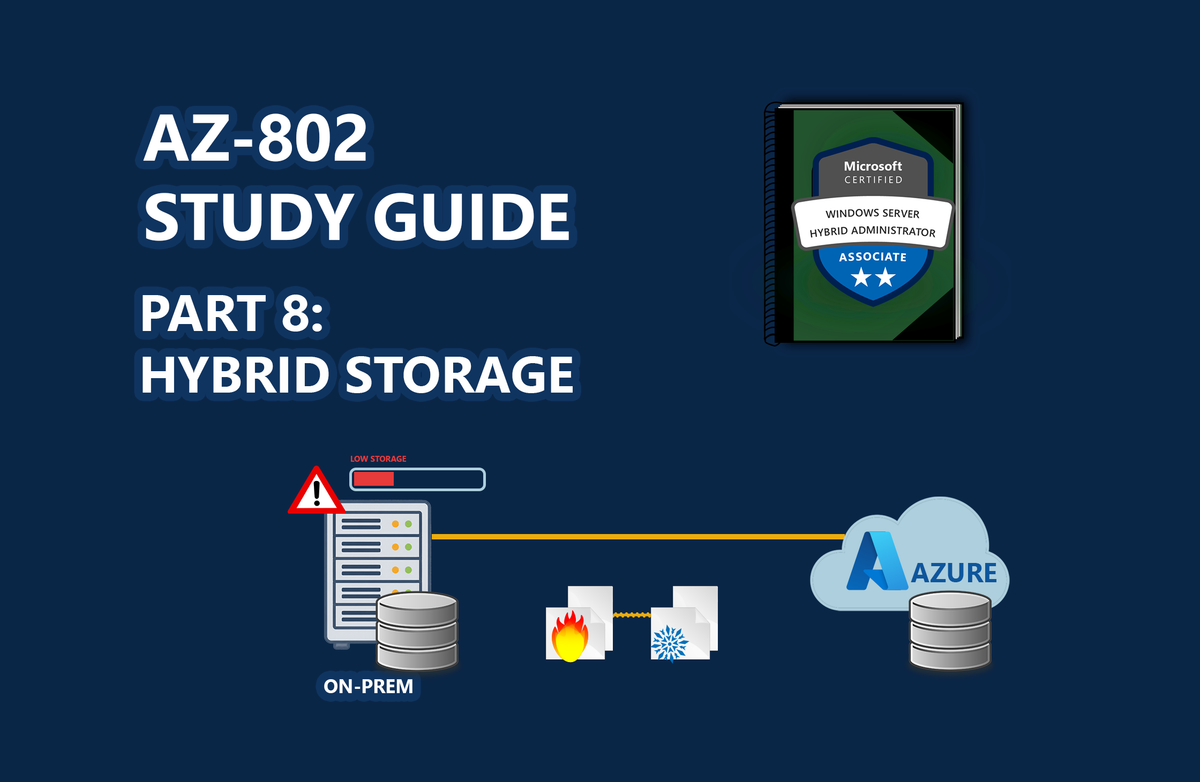
📖 AZ-802 Study Series: This is Part 8 of my hands-on lab series leading up to the Microsoft AZ-802 exam. To see the preceding steps, check out Part 7: Building a Windows Failover Cluster, Part 6: Centralizing Fleet Patching, Part 5: Onboarding Servers to Azure Arc, Part 4: Bridging On-Prem AD with Entra ID, Part 3: Automating Replica Domain Controller Promotion, Part 2: Automating Windows Server Lab Setup, and Part 1: Building a Multi-DC Active Directory Forest, or check out The Ultimate Guide to Windows Server Hybrid Administrator Associate (AZ-802) Study Guide for the complete roadmap.
Managing local file server capacity is a standard maintenance task for systems administrators. Physical hard disks fill up, and buying new SAN capacity can be prohibitively expensive.
For the Microsoft AZ-802 syllabus, the solution is Azure File Sync. By configuring a Storage Sync Service, you can bridge your local Windows Server folders with cloud-based Azure Files shares. This setup enables Cloud Tiering, which automatically moves cold, rarely-accessed files to Azure, leaving lightweight pointer files locally to reclaim massive on-premises disk space.
🎓 Exam Alignment (Hybrid Storage & Azure File Sync):
Configuring and managing hybrid storage solutions is a key testing area within the "Configure and Manage Hybrid Storage" domain of the AZ-802: Configuring Windows Server Hybrid Advanced Services exam. You must know:
- Storage Sync Service Infrastructure: Creating Storage Sync Services, defining Sync Groups, registering server endpoints, and mapping them to Cloud Endpoints (Azure File Shares).
- Cloud Tiering Policies: Designing Volume Free Space and Date-based caching policies to optimize local drive capacity.
- File Attributes & Inspection: Distinguishing local files from tiered placeholder files by inspecting file attributes (specifically the Offline and Recall attributes) and evaluating "Size" vs. "Size on disk" properties.
- Interoperability: Understanding how Azure File Sync integrates with local file systems (NTFS/Refs) and checking anti-virus and backup system exclusions.
How Azure File Sync Works
Azure File Sync transforms your local Windows Server into a high-performance local cache for your cloud files:
graph LR
    LocalServer["Windows File Server (Local Cache)"] <-->|Storage Sync Agent| AzureStorageSync["Azure Storage Sync Service"]
    AzureStorageSync <--> CloudShare["Azure Files Share (Cloud Master)"]
- Cloud Tiering: Cold files are replaced by placeholder files locally. When a user opens a tiered file, the sync agent retrieves the data on-demand from Azure Files.
- Multi-Site Sync: Replicates files between multiple offices or environments. Changes made to files on one server synchronize instantly to others.
- Disaster Recovery: If your local server crashes, you can provision a new VM, install the agent, and rebuild the file indexes in minutes without waiting to download raw files.
Step 1: Setting Up Azure Resources
- Log into the Azure Portal.
- Create a standard Azure Storage Account and provision a new File Share (e.g.,
fs-share-repro). - Search for and create an Azure Storage Sync Service (e.g.,
sync-service-repro). - Inside the Storage Sync Service, navigate to Sync Groups:
- Click Sync Group, name it
sg-files-repro, and select the Storage Account and Cloud File Share created in Step 1.
- Click Sync Group, name it
Step 2: Installing and Registering the Agent
Save and execute this PowerShell script on your local Windows File Server to install the sync agent and register it with your Azure Storage Sync Service:
# AZURE FILE SYNC AGENT SETUP & REGISTRATION UTILITY
# Brand: Reprodev
# Run this from an Administrator PowerShell console on the target server.

# 1. Configuration Variables
$TenantId            = "your-tenant-uuid"
$SubscriptionId      = "your-subscription-uuid"
$ResourceGroup       = "rg-hybrid-storage"
$StorageSyncService  = "sync-service-repro"
$ServicePrincipalId  = "your-service-principal-app-id"
$ServicePrincipalSecret = "your-service-principal-secret"

# 2. Download the Azure File Sync Agent MSI (WS2025 version)
$DownloadPath = Join-Path $env:TEMP "StorageSyncAgent.msi"
Invoke-WebRequest -Uri "https://download.microsoft.com/download/1/8/d/18d8e5c2-f155-467f-94d0-60b615b16954/StorageSyncAgent_WS2025.msi" -OutFile $DownloadPath -UseBasicParsing

# 3. Install the Sync Agent silently
Start-Process msiexec.exe -ArgumentList "/i `"$DownloadPath`" /qn /norestart" -Wait

# 4. Register the Windows Server
$RegisterServerPath = Join-Path ${env:ProgramFiles} "Azure\StorageSyncAgent\RegisterServer.exe"
& $RegisterServerPath `
    -TenantId $TenantId `
    -SubscriptionId $SubscriptionId `
    -ResourceGroupName $ResourceGroup `
    -StorageSyncServiceName $StorageSyncService `
    -ServicePrincipalId $ServicePrincipalId `
    -ServicePrincipalSecret $ServicePrincipalSecret
Step 3: Configuring Local Server Endpoints
Once registered, your local server will appear under Registered Servers in your Storage Sync Service.
To connect your local folder path to the Cloud Sync Group:
- Navigate to your StorageSync Service -> Sync Groups -> click
sg-files-repro. - Click Add server endpoint:
- Registered server: Select your local server.
- Path: Specify the local directory path to sync (e.g.,
D:\Shares\Marketing). - Cloud Tiering: Enable this and define thresholds:
- Volume Free Space Policy: Maintain a minimum volume free space (e.g., 20% of disk space must remain free).
- Date Policy: Tier files that have not been accessed within a set number of days (e.g., 30 days).
- Click Create. The agent will begin indexing the folder and uploading data.
Critical Gotcha: Exclude System Volumes
[!WARNING]
Never configure Azure File Sync to target system partitions (like theC:\drive) or directories containing operating system runtime assets (likeC:\WindowsorC:\Program Files).Doing so can corrupt critical system files, break registry bindings, and cause server boot loops when the agent attempts to tier system drivers or logs to Azure Storage. Always host sync endpoints on secondary data partitions (e.g.,
D:\orE:\).
Key Takeaways
- Intelligent Cloud Tiering: Cloud tiering ensures that local users retain instant access to hot files while cold storage uses Azure's cost-effective tier.
- Offline Access remains active: If your internet connection drops, users can still access any file that is cached locally. Only tiered (cold) files become temporarily unavailable until connectivity is restored.
- Backup simplification: You can back up your file infrastructure directly in the cloud using Azure Backup on the cloud file share, removing the need for heavy local tape or agent backups on-premises.
Don't forget to explore the rest of our website as we build out more content. Stay tuned for more tutorials, tips, and tricks to help you make tech work for you.
If you want to stay up-to-date with regular updates, make sure to subscribe to our free mailing list.